Transform Your Dinner: The Ultimate Guide to Perfect Roasted Brussels Sprouts
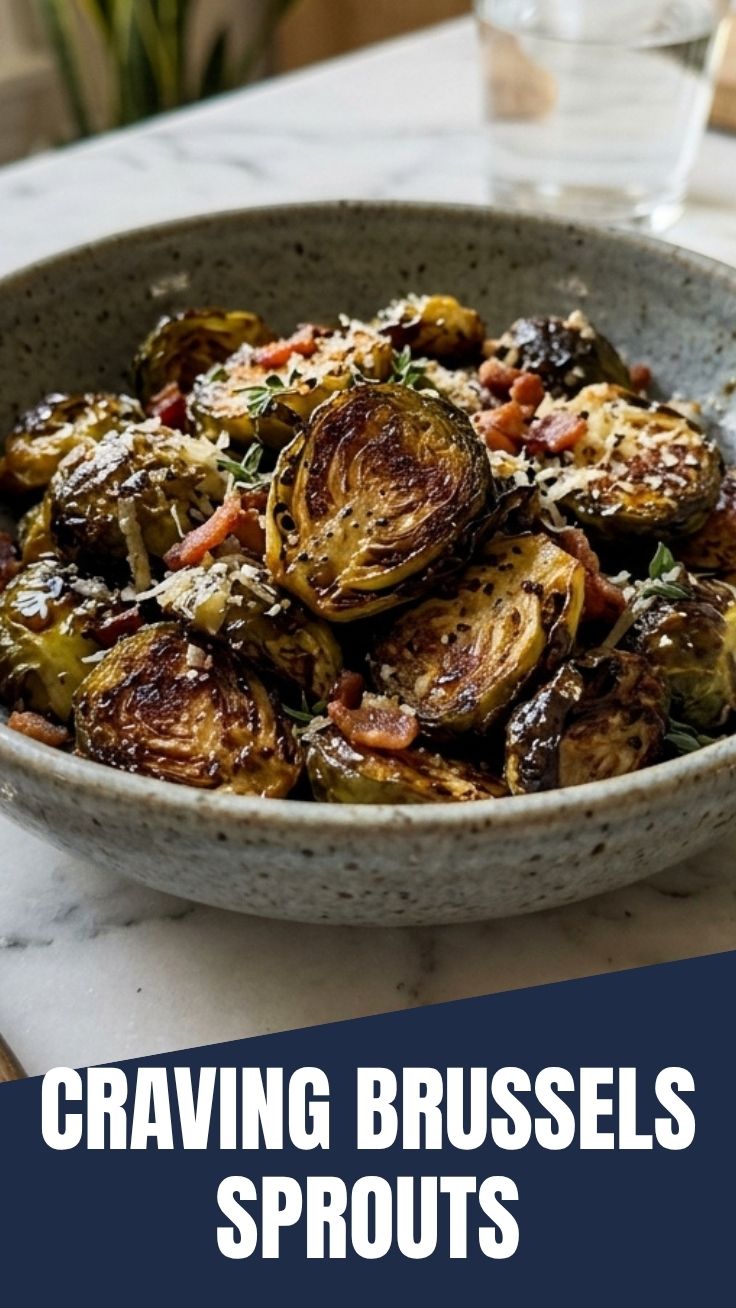
Ever wondered how some home cooks achieve that perfectly crispy, caramelized exterior and tender interior when they make a side dish? This post will show you how to master Roasted Brussels Sprouts, turning a often-maligned vegetable into a star. Preparing this delicious and versatile side dish at home not only saves you money but also allows for complete control over ingredients, ensuring a healthier and more flavorful outcome. You’ll be surprised at how easy it is to incorporate this into your rotation of healthy dinner recipes, making nutritious eating both accessible and enjoyable.
Ingredients & Kitchen Tools
To embark on your journey to perfect roasted Brussels sprouts, gather the following:
- 1.5 lbs Brussels Sprouts: Look for firm, bright green sprouts without blemishes.
- 3 tbsp Olive Oil: Extra virgin olive oil for a rich flavor and even crisping.
- 1 tsp Sea Salt: Enhances the natural flavors.
- 0.5 tsp Black Pepper: Freshly ground for best aroma.
- Optional Flavorings (choose one or combine):
* 2 cloves Garlic (minced): For a aromatic kick.
* 1 tbsp Balsamic Glaze: Adds a tangy-sweet finish.
* 0.5 tsp Paprika or Smoked Paprika: Introduces a smoky depth.
* 1 tbsp Maple Syrup or Honey: For a touch of sweetness and caramelization.
* Fresh Rosemary or Thyme (1 sprig): Earthy and aromatic herbs.
- Large Baking Sheet: Essential for even heat distribution and crisping.
- Parchment Paper or Silicone Mat: Prevents sticking and makes cleanup a breeze.
- Large Mixing Bowl: For tossing the sprouts with oil and seasonings.
- Sharp Knife: To trim and halve the Brussels sprouts.
Prep Time & Cooking Schedule
- Prep Time: 10 minutes
- Cook Time: 20-25 minutes
- Resting Time: 0 minutes (best served immediately)
This quick turnaround makes roasted Brussels sprouts an ideal choice for busy weeknights. The minimal preparation and active cooking time mean you can have a fresh, hot side dish on the table in under 35 minutes, perfectly complementing your main course without requiring extensive planning.
Step-by-Step Instructions
1. Preheat Oven & Prepare Baking Sheet: Preheat your oven to 400°F (200°C). Line a large baking sheet with parchment paper or a silicone mat. This prevents sticking and ensures easier cleanup later.
2. Trim and Halve Brussels Sprouts: Wash the Brussels sprouts thoroughly. Trim the tough ends and remove any discolored outer leaves. Halve larger sprouts to ensure even cooking, and leave smaller ones whole. Consistency in size is key for uniform doneness.
3. Toss with Oil and Seasonings: In a large mixing bowl, combine the trimmed Roasted Brussels Sprouts with olive oil, sea salt, and black pepper. If using, toss in the minced garlic, paprika, or herbs now. Ensure each sprout is lightly coated for optimal caramelization and flavor.
4. Arrange on Baking Sheet: Spread the seasoned Brussels sprouts in a single layer on the prepared baking sheet. Avoid overcrowding, as this will steam the sprouts instead of roasting them, preventing that coveted crispy texture. Give them space to breathe!
5. Roast to Perfection: Roast for 20-25 minutes, or until the sprouts are tender on the inside and beautifully caramelized and crispy on the outside. Halfway through cooking (around 10-12 minutes), give the baking sheet a good shake or use a spatula to flip the sprouts for even browning.
6. Add Optional Glaze (if desired): If using balsamic glaze, maple syrup, or honey, drizzle it over the roasted sprouts during the last 5 minutes of cooking. This prevents the sugars from burning and allows them to beautifully coat the sprouts.
7. Serve Immediately: Remove from the oven and serve hot. This fantastic side dish makes a wonderful addition to your array of healthy dinner recipes.
Nutritional Benefits & Advantages
Brussels sprouts are a nutritional powerhouse. They are an excellent source of Vitamin C and Vitamin K, crucial for immune function and bone health, respectively. They also provide a good dose of dietary fiber, aiding in digestion and promoting satiety. Furthermore, these cruciferous vegetables contain powerful antioxidants and phytonutrients that have been linked to reducing inflammation and offering anti-cancer benefits. Roasting preserves many of these nutrients while enhancing their natural sweetness.
Tips, Variations & Cooking Advice
- Flavor Boosts: Experiment with a squeeze of lemon juice after roasting for brightness, or a sprinkle of grated Parmesan cheese for a savory kick. A dash of red pepper flakes adds a subtle heat.
- Crispier Sprouts: For extra crispiness, add a tiny pinch of baking soda to the water if you’re briefly blanching them before roasting (though often unnecessary if roasting properly). Ensure they are thoroughly dry before oiling.
- Ingredient Swaps: Use avocado oil in place of olive oil for a higher smoke point.
- Dietary Adaptations: This recipe is naturally gluten-free and dairy-free (unless adding Parmesan). For a vegan option, ensure no animal-derived glazes are used.
Common Mistakes to Avoid
- Overcrowding the Pan: This is the most common mistake! It leads to steamed, soggy Brussels sprouts instead of roasted, crispy ones. Use two baking sheets if necessary.
- Under-Seasoning: Don’t be shy with salt and pepper. Brussels sprouts benefit greatly from proper seasoning.
- Not Trimming Properly: Tough ends and outer leaves can be bitter and unpleasant. A quick trim makes a big difference.
- Low Oven Temperature: A hot oven is essential for achieving the desired caramelization and crisp exterior.
Storage & Meal Prep Tips
Leftover roasted Brussels sprouts can be stored in an airtight container in the refrigerator for up to 3-4 days. They are not ideal for freezing as their texture can become mealy upon thawing. To reheat, spread them on a baking sheet and warm in a 350°F (175°C) oven for 5-7 minutes, or until heated through and slightly re-crisped. Avoid microwaving, which can make them soggy. These make fantastic additions to packed lunches or quick reheated side for busy weeknights.
Conclusion
There you have it – a foolproof guide to preparing incredibly delicious and healthy Roasted Brussels Sprouts. This simple recipe proves that nutritious eating doesn’t have to be complicated or bland. By following these steps, you’ll not only impress your taste buds but also easily incorporate more fiber-rich vegetables into your diet, positioning them as a cornerstone of your healthy dinner recipes. Give this recipe a try tonight and discover the joy of perfectly roasted Brussels sprouts! Share your creations and feedback in the comments below – we’d love to hear from you!
FAQs
Q1: Why are my Brussels sprouts not crispy?
A1: The most common reasons are overcrowding the baking sheet, not using enough oil, or not roasting at a high enough temperature. Ensure a single layer, a generous coating of oil, and an oven temperature of at least 400°F (200°C).
Q2: Can I use frozen Brussels sprouts?
A2: While fresh is always best for optimal texture, you can use frozen. Thaw them completely, pat them very dry to remove excess moisture, and then proceed with the recipe. They might require a few extra minutes of roasting.
Q3: How can I make them less bitter?
A3: Roasting at a high temperature helps to caramelize their natural sugars, reducing bitterness. Don’t overcook them, as this can bring out bitterness. Adding a touch of sweetness like balsamic glaze or maple syrup during the last few minutes of cooking also helps.
Q4: Can I prepare them ahead of time?
A4: You can trim and halve the Brussels sprouts a day or two in advance and store them in an airtight container in the refrigerator. However, for the best crispiest results, toss them with oil and seasonings and roast them just before serving.
Q5: What are some good main dishes to pair with roasted Brussels sprouts?
A5: They pair wonderfully with roasted chicken or turkey, pan-seared salmon, grilled steak, or even as a side for vegetarian meals like quinoa bowls or lentil loaf. Their earthy flavor complements a wide variety of proteins.