Unlocking the Secret to Perfectly Chewy Molasses Cookies at Home
Ever wondered what makes a cookie truly irresistible, that perfect blend of warmth, spice, and chewiness? Today, we’re diving deep into the world of everyone’s favorite winter comfort: the Molasses Cookies. Forget store-bought versions; preparing this delightful treat at home is not only incredibly rewarding but also allows you to control the quality of your ingredients and fine-tune the flavors to your exact preference. This comprehensive guide will equip you with everything you need to master the art of the perfect Molasses cookie recipe, turning your kitchen into a haven of sweet aromas and deliciousness. Ready to transform simple ingredients into a masterpiece of flavor and texture? Let’s get baking!
Ingredients & Kitchen Tools
Crafting the perfect molasses cookie requires a few essential ingredients and kitchen tools. Here’s a detailed breakdown:
- All-Purpose Flour (2 ¾ cups): The structural backbone of our cookies. Sifting is optional but recommended for a lighter texture.
- Ground Ginger (2 tsp): Provides that signature warm, spicy kick. Don’t skimp on fresh, quality ginger for the best flavor.
- Ground Cinnamon (1 ½ tsp): Adds aromatic depth and complements the ginger beautifully.
- Ground Cloves (½ tsp): A small but mighty spice that enhances the overall warmth.
- Baking Soda (1 tsp): Our key leavening agent, ensuring a chewy rather than cakey texture.
- Salt (½ tsp): Balances the sweetness and enhances all the other flavors.
- Unsalted Butter (1 cup, 2 sticks), softened: Crucial for a rich, tender crumb. Make sure it’s at room temperature for proper creaming.
- Granulated Sugar (½ cup, plus ¼ cup for rolling): Provides sweetness and helps achieve that characteristic crackled exterior.
- Dark Brown Sugar (½ cup, packed): Contributes to the cookies’ chewiness and adds a deeper, more caramel-like flavor.
- Large Egg (1): Binds the ingredients and adds moisture.
- Unsulphured Molasses (½ cup): The star ingredient! Choose unsulphured for a purer, less bitter taste. It’s essential for achieving that characteristic dark color and unique flavor.
- KitchenAid Stand Mixer with paddle attachment or Electric Hand Mixer: For efficient mixing and aeration.
- Mixing Bowls (various sizes): For combining ingredients.
- Measuring Cups and Spoons: For accurate ingredient portions.
- Rubber Spatula: For scraping down bowls and folding ingredients.
- Baking Sheets: Preferably light-colored to prevent over-browning.
- Parchment Paper or Silicone Baking Mats: For non-stick baking and easy cleanup.
- Wire Rack: For cooling the cookies evenly.
Prep Time & Cooking Schedule
- Prep Time: 20 minutes (active preparation)
- Chill Time: 1-2 hours (essential for texture and flavor development)
- Cook Time: 8-10 minutes per batch
- Yields: Approximately 2-3 dozen cookies
The chilling time is non-negotiable for achieving that perfect chewy texture and preventing the cookies from spreading too much. Plan accordingly, as this allows the flavors to meld and the dough to firm up, making it easier to handle.
Step-by-Step Instructions
1. Whisk Dry Ingredients: In a medium bowl, whisk together the flour, ground ginger, ground cinnamon, ground cloves, baking soda, and salt. Set aside.
2. Cream Wet Ingredients: In the bowl of your stand mixer fitted with the paddle attachment (or using a hand mixer), cream together the softened unsalted butter, granulated sugar, and dark brown sugar on medium speed until light and fluffy, about 2-3 minutes. Scrape down the sides of the bowl.
3. Add Egg and Molasses: Beat in the large egg until just combined. Then, gradually add the unsulphured molasses, mixing until fully incorporated. Don’t worry if the mixture looks a little separated at this stage; it will come together. This precisely crafted Molasses cookie recipe is designed to yield a harmonious blend of spices and sweetness, making the dough a joy to work with.
4. Combine Wet and Dry: Gradually add the dry ingredients to the wet ingredients, mixing on low speed until just combined. Be careful not to overmix; overworking the dough can lead to tough cookies.
5. Chill the Dough: Cover the bowl with plastic wrap and refrigerate the dough for at least 1 hour, or up to 2 hours. This step is crucial for the flavor development and texture of your Molasses Cookies.
6. Preheat Oven & Prepare for Rolling: Once chilled, preheat your oven to 375°F (190°C). Line baking sheets with parchment paper or silicone baking mats. Place the remaining ¼ cup of granulated sugar in a shallow bowl for rolling.
7. Roll the Cookies: Scoop out dough using a 1 ½ tablespoon cookie scoop or by rolling about 1-inch balls of dough. Roll each ball generously in the granulated sugar until fully coated. Arrange the sugared dough balls about 2 inches apart on the prepared baking sheets.
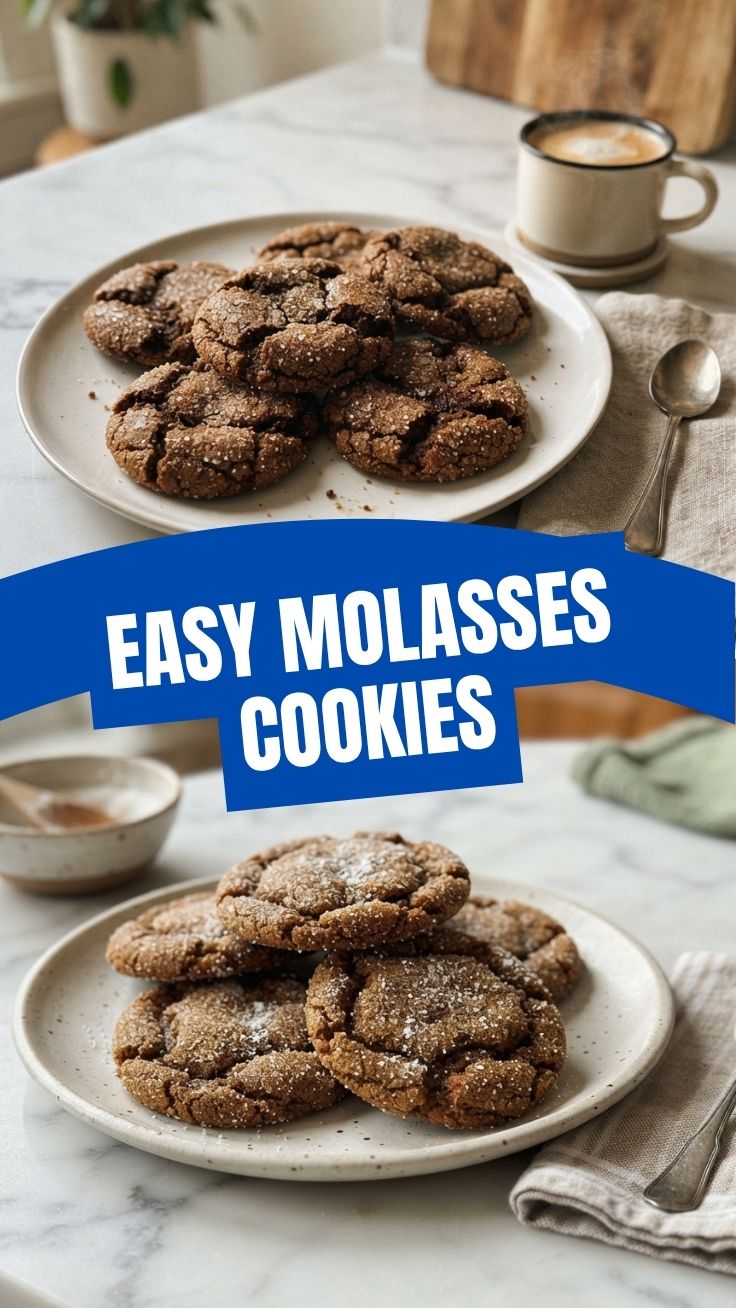
8. Bake: Bake for 8-10 minutes, or until the edges are set but the centers still look slightly soft. The cookies will puff up and then flatten and crackle as they cool. Do not overbake!
9. Cool: Allow the cookies to cool on the baking sheet for 5 minutes before transferring them to a wire rack to cool completely. This helps them firm up and achieve the perfect chewy texture.
Nutritional Benefits & Advantages
Molasses, a key ingredient in these cookies, is not just a sweetener but also a source of important minerals such as iron, calcium, magnesium, and potassium. While these cookies are a treat, incorporating molasses over refined sugar can offer a touch more nutritional value. The spices like ginger and cinnamon also boast anti-inflammatory and antioxidant properties, adding a subtle health boost.
Tips Variations & Cooking Advice
- Spicier Kick: Increase the amount of ginger and add a pinch of black pepper for extra warmth.
- Chewier Texture: Add an extra egg yolk to the wet ingredients.
- Gluten-Free: Substitute the all-purpose flour with a 1:1 gluten-free baking blend that contains xanthan gum.
- Citrus Zest: Add ½ teaspoon of orange or lemon zest to the dough for a brighter flavor profile.
- Chocolate Swirl: Melt some white chocolate and drizzle it over the cooled cookies for an elegant touch.
- Don’t Overbake: This is the most critical tip for chewy cookies! They will seem underbaked, but they set as they cool.
Common Mistakes to Avoid
- Not Chilling the Dough: This leads to flat, overly spread cookies. Always chill for at least an hour.
- Overmixing the Dough: Develops too much gluten, resulting in tough, dry cookies. Mix until just combined.
- Overbaking: Turns chewy cookies into hard, crunchy discs. Pull them from the oven when the centers are still soft.
- Using Sulphured Molasses: This variety can have a slightly bitter chemical taste. Always opt for unsulphured.
- Crowding the Baking Sheet: Leads to uneven baking and cookies sticking together.
Storage & Meal Prep Tips
Store baked Molasses Cookies in an airtight container at room temperature for up to 5-7 days. They tend to get chewier and even more delicious the day after they’re baked. You can also freeze the baked cookies for up to 3 months; thaw at room temperature before serving. For meal prep, you can prepare the dough and store it in the refrigerator for up to 3 days, or freeze dough balls (before rolling in sugar) for up to 3 months. When ready to bake, thaw the frozen dough balls in the fridge overnight, then roll in sugar and bake as directed.
Conclusion
Mastering the perfect Molasses cookie recipe is a culinary achievement that brings comfort and joy to any occasion. From the careful blending of spices to the crucial chilling process, every step contributes to the ultimate chewy, flavorful experience. We hope this guide empowers you to bake the best Molasses Cookies you’ve ever tasted, filling your home with their irresistible aroma. Don’t hesitate to experiment with the variations, but always remember the core principles of quality ingredients and precise baking. Share your creations with us – we’d love to see your delicious results!
FAQs
Q1: Why are my molasses cookies hard instead of chewy?
A1: This usually indicates overbaking or not chilling the dough sufficiently. Ensure you pull them from the oven when the centers are still soft and always chill your dough for at least an hour.
Q2: Can I substitute blackstrap molasses for unsulphured molasses?
A2: While you can, blackstrap molasses has a much stronger, more bitter flavor and a thicker consistency. It will significantly alter the taste of your cookies, so it’s generally not recommended for this recipe.
Q3: My cookies spread too much. What went wrong?
A3: The most common culprits are insufficient chilling time for the dough, butter that was too warm, or using a baking soda that isn’t fresh. Ensure your butter is softened, not melted, and always chill your dough.
Q4: Can I make this dough ahead of time?
A4: Absolutely! The dough can be kept covered in the refrigerator for up to 3 days, or you can roll it into balls (without the sugar coating) and freeze them for up to 3 months. Thaw in the fridge before rolling in sugar and baking.