Unlock the Secret to Irresistible Weeknight Dinners: Homemade Honey Garlic Chicken
Tired of dinner dilemmas? What if I told you there’s a simple, incredibly flavorful dish that comes together in a snap, yet tastes like it’s straight from a gourmet kitchen? Enter the glorious world of homemade Honey Garlic Chicken. This beloved classic offers the perfect balance of sweet and savory, making it a guaranteed crowd-pleaser. Forget takeout; mastering a vibrant Honey Garlic Sauce at home not only saves you money but also ensures you’re feeding your family wholesome, delicious ingredients. Get ready to transform your ordinary chicken into an extraordinary culinary experience!
Ingredients & Kitchen Tools
Crafting the perfect Honey Garlic Chicken requires a few essential ingredients and basic kitchen tools. We’ve got you covered with suitable substitutions too!
- Chicken Thighs or Drumsticks (2 lbs): Bone-in, skin-on for maximum flavor and juiciness. Boneless, skinless breasts or thighs can be used for quicker cooking, adjust times accordingly.
- Honey (½ cup): Adds the signature sweetness and glaze. Maple syrup or agave nectar can be substituted for a slightly different flavor profile.
- Soy Sauce (½ cup): Provides umami depth and saltiness. Opt for low-sodium if preferred. Tamari for a gluten-free option.
- Garlic (6-8 cloves, minced): The aromatic heart of the dish. Freshly minced is key! Jarred minced garlic can work in a pinch.
- Rice Vinegar (2 tablespoons): Adds a touch of acidity to balance the sweetness. White vinegar or apple cider vinegar are viable alternatives.
- Sesame Oil (1 tablespoon): Contributes a nutty aroma and flavor. A light olive oil can suffice if unavailable.
- Ginger (1 tablespoon, grated): Adds a warm, spicy kick. Fresh is best, but 1 teaspoon of ground ginger powder can be used.
- Cornstarch (1 tablespoon, mixed with 2 tablespoons water): Creates a slurry to thicken the sauce. Arrowroot powder is a good alternative.
- Salt and Black Pepper (to taste): Basic seasoning for the chicken.
- Optional Garnish: Sesame seeds, chopped green onions, or cilantro.
Kitchen Tools:
- Large Skillet or Dutch Oven: For searing and simmering.
- Whisk: For making the sauce.
- Tongs: For handling chicken.
- Cutting Board & Knife: For prepping ingredients.
Prep Time & Cooking Schedule
This recipe is designed for maximum flavor with minimal fuss, making it perfect for a busy weeknight.
- Prep Time: 15 minutes (mainly for chopping garlic and ginger).
- Marinating Time: 30 minutes (minimum for flavor) to overnight (for deeper infusion). While optional, marinating significantly enhances the end result.
- Cook Time: 25-35 minutes (depending on chicken piece size and type).
- Total Time (active): Approximately 40-50 minutes.
Plan to start your marination either in the morning or after work to have dinner ready within an hour of active cooking.
Step-by-Step Instructions
Let’s get cooking! Follow these clear steps to achieve perfectly glazed and tender chicken.
1. Prepare the Marinade/Sauce Base: In a medium bowl, whisk together the honey, soy sauce, minced garlic, rice vinegar, sesame oil, and grated ginger. This mixture serves as both your marinade and the base for your luscious Honey Garlic Sauce.
2. Marinate the Chicken: Place your chicken pieces in a large bowl or a freezer bag. Pour about ¾ of the prepared sauce over the chicken, reserving the remaining ¼ for later. Ensure the chicken is well coated. Marinate in the refrigerator for at least 30 minutes, or ideally 2-4 hours for maximum flavor. If time allows, marinating overnight yields incredibly tender and flavorful chicken. Season the chicken lightly with salt and pepper before marinating.
3. Sear the Chicken: Heat a large skillet over medium-high heat with a tablespoon of oil (e.g., olive oil or vegetable oil). Once hot, add the chicken pieces, skin-side down if using skin-on. Sear for 5-7 minutes per side until beautifully golden brown and crispy. Don’t overcrowd the pan; cook in batches if necessary.
4. Simmer in Sauce: Once the chicken is seared on all sides, reduce the heat to medium-low. Pour the reserved ¼ of the marinade/sauce into the skillet with the chicken. Immediately, bring to a gentle simmer.
5. Thicken the Sauce: In a small bowl, whisk together the cornstarch and 2 tablespoons of cold water until smooth to create a slurry. Slowly pour the cornstarch slurry into the simmering sauce in the skillet, stirring constantly. Continue to stir until the sauce thickens to your desired consistency – a beautiful, glossy glaze that coats the back of a spoon. This step is crucial for the perfect Honey Garlic Chicken.
6. Finish Cooking: Cover the skillet and let the chicken simmer in the thickened sauce for another 10-15 minutes, or until the chicken is cooked through and reaches an internal temperature of 165°F (74°C). Baste occasionally with the sauce.
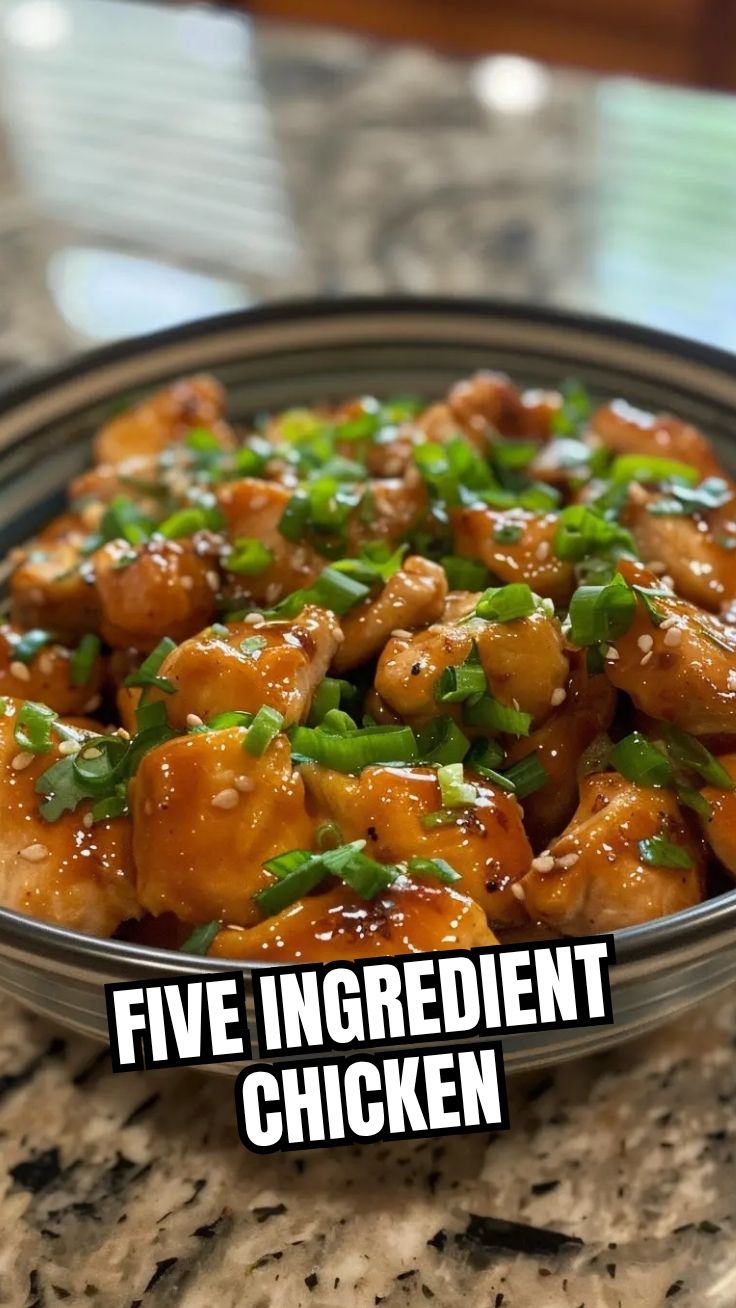
7. Serve & Garnish: Remove from heat, let rest for a few minutes. Garnish with sesame seeds and chopped green onions if desired. Serve hot with your favorite sides like rice or steamed vegetables.
Nutritional Benefits & Advantages
This homemade Honey Garlic Chicken isn’t just delicious; it offers several nutritional advantages. Chicken is an excellent source of lean protein, essential for muscle repair and growth. Garlic and ginger are packed with antioxidants and anti-inflammatory compounds, known for their immune-boosting properties. While honey provides natural sweetness, it also contains trace minerals and antioxidants. By making it at home, you control the amount of sodium and sugar, avoiding the excessive levels often found in restaurant versions, making it a healthier choice.
Tips, Variations & Cooking Advice
- Crispier Skin: For extra crispy skin, pat the chicken pieces very dry with paper towels before searing. You can also broil the chicken for 2-3 minutes at the end, after saucing, for an even crisper finish.
- Spicy Kick: Add a pinch of red pepper flakes or a dash of sriracha to the sauce for a delightful spicy variation.
- Vegetable Boost: Toss in some broccoli florets, snap peas, or bell peppers during the last 10 minutes of cooking for a complete meal in one pan.
- Gluten-Free: Use tamari instead of soy sauce and ensure your cornstarch is certified gluten-free.
- Dairy-Free: This recipe is naturally dairy-free!
- Portion Control: Serve with a generous portion of vegetables or a light salad to keep the meal balanced.
Common Mistakes to Avoid
- Overcrowding the Pan: Leads to steaming instead of searing, resulting in pale, rubbery chicken. Cook in batches if your skillet isn’t large enough.
- Not Marinating Long Enough: While 30 minutes is a minimum, a longer marination truly infuses the chicken with flavor. Don’t skip it if you can help it!
- Undercooking or Overcooking the Chicken: Use a meat thermometer to ensure the chicken reaches 165°F (74°C) internal temperature. Overcooked chicken will be dry.
- Too Much Sauce Thickener: Add the cornstarch slurry gradually, stirring constantly, until you reach your desired consistency. You can always add more, but it’s hard to thin it out once too thick.
Storage & Meal Prep Tips
This Honey Garlic Chicken is fantastic for meal prep!
- Refrigeration: Store cooled leftovers in airtight containers in the refrigerator for up to 3-4 days. The sauce will continue to flavor the chicken beautifully.
- Freezing: For longer storage, freeze the cooked chicken and sauce in freezer-safe containers for up to 2-3 months. Thaw overnight in the refrigerator before reheating.
- Reheating: Gently reheat on the stovetop over low heat, adding a splash of water or broth if the sauce has thickened too much. You can also microwave in short bursts, stirring occasionally, until heated through.
Conclusion
There you have it – a foolproof guide to creating an absolutely scrumptious Honey Garlic Chicken right in your own kitchen. Mastering the art of the perfect Honey Garlic Sauce elevates this dish from simple to sensational, promising a flavorful meal every time. We hope this recipe empowers you to ditch the takeout and embrace the joy of home cooking. Give it a try this week, and don’t forget to share your delicious results with us! Happy cooking!
FAQs
Q1: Can I use boneless, skinless chicken breasts instead?
A1: Yes, you can! Adjust cooking time to about 15-20 minutes, as breasts cook faster. Be careful not to overcook them to prevent dryness.
Q2: My sauce isn’t thickening. What should I do?
A2: Ensure your sauce is simmering gently and that your cornstarch slurry was well-mixed. If it’s still too thin, mix another ½ tablespoon of cornstarch with 1 tablespoon of cold water, and slowly whisk it into the simmering sauce.
Q3: Can I make this a spicier version?
A3: Absolutely! Add a teaspoon of red pepper flakes or a tablespoon of sriracha to the sauce mixture for an extra kick. Adjust to your heat preference.
Q4: How can I make this recipe healthier?
A4: Use low-sodium soy sauce, opt for boneless, skinless chicken breasts, and reduce the amount of honey slightly. Serve with plenty of steamed or roasted vegetables.
Q5: What are good side dishes for Honey Garlic Chicken?
A5: Steamed jasmine or brown rice, quinoa, roasted broccoli, green beans, a simple side salad, or mashed potatoes all pair wonderfully with this flavorful chicken.