Master the Art of Homemade Buffalo Wings: Your Ultimate Guide
Are you ready to transform your kitchen into the ultimate sports bar, serving up wings so good even your favorite restaurant will be jealous? While the convenience of ordering takeout is tempting, there’s an unparalleled satisfaction that comes with crafting your own batch of spicy, tangy Buffalo Wings right in your own home. Not only do you get to control the quality of ingredients, but you can also tailor the heat level and flavor profile of your Buffalo Sauce to perfection. This comprehensive guide will walk you through every step, ensuring you achieve crispy, juicy wings every time. Get ready to elevate your culinary game and impress everyone with your homemade creation!
Ingredients & Kitchen Tools
Crafting the perfect batch of wings starts with the right ingredients and equipment.
Ingredients:
- 2 lbs Chicken Wings: Opt for whole wings and separate them into flats and drumettes for even cooking, or buy pre-cut wings.
- ½ cup All-Purpose Flour: Provides a light coating for crispiness.
- 1 tsp Garlic Powder: Adds a savory depth of flavor to the wing coating.
- ½ tsp Paprika: Contributes mild sweetness and color.
- Salt and Freshly Ground Black Pepper: To taste, essential for seasoning the chicken.
- 1 stick (½ cup) Unsalted Butter: The base for a rich and emulsified sauce.
- ½ cup Frank’s RedHot Original Hot Sauce: The iconic foundation for authentic Buffalo flavor.
- 1 tbsp White Vinegar: Balances the richness of the butter and brightens the sauce.
- ½ tsp Worcestershire Sauce: Adds umami and complexity.
- ¼ tsp Cayenne Pepper (optional): For an extra kick if you like it hotter.
- Celery and Carrot Sticks: Classic accompaniments for a refreshing crunch.
- Blue Cheese Dressing or Ranch Dressing: Essential for dipping.
Kitchen Tools & Utensils:
- Large Mixing Bowl: For tossing wings with seasoning.
- Baking Sheet with Wire Rack: Crucial for airflow and achieving crispy skin without deep-frying.
- Large Pot or Dutch Oven (if deep-frying): For heating oil safely.
- Deep-Fry Thermometer (if deep-frying): To monitor oil temperature accurately.
- Tongs: For handling hot wings and tossing.
- Small Saucepan: For preparing the Buffalo sauce.
- Whisk: To emulsify the sauce ingredients.
- Paper Towels: For draining excess oil.
Prep Time & Cooking Schedule
Planning is key for perfect wings. This recipe is designed for ease and flavor.
- Prep Time: 15 minutes (includes separating wings, seasoning, and sauce prep)
- Cook Time: 45-55 minutes (for baking, deep-frying can be faster but requires more active monitoring)
- Resting Time: 5 minutes (after baking/frying, before tossing in sauce)
Allocate about 1 hour and 15 minutes from start to finish. If baking, you can prep your sauce and sides while the wings are in the oven.
Step-by-Step Instructions
Let’s get those wings crispy and coated in glorious sauce!
1. Prepare the Wings: If using whole wings, separate them into drumettes and flats at the joint. Pat them thoroughly dry with paper towels; this is a critical step for crispy skin!
2. Season the Wings: In a large bowl, combine the flour, garlic powder, paprika, salt, and black pepper. Add the dried chicken wings and toss until evenly coated.
3. Bake for Crispy Perfection (Recommended): Preheat your oven to 400°F (200°C). Arrange the coated wings in a single layer on a wire rack placed over a baking sheet. Bake for 45-55 minutes, flipping halfway through, until golden brown and crispy. Internal temperature should reach 165°F (74°C).
4. Prepare the Buffalo Sauce: While the wings are baking, melt the butter in a small saucepan over medium-low heat. Once melted, stir in the Frank’s RedHot, white vinegar, Worcestershire sauce, and cayenne pepper (if using). Whisk until smooth and thoroughly combined. Keep warm over very low heat.
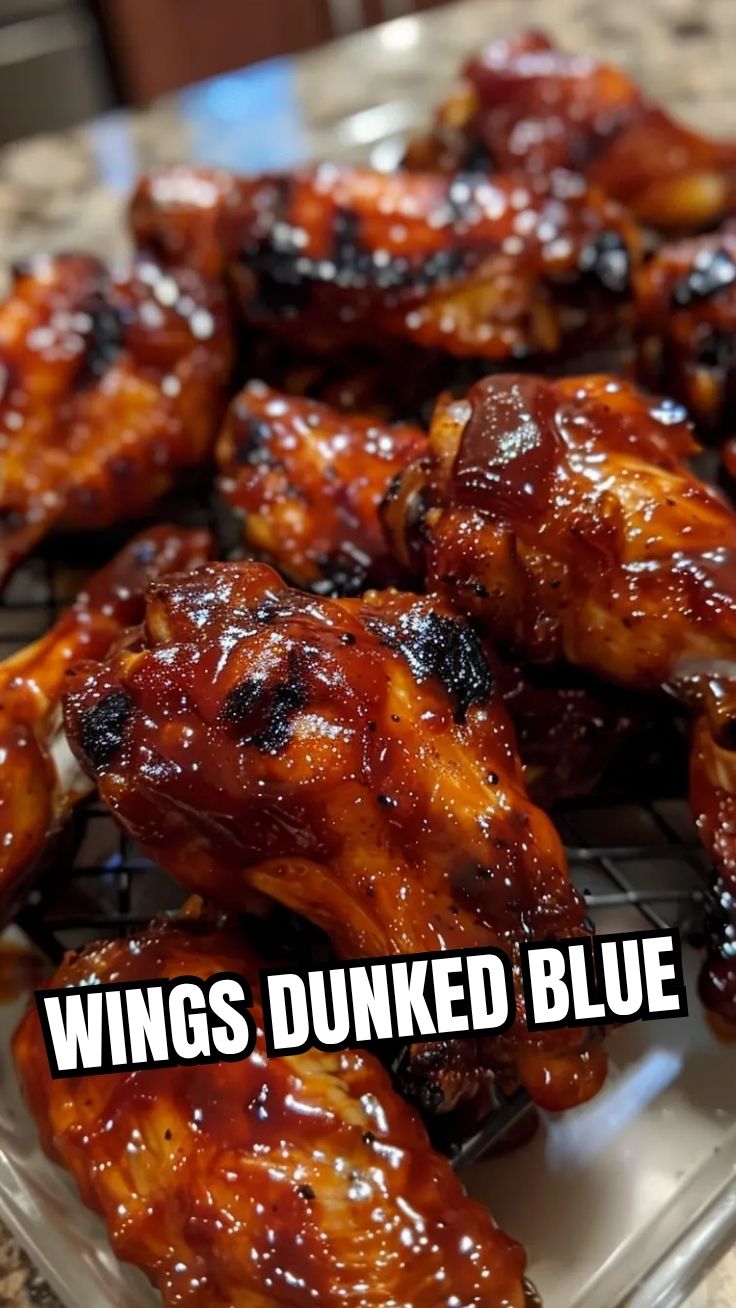
5. Toss and Serve: Once the Buffalo Wings are cooked, transfer them to a large clean bowl. Pour the warm Buffalo sauce over the wings and toss gently with tongs until each wing is completely coated. Serve immediately with celery and carrot sticks and your favorite blue cheese or ranch dressing.
Nutritional Benefits & Advantages
While often seen as comfort food, homemade Buffalo wings can offer some surprising benefits. Chicken wings are a good source of protein, essential for muscle repair and growth. Opting for oven-baked wings significantly reduces the fat content compared to deep-fried versions, making them a healthier choice. Frank’s RedHot, the base for our sauce, is relatively low in calories and adds a metabolism-boosting kick from the capsaicin.
Tips Variations & Cooking Advice
- Air Fryer Method: For extra crispiness with less oil, cook wings in an air fryer at 375°F (190°C) for 20-25 minutes, shaking the basket occasionally.
- Flavor Variations: Experiment with different hot sauces (e.g., sriracha, chipotle) or add a touch of honey for a sweet-spicy kick. Grate some fresh ginger and garlic into the sauce for an Asian-inspired twist.
- Gluten-Free: Substitute all-purpose flour with a gluten-free flour blend or cornstarch for coating.
- Low-Carb: Skip the flour coating entirely and bake the wings plain, relying on the rendered fat for crispiness.
- Vegetarian Option: Toss cauliflower florets in the same preparation and baking method for delicious vegetarian “Buffalo wings.”
Common Mistakes to Avoid
- Not Drying the Wings: This is the number one culprit for soggy wings. Pat them bone-dry!
- Overcrowding the Baking Sheet: Give your wings space. Overcrowding steams them instead of making them crispy. Use two sheets if necessary.
- Sauce Too Cold: A cold sauce won’t adhere properly to hot wings and results in a less appealing texture. Keep it warm.
- Undercooking Wings: Always ensure chicken reaches an internal temperature of 165°F (74°C) for food safety.
Storage & Meal Prep Tips
Leftover wings can be surprisingly good! Store them in an airtight container in the refrigerator for up to 3-4 days. To reheat, the air fryer or oven works best to revive their crispness. Place them on a wire rack in your air fryer at 350°F (175°C) for 5-7 minutes, or in a preheated oven at 375°F (190°C) for 10-15 minutes, until heated through and crispy again. Freezing is possible but often compromises the texture, making them a bit chewier upon reheating.
Conclusion
Mastering homemade Buffalo Wings is a skill that will pay dividends in deliciousness. By following these detailed steps, you’ll consistently achieve restaurant-quality results, with perfectly crispy wings drenched in a vibrant, flavorful Buffalo Sauce. Don’t just dream about mouth-watering wings; make them a reality in your own kitchen! Try this recipe tonight and share your triumph with us!
FAQs
Q1: Can I deep-fry these wings instead of baking?
A1: Absolutely! Heat oil in a deep pot to 350°F (175°C). Fry wings in batches for 8-10 minutes until golden brown and cooked through.
Q2: What’s the secret to extra crispy wings?
A2: Drying them thoroughly before seasoning, using a wire rack for baking to ensure airflow, and cooking them at a high temperature are key.
Q3: Can I make the Buffalo sauce ahead of time?
A3: Yes, you can prepare the sauce and store it in the refrigerator for up to a week. Gently reheat it on the stovetop before tossing with the cooked wings.
Q4: What are good side dishes for Buffalo wings?
A4: Besides carrots and celery, consider serving with a fresh green salad, potato wedges, or even a classic macaroni and cheese.
Q5: My wings aren’t as spicy as I’d like. How can I fix that?
A5: Increase the amount of Frank’s RedHot sauce or add more cayenne pepper to the sauce. You can also incorporate a pinch of dried chili flakes.