Mastering the Art of Perfect BBQ Ribs: A Comprehensive Guide
Ever wondered how those tender, fall-off-the-bone BBQ Ribs from your favorite smokehouse are made? What if I told you achieving that level of smoky perfection and succulent flavor is entirely possible right in your backyard, with your trusty grill? Preparing your own BBQ Ribs at home offers not only an incredibly satisfying culinary experience but also complete control over ingredients, seasonings, and cooking methods. This comprehensive guide will walk you through every step of creating mouth-watering ribs, ensuring an unforgettable feast for your family and friends. We’ll delve into the secrets of optimal grilling techniques, ingredient selection, and expert tips to transform you into a rib master.
Ingredients & Kitchen Tools
To embark on your BBQ Ribs journey, gather these essentials:
- 2 racks (about 2.5-3 lbs each) Pork Spare Ribs or Baby Back Ribs: Choose ribs with good meat coverage and minimal exposed bone.
- For the Dry Rub:
* 2 tablespoons brown sugar (adds sweetness and helps caramelize)
* 1 tablespoon smoked paprika (for color and smoky depth)
* 1 tablespoon garlic powder (aromatic essential)
* 1 tablespoon onion powder (enhances savory notes)
* 1 teaspoon black pepper (freshly ground is best)
* 1 teaspoon cayenne pepper (optional, for a subtle kick)
* 1 teaspoon salt (kosher or sea salt preferred)
* ½ teaspoon dry mustard (enhances meat flavor)
- For the Mopping Liquid (optional, for extra moisture):
* ½ cup apple cider vinegar (tenderizes and adds tang)
* ½ cup apple juice (sweetness and moisture)
* 2 tablespoons Worcestershire sauce (umami depth)
- 1-2 cups of your favorite BBQ Sauce: Homemade or store-bought, for saucing the ribs.
- Kitchen Tools:
* Large baking sheet or tray
* Aluminum foil (heavy-duty is recommended)
* Basting brush or silicone brush (for applying mopping liquid and BBQ sauce)
* Meat thermometer (instant-read is ideal for accuracy)
* Sharp knife (for separating ribs)
* Tongs (for handling hot ribs on the grill)
* Spray bottle (optional, for misting ribs with mopping liquid)
* Grill with a lid (charcoal or gas, capable of indirect heat grilling)
* Wood chips (hickory or applewood, optional, for added smoke flavor)
Prep Time & Cooking Schedule
Achieving perfect ribs requires patience and strategic timing. Planning your cooking schedule is crucial for a stress-free experience.
- Prep Time: 20-30 minutes (includes removing membrane, applying rub)
- Marinating Time: Minimum 2 hours, ideally overnight (for deeper flavor penetration)
- Cook Time (Smoking/Grilling Indirectly): 4-6 hours (depending on rib type and grill temperature)
- Saucing/Finishing Time: 20-30 minutes
- Resting Time: 15-20 minutes
Total Time: Approximately 5-7 hours (plus marinating)
Plan to start your ribs well in advance of your mealtime, as the slow cooking process is key to tenderness.
Step-by-Step Instructions
1. Prepare the Ribs:
* Remove the Membrane: This is the most crucial step for tender ribs. On the bone-side of each rack, locate the thin membrane. Use a butter knife to lift an edge, then grasp with a paper towel and peel it off. This prevents the ribs from becoming tough.
* Trim Excess Fat: Trim any large pockets of hard fat, but leave some marbling for flavor.
2. Apply the Dry Rub: In a small bowl, combine all dry rub ingredients. Generously coat both sides of the ribs with the rub, massaging it in. For the best flavor, refrigerate for at least 2 hours, or preferably overnight.
3. Prepare Your Grill for Indirect Heat:
* Charcoal Grill: Arrange briquettes on one side of the grill, leaving the other side empty. Preheat to 250-275°F (120-135°C). Add soaked wood chips to the hot coals for smoke.
* Gas Grill: Light burners on one side leaving burners on the other side off. Preheat to 250-275°F (120-135°C). Use a smoker box with wood chips for smoke, if desired.
4. Slow Cook/Smoke the Ribs (3-2-1 Method for Spare Ribs, 2-2-1 for Baby Backs):
* Phase 1 (Smoke): Place the seasoned BBQ Ribs bone-side down on the indirect heat side of the grill. Close the lid and maintain a consistent temperature of 250-275°F. Cook for 3 hours (Spare) or 2 hours (Baby Back), spritzing with the optional mopping liquid every hour to keep them moist.
* Phase 2 (Wrap & Tenderize): Remove the ribs from the grill. Lay out large sheets of heavy-duty aluminum foil. Place each rack on a sheet, spritz with more mopping liquid, then wrap tightly, creating a sealed pouch. Return to the indirect heat side of the grill and cook for another 2 hours. This steaming process significantly tenderizes the meat.
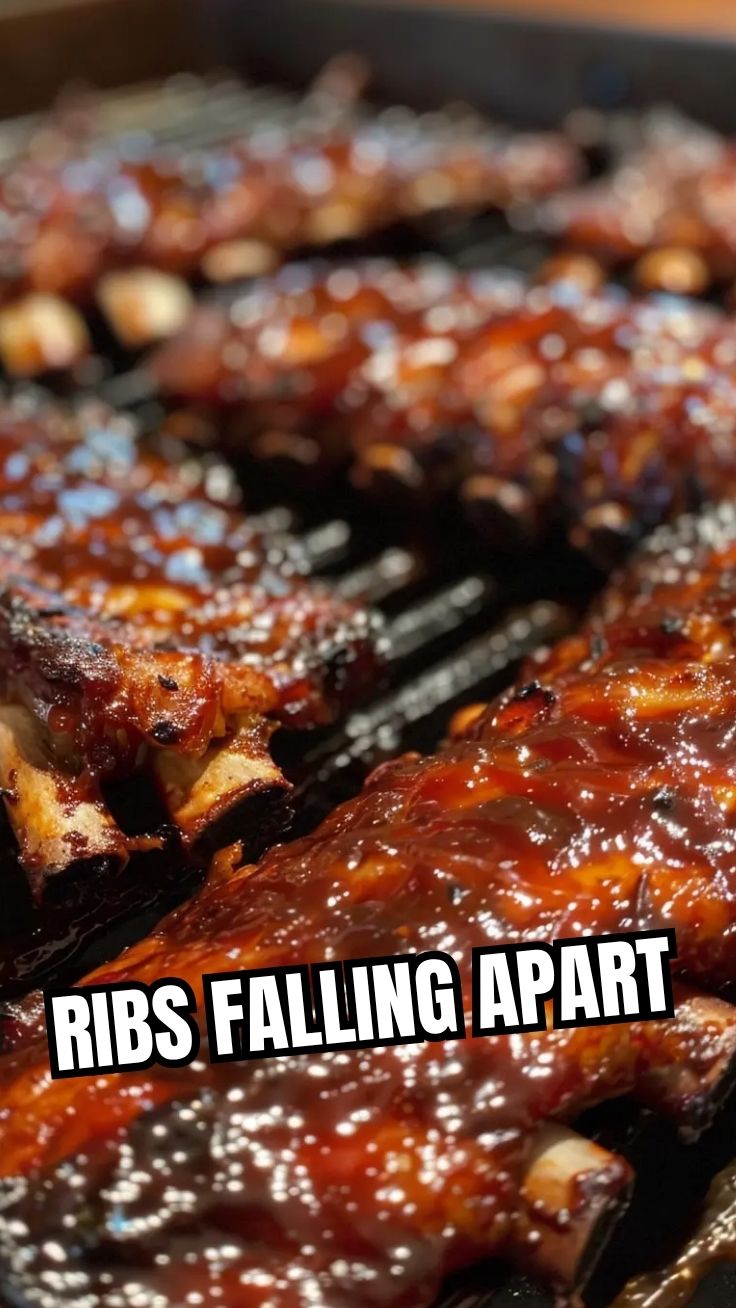
* Phase 3 (Sauce & Finish): Carefully unwrap the ribs (watch for hot steam). Generously baste both sides with your favorite BBQ sauce. Return the unwrapped ribs to the indirect heat side of the grill and cook for 1 hour. This allows the sauce to caramelize and set. For the last 15-20 minutes, if desired, you can move the ribs directly over medium heat for a few minutes per side to get a nice char and sticky glaze on the sauce. Be careful not to burn them.
5. Rest and Serve: Transfer the finished ribs to a clean cutting board. Cover loosely with foil and let them rest for 15-20 minutes. This allows the juices to redistribute, ensuring maximum tenderness. Slice between the bones and serve immediately. Enjoy the fruits of your incredible grilling effort!
Nutritional Benefits & Advantages
Pork ribs, when prepared properly, offer a good source of protein, essential for muscle repair and growth. They also provide valuable B vitamins, including B12, niacin, and thiamine, which are crucial for energy metabolism and nervous system function. While ribs do contain fat, a significant portion is monounsaturated, similar to olive oil, when trimmed correctly. Making your own ribs at home also allows you to control the amount of sugar and sodium in the rub and sauce, a major advantage over many store-bought options or restaurant versions.
Tips, Variations & Cooking Advice
- Flavor Variations: Experiment with different wood chips (apple, cherry, mesquite) for varying smoky profiles. Try a spicier rub with extra cayenne or chili powder.
- Alternative Cooking Methods: If grilling isn’t an option, you can bake ribs in the oven at 275°F (135°C) for 3-4 hours after wrapping, then finish under the broiler or on a hot grill for charring.
- Sauce Control: Apply BBQ sauce in the final stage to prevent it from burning due to high sugar content.
- Dietary Adaptations: For a gluten-free version, ensure your BBQ sauce and all rub ingredients are certified gluten-free. For lower-sugar options, opt for sugar-free BBQ sauces or make your own with alternative sweeteners.
- Doneness Test: Ribs are done when the meat pulls back from the bone slightly, and a skewer inserted between the bones meets little resistance. An internal temperature of 195-203°F (90-95°C) indicates perfectly tender, rendered ribs.
Common Mistakes to Avoid
- Not Removing the Membrane: This is the cardinal sin of rib cooking. Always remove it!
- Cooking Too Hot, Too Fast: Ribs need low and slow heat to breakdown connective tissue and become tender. High heat will result in tough, dry ribs.
- Over-Saucing Early: Applying sauce too early will lead to burnt, bitter flavors.
- Skipping the Rest: Resting allows the juices to redistribute, keeping your ribs juicy. Cutting them too soon results in dry meat.
- Inconsistent Temperature: Fluctuating grill temperatures can lead to uneven cooking. Use a reliable grill thermometer.
Storage & Meal Prep Tips
Leftover BBQ Ribs can be stored in an airtight container in the refrigerator for up to 3-4 days. For longer storage, freeze ribs wrapped tightly in plastic wrap and then in foil for up to 3 months. To reheat, thaw frozen ribs in the refrigerator overnight. Reheat in a preheated oven at 275°F (135°C) until warmed through, or on a grill over indirect heat. A little extra BBQ sauce can be added to refresh them.
Conclusion
Crafting perfect BBQ Ribs at home truly is an achievable culinary triumph. By following these detailed steps, understanding the nuances of temperature control, and embracing the “low and slow” philosophy of grilling, you’re well on your way to creating dishes that will earn you rave reviews. Don’t be afraid to experiment with rubs and sauces to personalize your recipe. We encourage you to try this ultimate guide to rib mastery and share your delicious results with us! Happy grilling!
FAQs
Q1: What’s the difference between Spare Ribs and Baby Back Ribs?
A1: Spare Ribs are larger, meatier, and fattier, coming from the belly of the pig. Baby Back Ribs are leaner, smaller (closer to the loin), and generally more tender and quicker to cook.
Q2: Can I use a smoker instead of a grill?
A2: Absolutely! A dedicated smoker provides even more consistent low heat and smoke, which is ideal for ribs. Follow the same temperature guidelines.
Q3: My ribs are tough, what went wrong?
A3: Tough ribs are usually a result of not removing the membrane, not cooking them long enough, or cooking at too high a temperature. Patience and low, slow heat are key.
Q4: How do I know when the internal temperature is correct?
A4: While a thermometer reading of 195-203°F indicates doneness, the “bend test” is also reliable: if you pick up a rack with tongs in the middle, it should bend significantly and almost break.
Q5: What if I don’t have wood chips for smoking?
A5: You can still achieve delicious ribs without wood chips. The dry rub and slow cooking process will provide plenty of flavor. The smoky flavor from wood chips is an enhancement, not a requirement.