Unlock the Secret to Perfect Baby Back Ribs: Your Ultimate Guide!
Ever wondered how to achieve that fall-off-the-bone tenderness and rich, smoky flavor you crave in Baby Back Ribs without stepping foot in a restaurant? Preparing them at home isn’t just about saving money; it’s about mastering a culinary art that brings immense satisfaction and incredible flavors to your kitchen. Imagine the aroma filling your home, the anticipation building, and that first bite of perfectly cooked, succulent Baby Back Ribs. This comprehensive guide will walk you through every step, ensuring your homemade Baby Back Ribs are nothing short of spectacular, rivaling any high-end smokehouse. Get ready to impress your family and friends with a dish that screams flavor and expertise. And let’s not forget the versatility of a good BBQ Ribs recipe – it’s a crowd-pleaser for any occasion.
Ingredients & Kitchen Tools
Here’s everything you’ll need to create your masterpiece:
- 2 racks (about 2-3 lbs each) Baby Back Ribs: Look for well-marbled ribs for the best flavor and tenderness.
- 2 tbsp Smoked Paprika: Adds a beautiful color and smoky depth.
- 1 tbsp Garlic Powder: Essential aromatic.
- 1 tbsp Onion Powder: Enhances savory notes.
- 1 tbsp Brown Sugar: Balances the rub and aids in caramelization.
- 1 tsp Cumin: Earthy and warm spice.
- 1 tsp Black Pepper: Freshly ground is always best.
- 1 tsp Salt: Coarse sea salt or kosher salt works well.
- 1/2 cup Apple Cider Vinegar (or apple juice): For spritzing, adds moisture and tang.
- 1 cup your favorite BBQ Sauce: For glazing. Homemade or store-bought, choose one you love.
- Optional – 1/4 cup Yellow Mustard: As a binder for the rub.
Kitchen Tools:
- Large Baking Sheet/Roasting Pan: To hold the ribs.
- Aluminum Foil: Essential for tenderizing and wrapping.
- Basting Brush: For applying BBQ sauce.
- Meat Thermometer: For ensuring proper internal temperature (though ribs are often judged by tenderness).
- Spray Bottle: For spritzing during cooking.
- Sharp Knife: For portioning.
Prep Time & Cooking Schedule
- Prep Time: 20 minutes (includes membrane removal and rub application).
- Marinating Time (Optional): 2-4 hours or overnight for deeper flavor.
- Cook Time: 2.5 – 3.5 hours (depending on method and desired tenderness).
- Resting Time: 15-20 minutes after cooking.
Plan accordingly! For best results, start your prep in the morning if you want ribs for dinner. Marinating overnight significantly boosts flavor penetration.
Step-by-Step Instructions
1. Prepare the Ribs: Pat the racks of Baby Back Ribs dry with paper towels. On the bone-side, locate the thin membrane. Using a butter knife gently pry up a corner of the membrane, then grab it with a paper towel and peel it completely off. This step is crucial for tender ribs.
2. Apply the Binder (Optional): If using, generously spread a thin layer of yellow mustard on both sides of the ribs. This acts as an excellent binder for your rub but won’t impart a mustard flavor.
3. Create and Apply the Rub: In a small bowl, combine smoked paprika, garlic powder, onion powder, brown sugar, cumin, black pepper, and salt. Mix thoroughly. Generously coat both sides of the ribs with the rub, pressing it gently to adhere.
4. Marinate (Optional): Place the rubbed ribs in a large sealed bag or covered dish in the refrigerator for at least 2 hours, or preferably overnight.
5. Preheat & Set Up: Preheat your oven to 275°F (135°C) or prepare your smoker/grill for indirect heat.
6. The Cooking Process:
* Oven Method: Place each rack on a large piece of heavy-duty aluminum foil. Bring the long sides up and crimp them together to form a sealed packet, leaving a little room for air circulation. Place the foil packets on a baking sheet. Cook for 2.5-3 hours, or until very tender.
* Smoker/Grill Method: Place the ribs directly on the grates, bone-side down, over indirect heat. Maintain a consistent temperature of 225-250°F (107-121°C). Spritz with apple cider vinegar every 45-60 minutes to maintain moisture. Cook for approximately 2-2.5 hours, then transfer to foil, spritz, and continue cooking for another 1-1.5 hours in the foil until tender.
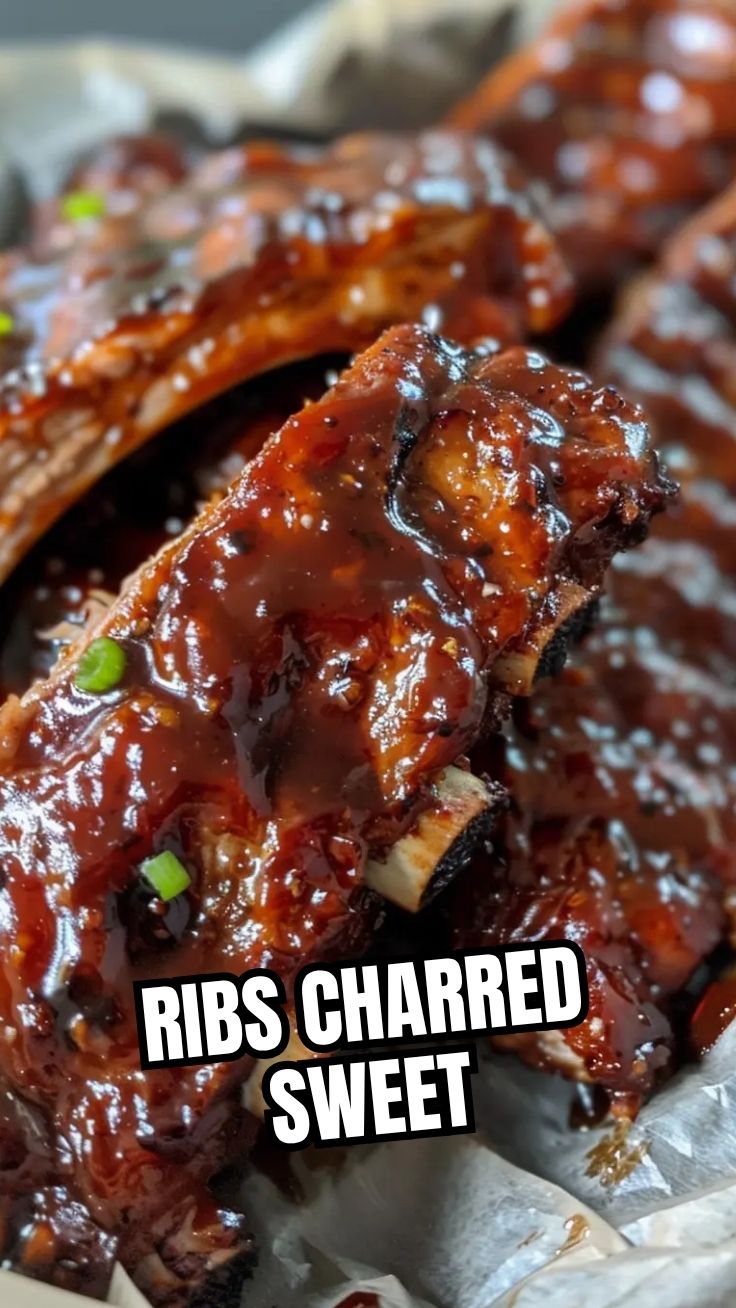
7. The “Saucing” Phase: Once the ribs are tender (they should bend easily and the meat should have pulled back from the bones), carefully unwrap them (if using foil). Increase oven temperature to 375°F (190°C) or move to direct heat on the grill (medium-low). Baste generously with your favorite BBQ Ribs sauce. Return to the heat source for 15-20 minutes, flipping once, until the sauce caramelizes and becomes slightly tacky. Watch carefully to prevent burning.
8. Rest & Serve: Remove the ribs from the heat, tent loosely with foil, and let them rest for 15-20 minutes. This allows the juices to redistribute, ensuring maximum tenderness. Slice between the bones and serve immediately.
Nutritional Benefits & Advantages
Baby Back Ribs are a significant source of protein, essential for muscle building and repair. While they contain fat, a moderate portion can be part of a balanced diet. Pork ribs also provide important B vitamins, particularly B12, which is crucial for nerve function and red blood cell formation, and minerals like zinc and phosphorus. Preparing them at home gives you complete control over ingredients, allowing you to choose lower-sodium rubs or sugar-free BBQ sauces, making them a healthier alternative to many restaurant versions.
Tips, Variations & Cooking Advice
- Smoking Wood: For extra flavor, use apple, cherry, or hickory wood chips/chunks if smoking or grilling.
- Spice Level: Adjust the amount of black pepper or add a pinch of cayenne for a spicy kick.
- Gluten-Free: Ensure your BBQ sauce and rub are certified gluten-free.
- Alternative Cooking Methods:
* Instant Pot: Pressure cook for 25-30 minutes with a cup of liquid, then finish under a broiler or grill for caramelization.
* Sous Vide: Cook at 145°F (63°C) for 12-24 hours, then sear or finish on the grill.
Common Mistakes to Avoid
- Not Removing the Membrane: This results in tough, chewy ribs. Don’t skip this step!
- Overcooking/Undercooking: While tenderness is key, avoid cooking until they are mushy. They should still have a slight structure. Undercooked ribs will be tough.
- Lack of Resting Time: Cutting into ribs immediately means juices will run out, leading to drier meat. Be patient!
- Burning the BBQ Sauce: Sugar in BBQ sauce burns quickly. Watch carefully during the final glazing phase, especially on a grill.
Storage & Meal Prep Tips
Leftover Baby Back Ribs can be stored in an airtight container in the refrigerator for 3-4 days. For longer storage, freeze them for up to 2-3 months. To reheat, wrap in foil and warm in a 275°F (135°C) oven until heated through, or gently reheat on a grill/smoker. Adding a little extra BBQ sauce during reheating can help maintain moisture. These ribs also make fantastic meal prep, offering a delicious protein source for quick dinners or lunches.
Conclusion
Mastering homemade Baby Back Ribs is a truly rewarding experience, transforming a simple cut of meat into an extraordinary meal. By following these detailed steps, you’ll achieve succulent, flavorful, and perfectly tender ribs every time. Whether you’re aiming for a classic smoky flavor or a tangy BBQ Ribs experience, this guide provides the foundation for culinary success. Don’t hesitate to experiment with your favorite rubs and sauces to personalize this recipe. Try it out this weekend and share your amazing results – your taste buds will thank you!
FAQs
Q1: Can I make this recipe without a smoker?
A1: Absolutely! The oven method described above yields incredibly tender ribs. You can still impart a smoky flavor by using smoked paprika in your rub or a liquid smoke product.
Q2: What’s the best way to tell if the ribs are done?
A2: The most reliable method is the “bend test.” When you pick up a rack of ribs with tongs in the middle, they should bend significantly, and the meat should start to tear easily. The meat should also have pulled back from the ends of the bones.
Q3: Can I prepare the rub in advance?
A3: Yes, you can mix the dry rub ingredients and store them in an airtight container for several weeks. This makes prep even quicker on cooking day.
Q4: My ribs didn’t get as tender as I wanted. What went wrong?
A4: Most likely, they needed more cooking time. Ribs primarily rely on low and slow cooking to break down the tough connective tissues. Ensure your cooking temperature is consistent and extend the cooking time if needed.
Q5: What are some good side dishes to serve with ribs?
A5: Classic pairings include coleslaw, corn on the cob, baked beans, macaroni and cheese, potato salad, or a fresh green salad to balance the richness.