Craving the Creamiest Dreamiest Vanilla?
Ever wondered if that velvety smooth, intensely flavorful vanilla ice cream you dream about could actually be made in your own kitchen? The answer is a resounding yes! Forget artificial flavors and questionable ingredients; mastering Homemade Ice Cream (Vanilla) isn’t just about a delicious dessert, it’s about crafting a truly personalized culinary experience. This isn’t just a recipe; it’s your gateway to unlocking a new level of dessert satisfaction, a skill that transforms simple ingredients into pure magic. And trust me, once you dive into the world of homemade Ice Cream Recipes, you’ll never look back. The control over sweetness, the quality of ingredients, and the sheer joy of creating something so rich and indulgent from scratch are unparalleled. Let’s churn up some happiness!
Ingredients & Kitchen Tools
- Heavy Cream (3 cups): The backbone of our creamy delight. Opt for high-fat content cream for the best texture and richness.
- Whole Milk (1 cup): Balances the richness of the heavy cream, contributing to a smooth consistency.
- Granulated Sugar (¾ cup): Provides sweetness. Adjust to your preference.
- Egg Yolks (6 large): Create a rich custard base, preventing ice crystals and adding lusciousness.
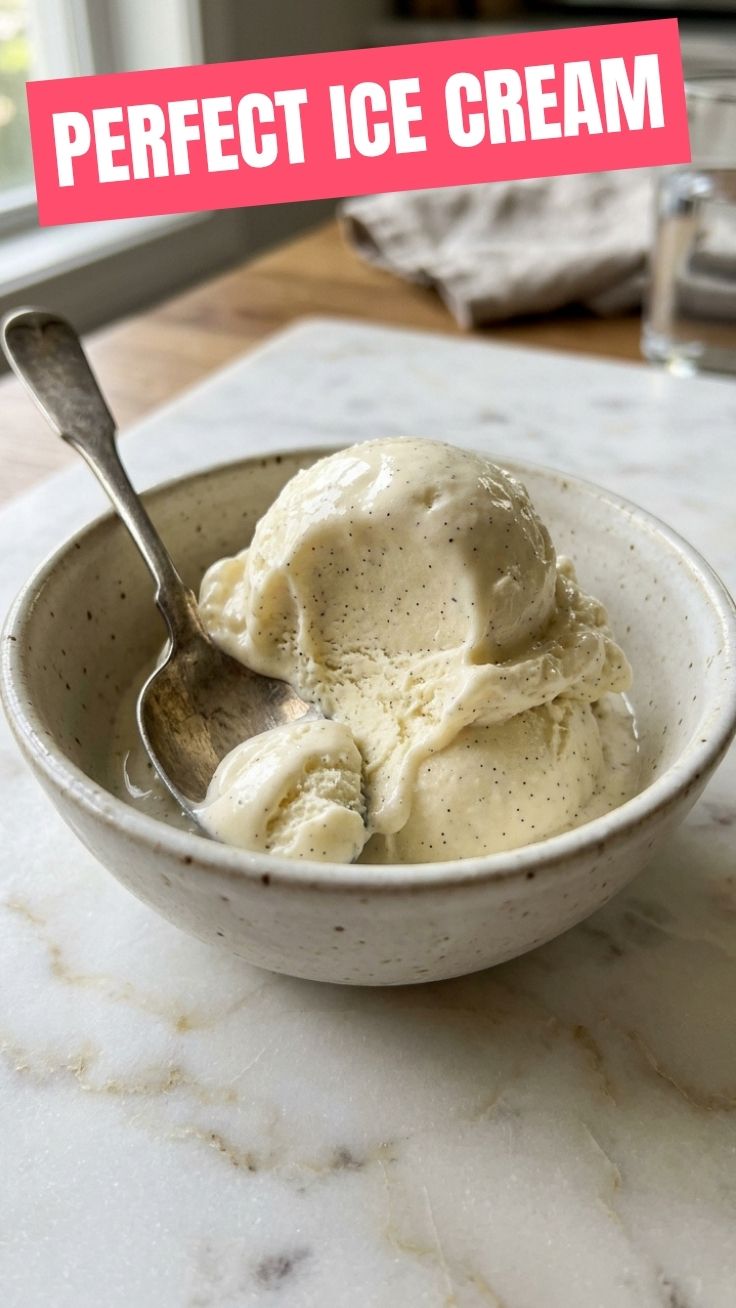
- Vanilla Extract (1 ½ tablespoons): Crucial for that quintessential vanilla flavor. Use high-quality pure vanilla extract or, even better, vanilla bean paste for speckled beauty.
- Fine Sea Salt (pinch): Enhances all the flavors.
- Large Mixing Bowls (2): For whisking ingredients and creating an ice bath.
- Whisk: For combining ingredients smoothly.
- Medium Saucepan: To gently heat the custard base.
- Rubber Spatula: For scraping bowls and stirring.
- Fine-Mesh Sieve: To strain the custard for a silky-smooth texture.
- Ice Cream Maker: Essential for churning the mixture into ice cream. (Optional: Freezer-safe container if you’re using a no-churn method.)
- Airtight Freezer Container: For storing your finished ice cream.
Prep Time & Cooking Schedule
- Prep Time: 20 minutes (Hands-on time for custard preparation).
- Cook Time: 10-15 minutes (For simmering the custard).
- Chilling Time: 4-6 hours, or preferably overnight (Crucial for the custard to cool completely before churning, ensuring a smoother ice cream).
- Churning Time: 20-30 minutes (Varies by ice cream maker model).
- Freezing/Hardening Time: 2-4 hours (After churning, for the ice cream to firm up to scoopable consistency).
Plan ahead! The chilling time for the custard is the longest phase, so prepare it the day before you intend to churn.
Step-by-Step Instructions
1. Prepare the Custard Base: In a medium saucepan, gently heat the heavy cream, whole milk, and half of the granulated sugar over medium-low heat. Stir occasionally until the sugar dissolves and small bubbles appear around the edges – do not boil.
2. Temper the Egg Yolks: While the cream mixture heats, whisk the egg yolks with the remaining granulated sugar and salt in a separate bowl until pale and slightly thickened. Gradually ladle about a cup of the warm cream mixture into the egg yolk mixture, whisking constantly to temper the yolks (this prevents them from scrambling).
3. Combine and Thicken: Pour the tempered egg yolk mixture back into the saucepan with the remaining cream. Continue to cook over medium-low heat, stirring constantly with a rubber spatula, until the custard thickens enough to coat the back of the spatula (it should reach about 175-180°F / 80-82°C). Do not boil.
4. Strain and Chill: Immediately remove the custard from the heat and pour it through a fine-mesh sieve into a clean bowl set over an ice bath. Stir occasionally until completely cooled. Once cool, stir in the vanilla extract. Cover the bowl with plastic wrap, ensuring it touches the surface of the custard to prevent a skin from forming, and refrigerate for at least 4-6 hours, or preferably overnight. This chilling step is vital for the texture of your finished Homemade Ice Cream (Vanilla).
5. Churn: Once the custard is thoroughly chilled, pour it into your pre-chilled ice cream maker bowl and churn according to the manufacturer’s instructions, usually for 20-30 minutes, until it reaches the consistency of soft-serve ice cream.
6. Harden: Transfer the freshly churned ice cream to an airtight freezer-safe container. Press a piece of parchment paper or plastic wrap directly onto the surface to prevent ice crystal formation. Freeze for another 2-4 hours, or until firm enough to scoop. Enjoy your incredible Ice Cream Recipes!
Nutritional Benefits & Advantages
Making your own vanilla ice cream offers several advantages. You control the quality of ingredients, opting for organic dairy, fresh eggs, and pure vanilla. This allows for a dessert free from artificial flavors, preservatives, and high-fructose corn syrup often found in commercial brands. While still an indulgence, the use of whole ingredients provides healthy fats and calcium from the dairy. Being able to adjust sugar levels also caters to individual dietary needs, offering a slightly less sweet option without sacrificing flavor.
Tips Variations & Cooking Advice
- Vanilla Bean Boost: For an even more intense vanilla flavor and a beautiful speckled appearance, split a vanilla bean lengthwise, scrape out the seeds, and add both the pod and seeds to the cream mixture during heating. Remove the pod before straining.
- Richer Flavor: For a truly decadent experience, consider browning the butter before adding it to the cream mixture for a nutty, complex undertone.
- Dairy-Free Option: Substitute full-fat coconut cream (chilled overnight, use only the thick cream part) for heavy cream and almond or cashew milk for whole milk. Be aware the texture will be slightly different.
- Flavor Swaps: Infuse the cream with other flavors! Think lavender, mint leaves, or even a cinnamon stick during the heating process. Simply strain them out before chilling.
- Add-Ins: After churning, gently fold in chocolate chips, chopped nuts, fresh berries, or swirl in a caramel or fudge sauce.
Common Mistakes to Avoid
- Not Chilling Thoroughly: This is the biggest culprit for icy ice cream. The colder your base is before churning, the smaller the ice crystals will be, resulting in a smoother texture.
- Overcooking the Custard: If the custard boils or cooks too long, the egg yolks can scramble, leading to a lumpy texture. Cook gently and consistently stir.
- Not Straining: Skipping the straining step can result in small cooked egg bits in your final product.
- Not Using High-Quality Vanilla: Cheap vanilla extract can make a huge difference in taste. Invest in a good quality pure vanilla extract or paste.
- Overfilling the Ice Cream Maker: The mixture expands as it churns, so leave adequate space.
Storage & Meal Prep Tips
Store your homemade vanilla ice cream in an airtight, freezer-safe container to prevent freezer burn and ice crystal formation. Press a piece of plastic wrap or parchment paper directly onto the surface before sealing. It will stay fresh and delicious for up to two weeks. For the best scoopable texture, let it sit at room temperature for 5-10 minutes before serving. This recipe is not ideal for meal prepping in the traditional sense, as it’s best enjoyed fresh, but preparing the custard base ahead of time is perfectly feasible.
Conclusion
There’s an undeniable satisfaction in crafting something truly exceptional from scratch, and Homemade Ice Cream (Vanilla) is no exception. This recipe empowers you to create a dessert that surpasses anything store-bought, offering a purity of flavor and a silky texture that’s simply irresistible. We hope you feel inspired to explore the delightful world of Ice Cream Recipes and make this classic a staple in your home. Share your creations, experiment with variations, and most importantly, savor every delicious scoop!
FAQs
Q1: Why do I need to temper the egg yolks?
A1: Tempering gradually warms the egg yolks, preventing them from scrambling when added to the hot cream mixture, ensuring a smooth custard.
Q2: Can I make this without an ice cream maker?
A2: While an ice cream maker yields the best results, you can make a no-churn version. Freeze the chilled base in a shallow pan, then scrape and whisk it every 30-45 minutes for 3-4 hours until creamy. The texture won’t be as smooth but will still be delicious.
Q3: My ice cream is icy. What went wrong?
A3: The most common reasons for icy ice cream are insufficient chilling time of the custard base, or that the ice cream maker bowl wasn’t cold enough. Ensure your base is thoroughly chilled and your ice cream maker bowl is frozen solid.
Q4: Can I reduce the sugar?
A4: Yes, you can slightly reduce the sugar to ½ cup, but keep in mind sugar contributes to the overall texture and helps prevent ice crystals. Reducing it significantly may result in a harder, icier ice cream.