Unlock the Secret to Perfect Homemade Teriyaki Chicken: A Flavorful Journey Awaits!
Ever wondered how to capture that elusive, savory-sweet magic of restaurant-quality teriyaki right in your own kitchen? Preparing dishes like this at home offers unparalleled freshness, control over ingredients, and a truly personalized culinary experience. Today, we’re diving deep into the art of crafting not just a meal, but a memorable Teriyaki Chicken experience that will delight your taste buds and impress your family. Forget store-bought sauces and processed ingredients – with our guide, you’ll master the creation of a tender, glistening chicken dish that’s both healthy and incredibly satisfying. We’ll show you how to achieve that perfect balance, whether you’re aiming for a pan-seared sensation or a beautifully Grilled Chicken creation.
Ingredients & Kitchen Tools
To embark on this delicious journey, gather the following:
Boneless, Skinless Chicken Thighs (1.5 lbs): Our star ingredient! Thighs offer more flavor and tend to stay juicier than breasts. Substitution: Chicken breasts for a leaner option, adjust cooking time accordingly.*
Soy Sauce (1/2 cup): The salty foundation of our teriyaki. Clarification: Use low-sodium soy sauce to control salt levels.*
Mirin (1/4 cup): A sweet Japanese rice wine crucial for authentic teriyaki flavor. Substitution: Dry sherry or a pinch of sugar with rice vinegar for a similar effect.*
Sake (2 tablespoons): Another Japanese rice wine, adding depth and umami. Substitution: White wine or chicken broth.*
Brown Sugar (2 tablespoons): Provides sweetness and helps create that beautiful glaze. Clarification: Light or dark brown sugar works equally well.*
Fresh Ginger (1 tablespoon, grated): Pungent and aromatic, a must for freshness. Clarification: Use a microplane for best results.*
- Fresh Garlic (2 cloves, minced): Essential aromatic for a robust flavor base.
Cornstarch (1 tablespoon): Used to thicken the sauce to perfection. Substitution: Arrowroot powder for a gluten-free option.*
- Water (2 tablespoons): To mix with cornstarch for a slurry.
Sesame Oil (1 teaspoon): Adds a nutty, aromatic finish. Clarification: A little goes a long way!*
- Green Onions (for garnish): Sliced, for a pop of color and mild oniony flavor.
- Sesame Seeds (for garnish): Toasted or raw, for texture and visual appeal.
Kitchen Tools:
- Large Skillet or Grill: For cooking the chicken.
- Whisk: To combine sauce ingredients smoothly.
- Small Bowl: For the cornstarch slurry.
- Measuring Cups & Spoons: For precise ingredient amounts.
- Cutting Board & Knife: For preparing chicken, ginger, and garlic.
- Tongs: For handling the chicken during cooking.
Prep Time & Cooking Schedule
- Prep Time: 15 minutes
- Marinating Time (Optional but Recommended): 30 minutes to 4 hours (or overnight for maximum flavor)
- Cook Time: 15-20 minutes
- Resting Time: 5 minutes
This recipe is designed for flexibility. If you’re short on time, skip the marinating, but for a truly succulent and deeply flavored Teriyaki Chicken, a good soak in the marinade makes all the difference. The cook time is relatively quick, making this an ideal weeknight meal.
Step-by-Step Instructions
1. Prepare the Marinade/Sauce: In a medium bowl, whisk together the soy sauce, mirin, sake, brown sugar, grated ginger, and minced garlic. This forms the backbone of our teriyaki flavor.
2. Marinate the Chicken (Optional): If marinating, place the chicken thighs in a shallow dish or zip-top bag and pour half of the teriyaki sauce over them. Reserve the other half for later cooking. Marinate in the refrigerator for at least 30 minutes, or up to 4 hours. For an extra flavorful experience, try an overnight marinade to infuse maximum teriyaki goodness into your Teriyaki Chicken.
3. Cook the Chicken:
* Skillet Method: Heat a large skillet over medium-high heat. Add a tablespoon of cooking oil. Once hot, add the chicken thighs (drained from marinade, if applicable, pat dry). Cook for 5-7 minutes per side, until deeply golden brown and cooked through (internal temperature 165°F/74°C).
* Grill Method: Preheat your grill to medium-high heat. Lightly oil the grill grates. Place the chicken thighs on the grill. Cook for about 6-8 minutes per side, or until char marks appear and the chicken is cooked through. This method yields a fantastic smoky flavor, making for excellent Grilled Chicken.
4. Prepare the Glaze: While the chicken cooks, pour the reserved marinade (or the full batch if you didn’t marinate) into a small saucepan. Bring to a simmer over medium heat. In a separate small bowl, whisk together the cornstarch and water to create a slurry. Slowly add the slurry to the simmering sauce, whisking constantly, until the sauce thickens to a glossy glaze. Stir in the sesame oil.
5. Glaze the Chicken: Once the chicken is cooked, return it to the skillet (if using) or place it on a clean pan. Pour the thickened teriyaki glaze over the chicken, tossing gently to coat evenly. Let it simmer for another minute or two, allowing the glaze to cling beautifully.
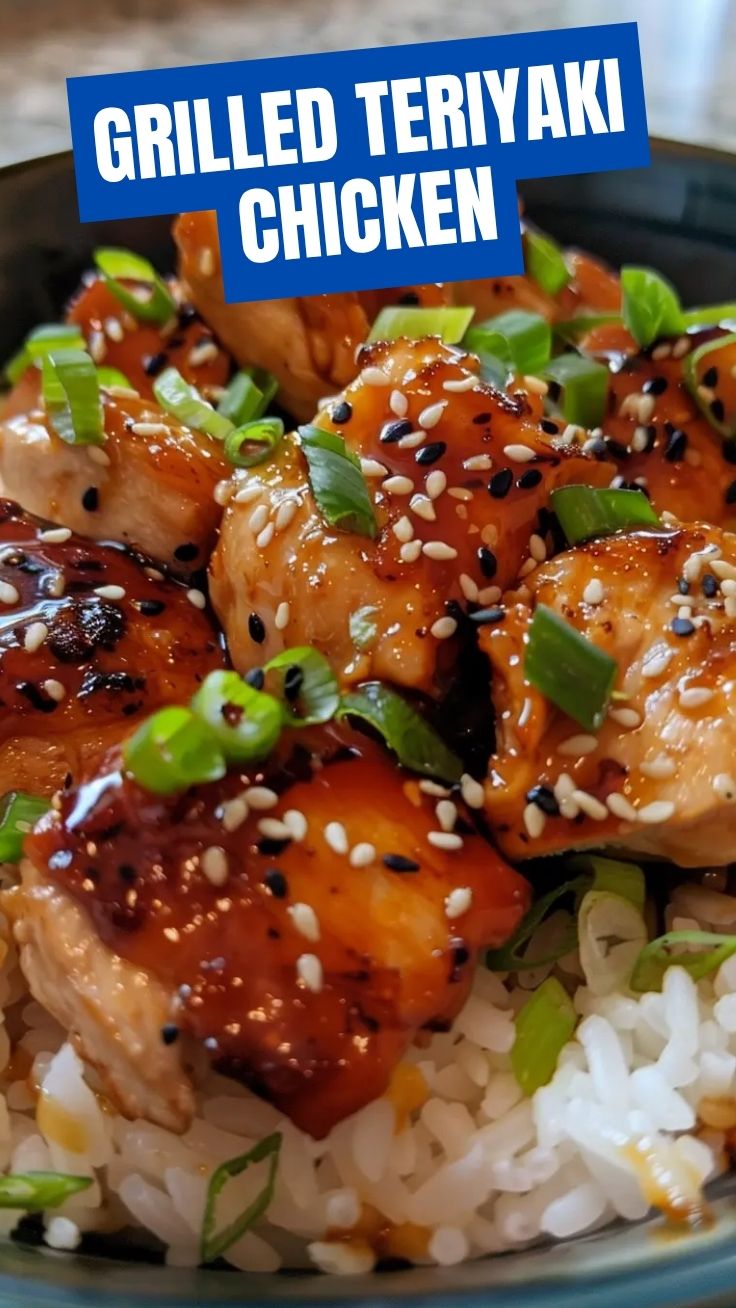
6. Rest and Serve: Transfer the glazed Teriyaki Chicken to a cutting board and let rest for 5 minutes before slicing. Garnish with sliced green onions and sesame seeds.
Nutritional Benefits & Advantages
This homemade Teriyaki Chicken is not just delicious but also a powerhouse of nutrition. Chicken thighs are an excellent source of lean protein, essential for muscle repair and growth. The ginger and garlic contribute anti-inflammatory properties and antioxidants. By making it at home, you avoid the excessive sodium and artificial additives often found in commercially prepared teriyaki sauces, giving you control over the quality and health benefits of your meal.
Tips, Variations & Cooking Advice
- Flavor Variations: For a touch of heat, add a pinch of red pepper flakes to the sauce. A splash of pineapple juice can add a tropical tang.
- Ingredient Swaps: Experiment with different cuts of chicken, or even firm tofu or salmon for a vegetarian/pescatarian alternative. For a thicker glaze without cornstarch, reduce the sauce longer over low heat.
- Alternative Cooking Methods: This recipe adapts beautifully to baking (375°F/190°C for 20-25 minutes, basting with glaze) or even slow cooking for a fall-apart texture.
- Dietary Adaptations:
* Gluten-Free: Use tamari instead of soy sauce and ensure your mirin and sake are gluten-free.
* Lower Sugar: Reduce the brown sugar or replace with a sugar-free sweetener, though the glaze won’t be as sticky.
Common Mistakes to Avoid
- Overcooking the Chicken: This results in dry, tough chicken. Use a meat thermometer to ensure an internal temperature of 165°F (74°C).
- Burning the Glaze: Keep the heat on the sauce moderate and stir frequently, especially after adding the cornstarch slurry, as it thickens quickly.
- Not Patting the Chicken Dry: For good searing and beautiful browning, ensure your chicken is dry before it hits the hot pan or grill.
- Using Old Ginger/Garlic: Fresh aromatics make a huge difference in the final flavor profile.
Storage & Meal Prep Tips
Leftover Teriyaki Chicken stores wonderfully. Place cooled chicken and any remaining glaze in an airtight container in the refrigerator for up to 3-4 days. For longer storage, freeze in a freezer-safe container for up to 2-3 months. To reheat, gently warm in a skillet over medium-low heat with a splash of water or broth to prevent drying, or microwave in short bursts until heated through. This dish is excellent for meal prep; serve with steamed rice and stir-fried vegetables for a complete, healthy meal.
Conclusion
Mastering homemade Teriyaki Chicken is a rewarding culinary achievement, offering a burst of authentic Asian flavors with every bite. Whether you prefer the simplicity of a pan-seared dish or the smoky allure of Grilled Chicken, this recipe provides a versatile foundation for delicious and healthy meals. Don’t hesitate to personalize it, experiment with the variations, and make it your own. We encourage you to try this recipe tonight and share your fantastic results in the comments below! What’s your favorite side dish to serve with teriyaki chicken?
FAQs
Q1: Can I use chicken breasts instead of thighs?
A1: Yes, absolutely! Chicken breasts work well, but keep an eye on the cooking time as they cook faster and can dry out more easily. Marinating is even more beneficial for breasts.
Q2: How do I get my teriyaki sauce to be extra thick and glossy?
A2: Ensure your cornstarch slurry is lump-free and added slowly while whisking. If it’s still too thin, you can create a second small slurry (1 tsp cornstarch + 1 tsp water) and add a little at a time until desired thickness is reached.
Q3: What can I serve with Teriyaki Chicken?
A3: Steamed white or brown rice, quinoa, stir-fried vegetables (broccoli, bell peppers, snow peas), a crisp green salad, or even a side of roasted sweet potatoes all pair wonderfully.
Q4: Can I make this ahead for a party?
A4: Yes, you can cook the chicken and prepare the glaze a day in advance. Store them separately in the refrigerator. Reheat the chicken gently and then toss with the re-warmed glaze just before serving.
Q5: My chicken is tough. What went wrong?
A5: Tough chicken is usually a sign of overcooking. Always cook to an internal temperature of 165°F (74°C) using a meat thermometer, and resist the urge to cook it longer “just in case.” Rest the chicken for a few minutes after cooking to allow the juices to redistribute.