Master the Art of Homemade Teriyaki Chicken: Your Ultimate Guide
Ever wondered if you could recreate that irresistible, glossy, and flavorful Teriyaki Chicken from your favorite restaurant right in your own kitchen? The answer is a resounding yes! Preparing this iconic dish at home isn’t just about saving money; it’s about control over ingredients, customizing flavors to your exact preference, and enjoying the immense satisfaction of a homemade meal. Forget store-bought marinades and artificial flavors; with this comprehensive guide, you’ll unlock the secrets to a truly authentic and delicious experience, all starting with the perfect Teriyaki Sauce. Let’s dive in and elevate your culinary game!
Ingredients & Kitchen Tools
Crafting the perfect Teriyaki Chicken requires a few essential items. Here’s what you’ll need:
- Boneless, Skinless Chicken Thighs (1.5 lbs): Thighs offer more flavor and remain juicier than breasts. Chicken breasts are an acceptable alternative for a leaner option.
- Soy Sauce (1/2 cup): Low-sodium is recommended to control saltiness. Essential for the classic umami flavor.
- Mirin (1/4 cup): Sweet rice wine, crucial for authentic teriyaki flavor and gloss.
- Sake (1/4 cup): Japanese rice wine, adds depth of flavor and tenderizes the chicken. Dry sherry or chicken broth can be substituted.
- Brown Sugar (2-3 tablespoons): Light or dark, provides sweetness and helps with caramelization. Adjust to your sweetness preference.
- Fresh Ginger (1 tablespoon, grated): Adds a zesty, aromatic kick.
- Fresh Garlic (2 cloves, minced): Essential for a robust flavor base.
- Cornstarch (1 tablespoon) + Water (2 tablespoons): Creates a slurry to thicken the sauce.
- Vegetable Oil (1 tablespoon): For searing the chicken.
- Sesame Seeds (for garnish): Adds a nutty flavor and visual appeal.
- Green Onions (for garnish, sliced): Adds freshness and a mild oniony bite.
- Large Skillet or Wok: For cooking the chicken and simmering the sauce.
- Whisk: For combining sauce ingredients.
- Tongs: For handling the chicken.
- Cutting Board & Knife: For preparing ingredients.
Prep Time & Cooking Schedule
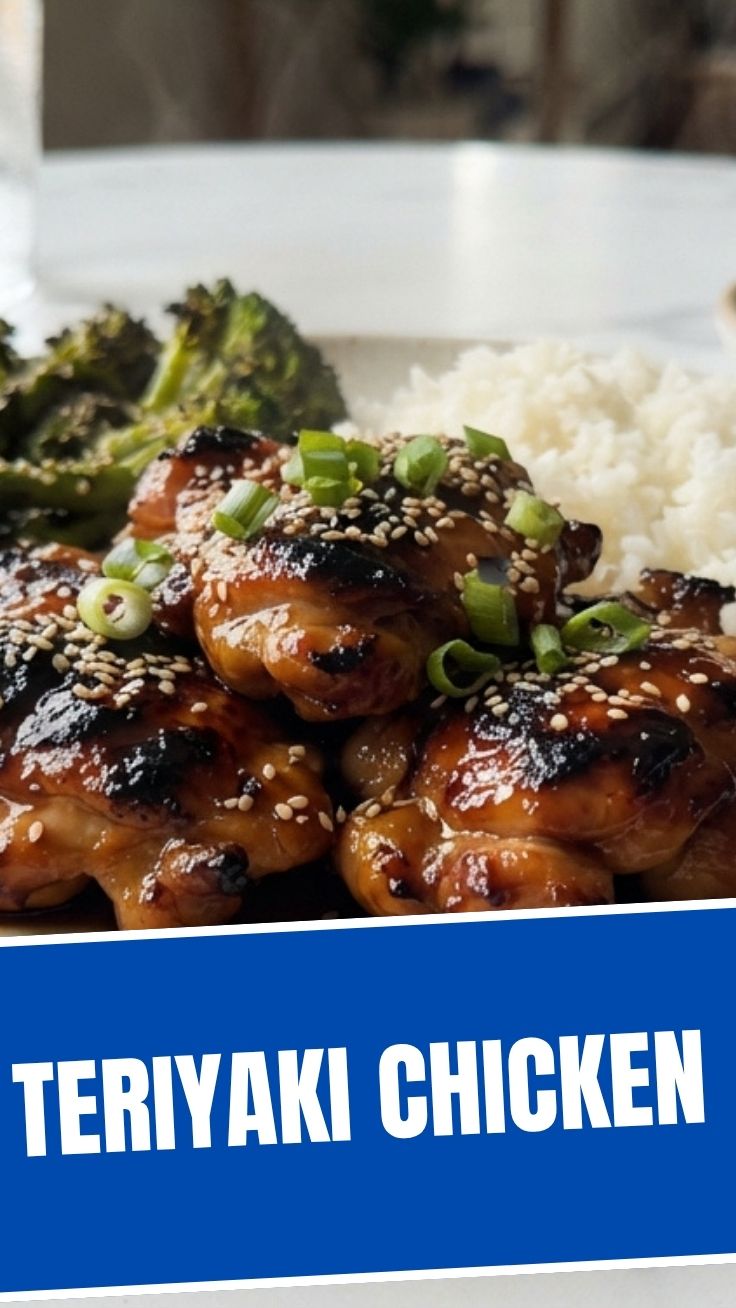
Planning is key for a stress-free cooking experience.
- Prep Time: 15 minutes (includes chopping, mincing, and sauce preparation)
- Marinating Time: 30 minutes (minimum for flavor absorption, up to 4 hours in the refrigerator for deeper taste)
- Cook Time: 20-25 minutes
- Total Time: Approximately 1 hour – 1 hour 15 minutes (depending on marination)
This schedule allows for a flavorful meal even on a weeknight, with longer marination options for weekend cooking.
Step-by-Step Instructions
Follow these steps for a perfectly glazed and tender Teriyaki Chicken, creating an irresistible aroma that will fill your kitchen.
1. Prepare the Chicken: Pat chicken thighs dry with paper towels. Cut them into 1-inch bite-sized pieces. This ensures even cooking and better sauce adherence.
2. Whisk the Teriyaki Sauce: In a medium bowl, combine soy sauce, mirin, sake, brown sugar, grated ginger, and minced garlic. Whisk until the sugar is dissolved.
3. Marinate (Optional but Recommended): Place the chicken pieces in a shallow dish or a zip-top bag with about half of the prepared sauce. Reserve the other half for simmering later. Marinate for at least 30 minutes at room temperature, or up to 4 hours in the refrigerator.
4. Sear the Chicken: Heat vegetable oil in a large skillet or wok over medium-high heat. Remove chicken from marinade (discard excess marinade) and sear in batches until golden brown on all sides and cooked through, about 5-7 minutes per batch. Do not overcrowd the pan; this ensures a good sear.
5. Thicken the Sauce: While the chicken cooks, prepare the cornstarch slurry by whisking cornstarch and water together in a small bowl until smooth.
6. Combine & Simmer: Once all chicken is seared, return it to the skillet. Pour in the reserved Teriyaki Sauce. Bring to a gentle simmer.
7. Add Slurry: Slowly whisk in the cornstarch slurry into the simmering sauce. Continue to cook, stirring constantly, until the sauce thickens to a glossy consistency that coats the back of a spoon (about 2-3 minutes).
8. Serve: Remove from heat. Garnish with sesame seeds and sliced green onions. Serve immediately over steamed rice or with your favorite vegetables.
Nutritional Benefits & Advantages
This homemade Teriyaki Chicken offers more than just incredible flavor. Chicken thighs are a good source of lean protein, essential for muscle repair and growth. The ginger and garlic provide powerful antioxidants and anti-inflammatory properties. By making your own Teriyaki Sauce, you control the amount of sugar and sodium, making it a much healthier alternative to many store-bought versions which are often laden with high fructose corn syrup and excessive salt. This dish can be part of a balanced meal, especially when paired with a generous serving of vegetables.
Tips, Variations & Cooking Advice
- Spice It Up: Add a pinch of red pepper flakes to the sauce for a spicy kick.
- Vegetable Boost: Sauté broccoli florets, snap peas, or sliced bell peppers with the chicken, or steam them separately and toss with the finished dish.
- Alternative Proteins: This recipe works beautifully with shrimp, firm tofu, or even beef. Adjust cooking times accordingly.
- Grilled Teriyaki: Instead of searing, thread chicken pieces onto skewers and grill them, basting with the sauce during the last few minutes of cooking.
- Gluten-Free Option: Use tamari instead of soy sauce for a gluten-free version.
- Thicker Sauce: If you prefer an even thicker sauce, add an additional 1/2 teaspoon of cornstarch slurry at a time until desired consistency is reached.
Common Mistakes to Avoid
- Overcrowding the Pan: This lowers the pan’s temperature, steaming the chicken instead of searing it, leading to less flavor and a lack of browning. Cook in batches if necessary.
- Skipping the Marination (or Rushing It): While you can skip it, a good marinade allows the flavors to penetrate the chicken, resulting in a more tender and flavorful final product.
- Overcooking the Chicken: Teriyaki Chicken should be tender and juicy. Overcooking will result in dry, tough meat.
- Burning the Sauce: The high sugar content in Teriyaki Sauce means it can burn easily. Keep the heat at medium-low when simmering and stir frequently.
Storage & Meal Prep Tips
Leftover Teriyaki Chicken stores wonderfully.
- Refrigeration: Store cooled chicken and sauce in an airtight container in the refrigerator for up to 3-4 days.
- Freezing: For longer storage, freeze in an airtight container for up to 2-3 months. Thaw overnight in the refrigerator before reheating.
- Reheating: Gently reheat on the stovetop over medium-low heat, adding a splash of water or chicken broth if the sauce has thickened too much. You can also microwave, but stovetop reheating retains better texture.
Conclusion
Creating your own homemade Teriyaki Chicken is an incredibly rewarding experience, transforming simple ingredients into a dish bursting with complex, savory-sweet flavors. With our detailed guide, you’ve learned to master not just the cooking technique, but also the art of crafting a perfect Teriyaki Sauce from scratch. This recipe is a testament to how accessible and enjoyable authentic Asian cuisine can be in your own kitchen. Don’t just dream about that perfect teriyaki; make it a reality tonight! Try out this recipe and share your delicious results in the comments below – we can’t wait to hear about your culinary triumphs!
FAQs
Q1: Can I use chicken breast instead of thighs?
A1: Yes, absolutely! Chicken breast works well, but be mindful that it cooks faster and can dry out more easily. Cut into slightly larger pieces and monitor cooking time.
Q2: I don’t have sake or mirin. What are good substitutes?
A2: For sake, you can use dry sherry or even chicken broth for a non-alcoholic option. For mirin, a splash of rice vinegar with a pinch of sugar can replicate some of its sweetness and tang. However, for authentic flavor, mirin is highly recommended.
Q3: How do I prevent the sauce from being too salty?
A3: Start with low-sodium soy sauce. You can always add more salt if needed after tasting, but it’s much harder to correct an overly salty sauce.
Q4: Can I make the Teriyaki Sauce ahead of time?
A4: Yes, the Teriyaki Sauce can be made up to 3-4 days in advance and stored in an airtight container in the refrigerator. This makes meal prep even easier!
Q5: My sauce didn’t thicken. What went wrong?
A5: Ensure your cornstarch slurry was fully mixed and that the sauce came to a simmer after adding it. The cornstarch needs heat to activate its thickening properties. If it’s still too thin, mix another small slurry (1/2 tsp cornstarch with 1 tsp water) and whisk it in, simmering for another minute.