Unlock the Secret to Irresistible Homemade Banana Pudding
Ever wondered what makes a dessert truly unforgettable? It’s often the cherished memories, the comforting flavors, and the simple joy of creating something delicious with your own hands. Today, we’re diving deep into a beloved classic that embodies all these sentiments: homemade banana pudding. Forget the pre-made versions; mastering the art of creating the perfect batch of Southern Banana Pudding at home not only saves you money but also guarantees a level of freshness and personalized taste that’s simply unmatched. This comprehensive guide will walk you through every step, ensuring your Classic Banana Pudding becomes a household favorite.
Ingredients & Kitchen Tools
Crafting the perfect banana pudding requires a careful selection of ingredients and the right tools.
- Ripe Bananas (4-5 medium): Look for yellow bananas with a few brown spots, indicating optimal sweetness and texture. Not too green, not too mushy.
- Vanilla Wafers (1 box, 12 oz): The quintessential crunchy base. Feel free to use other plain, crisp cookies like shortbread for a slight variation.
- Whole Milk (4 cups): Provides a rich and creamy base for the pudding.
- Granulated Sugar (1 cup): Sweetens the custard to perfection. Adjust to your preference.
- All-Purpose Flour (1/2 cup): Acts as a thickener, giving the pudding its smooth consistency.
- Large Eggs (4, separated): Yolks enrich the custard, while whites create a fluffy meringue topping.
- Unsalted Butter (1/4 cup, 1/2 stick): Adds richness and a silky mouthfeel to the custard.
- Vanilla Extract (2 teaspoons): Enhances all the flavors. Pure vanilla is always best.
- Salt (1/4 teaspoon): A pinch to balance the sweetness.
Kitchen Tools:
- Large Saucepan: For cooking the custard.
- Whisk: Essential for smooth, lump-free custard.
- Mixing Bowls (2-3): For separating eggs, combining dry ingredients, and whipping meringue.
- Electric Mixer (Handheld or Stand): For whipping the meringue.
- 9×13 Inch Casserole Dish: For assembling and baking the pudding.
- Rubber Spatula: For scraping and folding.
Prep Time & Cooking Schedule
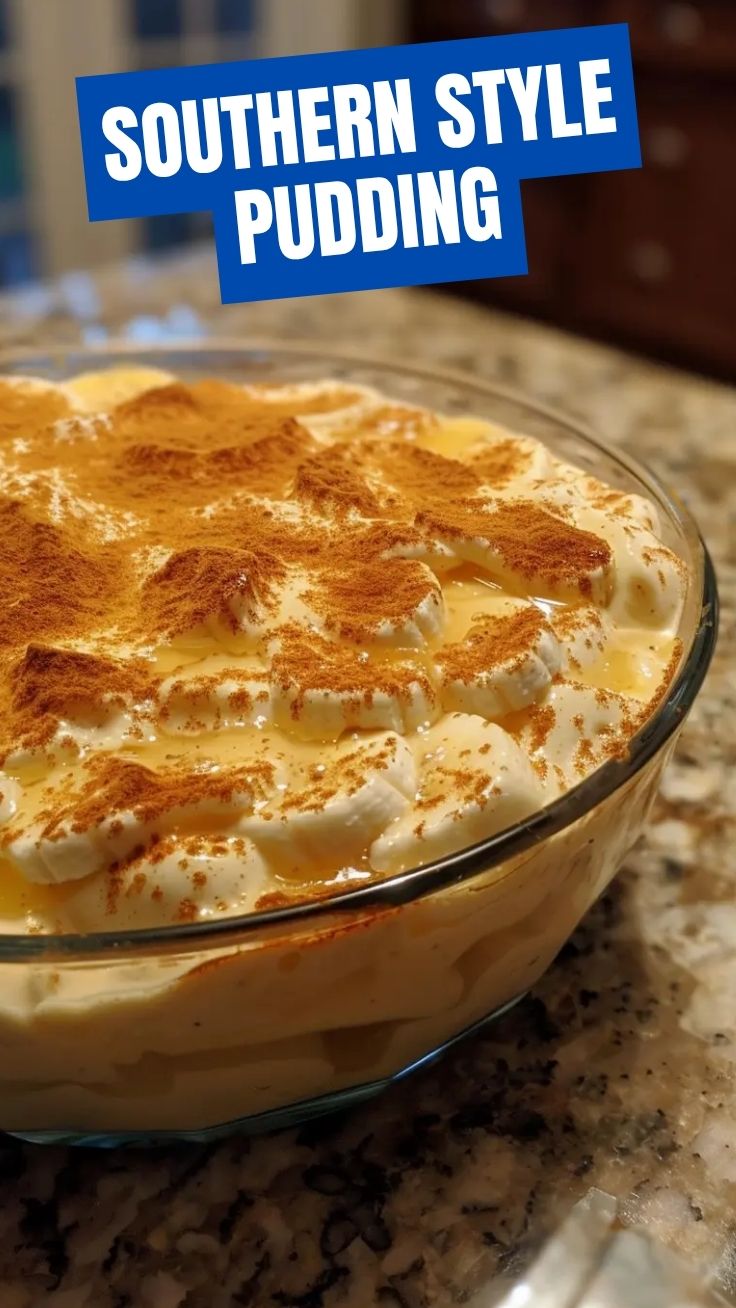
- Prep Time: 25 minutes
- Cook Time: 20-25 minutes (for custard and meringue)
- Bake Time: 15-20 minutes (for meringue browning)
- Chill Time: At least 4 hours, preferably overnight
This dish benefits significantly from ample chill time, allowing the flavors to meld and the pudding to set properly. Plan to make it ahead of time, perhaps in the morning for an evening dessert, or the day before for optimal results.
Step-by-Step Instructions
1. Prepare the Custard Base: In a large saucepan, whisk together the sugar, flour, and salt. Gradually whisk in the whole milk until smooth. Cook over medium heat, stirring constantly, until the mixture thickens and comes to a gentle boil (about 8-10 minutes). Reduce heat and cook for 1 minute longer.
2. Temper the Egg Yolks: In a separate bowl, lightly beat the egg yolks. Slowly drizzle about half a cup of the hot milk mixture into the egg yolks, whisking continuously. This tempering prevents the eggs from scrambling.
3. Combine & Cook: Pour the tempered egg yolk mixture back into the saucepan with the remaining milk mixture. Cook over medium-low heat, stirring constantly, until the custard thickens further and coats the back of a spoon (about 2-3 minutes). Do not boil.
4. Add Flavor & Butter: Remove from heat and stir in the butter and vanilla extract until fully incorporated.
5. Assemble the Layers: In your 9×13 inch casserole dish, spread a thin layer of custard on the bottom. Arrange a single layer of vanilla wafers over the custard. Top with a layer of sliced bananas. Repeat these layers until all ingredients are used, ending with a layer of custard. Ensure your luscious Southern Banana Pudding is evenly layered for the best presentation and taste.
6. Whip the Meringue: In a clean, dry bowl, beat the egg whites with an electric mixer until soft peaks form. Gradually add 1/4 cup of sugar, continuing to beat until stiff, glossy peaks form. (Optional: A pinch of cream of tartar can help stabilize the meringue.)
7. Top & Bake: Spread the meringue evenly over the top of the pudding, ensuring it reaches the edges to seal in moisture. Bake in a preheated oven at 350°F (175°C) for 15-20 minutes, or until the meringue is golden brown. This final touch makes it a truly irresistible Classic Banana Pudding.
8. Chill: Let the pudding cool completely on a wire rack before refrigerating for at least 4 hours, or overnight, to allow it to set.
Nutritional Benefits & Advantages
Bananas are a fantastic source of potassium, vitamin B6, vitamin C, and dietary fiber, promoting heart health and good digestion. While banana pudding is indeed a treat, consuming it in moderation offers a satisfying way to incorporate these nutrients. Homemade versions allow you to control sugar levels and use fresh, high-quality ingredients, avoiding artificial additives often found in store-bought options.
Tips, Variations & Cooking Advice
- Spice It Up: A pinch of cinnamon or nutmeg in the custard can add a warm, inviting note.
- Chocolate Lover’s Dream: Add a layer of chocolate shavings or a drizzle of chocolate ganache between layers for a decadent twist.
- Gluten-Free: Substitute regular vanilla wafers with gluten-free versions for a celiac-friendly dessert.
- Dairy-Free: Use a dairy-free milk alternative (like almond or oat milk) and dairy-free butter. Coconut milk can add a subtle tropical flavor.
- Less Sweet: Reduce the sugar by a quarter to a third for a less intensely sweet pudding.
- No Meringue: If you’re not a fan of meringue, simply top with whipped cream before serving.
Common Mistakes to Avoid
- Overcooking the Custard: This results in a lumpy or curdled texture. Remove it from heat as soon as it thickens.
- Scrambled Eggs: Always temper your egg yolks by slowly adding hot liquid while whisking, before incorporating them into the main mixture.
- Under-ripe Bananas: These lack sweetness and flavor, leading to a bland pudding.
- Not Chilling Long Enough: The pudding needs adequate time to set and for the flavors to fully develop. Patience is key!
- Wet Meringue: Ensure your mixing bowl and whisk are completely grease-free when whipping egg whites for a stable, fluffy meringue.
Storage & Meal Prep Tips
Leftover banana pudding should be stored in an airtight container in the refrigerator. It will stay fresh for up to 3-4 days. While it can technically be frozen, the texture of the bananas can become mushy upon thawing, so it’s best enjoyed fresh and chilled. For meal prep, consider assembling individual servings in small jars for convenient grab-and-go treats throughout the week.
Conclusion
There’s an undeniable magic that happens when simple ingredients come together to create something truly extraordinary. This guide empowers you to craft a luscious Southern Banana Pudding that will delight your senses and impress your guests. By following these steps, you’ll achieve a creamy, dreamy dessert that embodies comfort and tradition. So go ahead, don your apron, and bring this delightful Classic Banana Pudding to life in your kitchen. We’d love to hear about your culinary adventures and see your delicious creations! Share your results in the comments below, or tag us on social media. Happy baking!
FAQs
Q: Can I use instant pudding mix?
A: While possible, this recipe focuses on a scratch-made custard for superior flavor and texture. Instant pudding won’t yield the same rich results.
Q: How do I prevent bananas from browning?
A: A quick dip in lemon juice or orange juice can help, but a more effective method is to ensure the bananas are fully encased in the custard, limiting their exposure to air. Browning will still occur over time, but the natural process is part of its charm.
Q: Can I make this ahead of time for a party?
A: Absolutely! In fact, making it the day before allows the flavors to truly meld and the pudding to set perfectly. Just make sure to cover it tightly.
Q: My meringue didn’t brown properly. What went wrong?
A: Ensure your oven rack is positioned about a third of the way down from the top, allowing the meringue to be close enough to the heating element without burning too quickly. A slightly higher temperature (375°F for 10-12 minutes) can also encourage browning, but watch it closely.
Q: How do I get a perfectly smooth custard without lumps?
A: Whisk constantly while cooking the custard, especially when adding the flour and milk. If lumps still form, you can press the hot custard through a fine-mesh sieve before adding the butter and vanilla.