Revolutionize Your Kids’ Lunchbox: The Ultimate Guide to Failsafe School Snack Prep (Healthy)
Are you tired of the daily scramble to pack nutritious and appealing provisions for your little ones? Do you crave a more efficient and health-conscious approach to school day sustenance? If so, you’ve landed in the perfect spot! Mastering School Snack Prep (Healthy) isn’t just about saving time; it’s about empowering your children with wholesome, energizing options that fuel their learning and play. This comprehensive guide will walk you through a delightful and easy-to-follow recipe, ensuring your kids receive delicious, homemade treats that put store-bought alternatives to shame. We’ll delve into the art of crafting truly Healthy school snacks that are both appealing and packed with goodness. Preparing these at home offers unparalleled control over ingredients, allowing you to sidestep unwanted sugars, artificial flavors, and preservatives.
Ingredients & Kitchen Tools
To embark on this journey of delicious and wholesome snack creation, gather the following:
- 1 cup rolled oats: Opt for old-fashioned oats for a chewier texture. Quick oats work too if preferred.
- ½ cup smooth peanut butter: Natural, unsweetened peanut butter is ideal. Almond butter or sunbutter can be used for nut-free alternatives.
- ⅓ cup honey or maple syrup: Natural sweeteners that bind and add flavor. Adjust to your sweetness preference.
- ¼ cup ground flaxseed: A fantastic source of Omega-3s and fiber. Chia seeds can be substituted for similar benefits.
- 2 tablespoons unsweetened cocoa powder: For a touch of chocolatey goodness. Omit if you prefer a plain version.
- 1 teaspoon vanilla extract: Enhances the overall flavor profile.
- Pinch of salt: Balances the sweetness.
- Optional add-ins: ¼ cup mini chocolate chips (dark chocolate for less sugar), chopped dried fruit (cranberries, apricots), or shredded coconut.
Kitchen Tools:
- Large mixing bowl: For easy combining of ingredients.
- Spatula or strong spoon: To thoroughly mix the mixture.
- Measuring cups and spoons: For accurate ingredient proportions.
- Parchment paper: To line the baking sheet for easy removal and prevent sticking.
- Baking sheet or shallow dish: For setting the snack bites.
- Airtight container: For proper storage.
Prep Time & Cooking Schedule
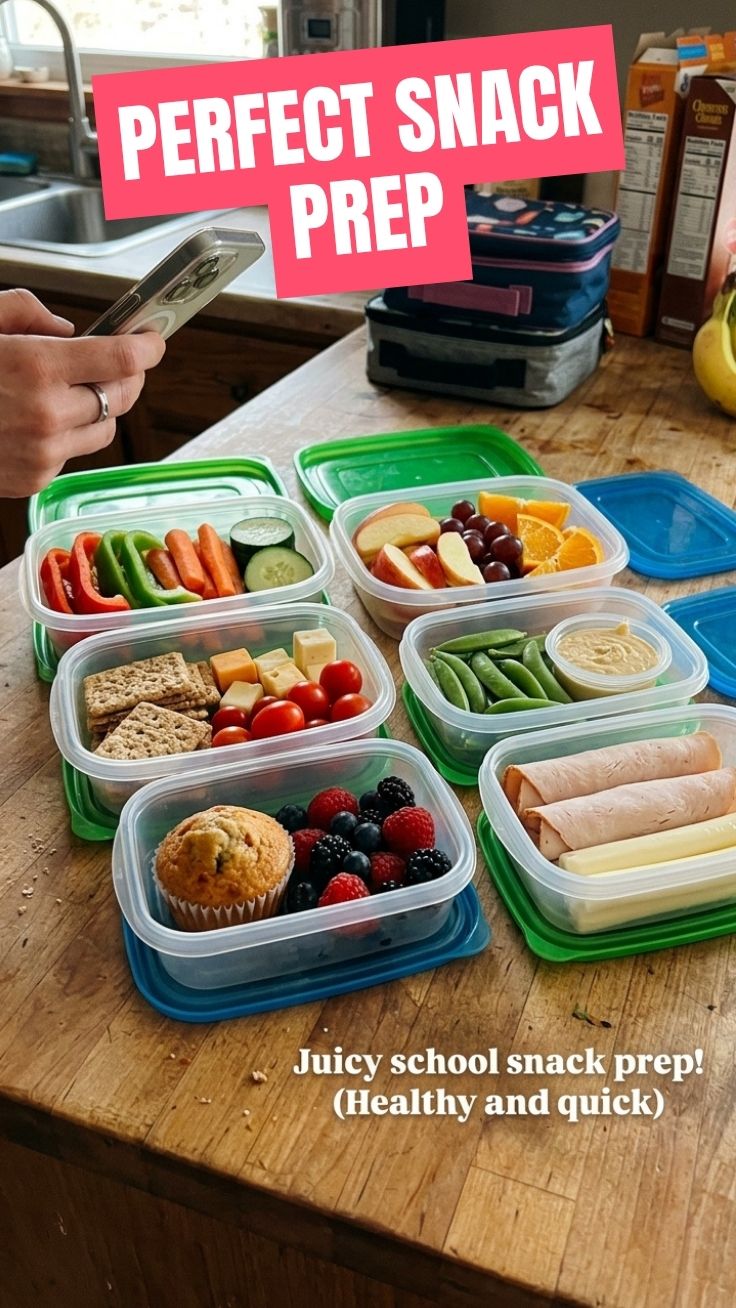
This recipe is a marvel of efficiency, requiring minimal time for maximum reward!
- Prep Time: 15 minutes (active mixing and rolling)
- Chill Time: 30 minutes (essential for firming up the bites)
This quick turnaround makes it perfect for a Sunday afternoon meal prep session, ensuring you have a week’s worth of delightful Healthy school snacks ready to go. The chilling time is crucial; don’t skip it, as it allows the ingredients to meld and the bites to firm up, preventing a crumbly mess.
Step-by-Step Instructions
Let’s get rolling with this incredible recipe for School Snack Prep (Healthy):
1. Combine Dry Ingredients: In your large mixing bowl, thoroughly combine the rolled oats, ground flaxseed, unsweetened cocoa powder (if using), and a pinch of salt. Ensure everything is well distributed.
2. Melt and Mix Wet Ingredients (Optional warming): In a separate microwave-safe bowl, gently warm the peanut butter and honey (or maple syrup) for about 30 seconds. This makes them easier to mix, yielding a smoother consistency. Stir until combined.
3. Integrate Wet and Dry: Pour the warm peanut butter and honey mixture into the bowl with the dry ingredients. Add the vanilla extract.
4. Mix Thoroughly: Using a spatula or your hands (wearing gloves is recommended), mix until all the dry ingredients are completely coated and a thick, uniform dough forms. The mixture should be sticky but hold together when pressed. This is a key step for ensuring compact and delicious Healthy school snacks.
5. Add Optional Inclusions: If using mini chocolate chips, dried fruit, or shredded coconut, fold them into the mixture now.
6. Roll into Bites: Roll the mixture into tablespoon-sized balls. For best results, lightly dampen your hands with water to prevent sticking. Place the rolled bites onto a baking sheet lined with parchment paper.
7. Chill and Enjoy: Refrigerate the bites for at least 30 minutes. This allows them to firm up and prevents them from becoming too sticky when handled. Serve chilled and store leftovers in an airtight container in the refrigerator.
Nutritional Benefits & Advantages
These energy bites are a powerhouse of nutrition! They are rich in fiber from the oats and flaxseed, promoting digestive health and sustained energy. The peanut butter provides healthy fats and protein, crucial for growth and satiety. Incorporating honey or maple syrup offers natural sweetness without resorting to refined sugars, while flaxseed is an excellent source of anti-inflammatory Omega-3 fatty acids. These snacks offer a balanced blend of macronutrients that help kids stay focused and energized throughout their school day, making them a far superior alternative to sugary, processed options.
Tips Variations & Cooking Advice
- Nut-Free Alternative: Use sunbutter or tahini instead of peanut butter for allergy-friendly households.
- Gluten-Free: Ensure your rolled oats are certified gluten-free.
- Vegan Option: Use maple syrup instead of honey.
- Flavor Boosts: Add a pinch of cinnamon or a dash of almond extract for different flavor profiles.
- Texture Play: For a more substantial bite, add a tablespoon of chopped nuts or seeds (sunflower, pumpkin).
- Portion Control: Adjust the size of the bites according to your child’s age and appetite.
Common Mistakes to Avoid
- Skipping the Chill Time: This is critical! Without adequate chilling, the bites will be too soft and difficult to handle.
- Over-processing: If using a food processor to combine ingredients, be careful not to over-process, as it can make the mixture too oily. Mixing by hand is generally preferred for this recipe.
- Too Dry/Too Wet: If your mixture is too dry and crumbly, add a tiny bit more peanut butter or honey. If it’s too wet, add a tablespoon or two of extra oats or flaxseed.
- Using Refined Sugars: Stick to natural sweeteners like honey or maple syrup to maintain the healthy profile.
Storage & Meal Prep Tips
Once your delicious bites are firm, transfer them to an airtight container. They will stay fresh in the refrigerator for up to 1 week. For longer storage, you can freeze them for up to 1 month. To thaw, simply remove them from the freezer and let them sit at room temperature for 15-20 minutes, or enjoy them straight from frozen for a refreshing treat! Preparing a double or triple batch on the weekend ensures you have a readily available supply of these nutritious snacks throughout the busy school week.
Conclusion
Embracing School Snack Prep (Healthy) doesn’t have to be a chore; it can be a rewarding and simple way to nourish your family. By following this easy-to-digest guide, you’re not just making food; you’re building healthier habits and offering your children delightful and genuinely Healthy school snacks they’ll actually look forward to. We encourage you to try this recipe and experience the difference homemade goodness makes! Share your creations and any personal twists in the comments below. What are your favorite additions to these energy bites?
FAQs
1. Can I use instant oats for this recipe?
While possible, instant oats will result in a softer, less chewy texture. Rolled oats are generally recommended for the best consistency.
2. How can I make these completely sugar-free?
You can reduce the amount of honey/maple syrup or omit it entirely if your peanut butter is sweet enough to bind the ingredients. You could also experiment with mashed banana as a natural sweetener and binder.
3. My bites are too sticky; what should I do?
Ensure they have chilled adequately in the refrigerator. If still too sticky, you can roll them in a little extra cocoa powder, shredded coconut, or ground flaxseed.
4. Are these suitable for toddlers?
Yes, in moderation! Ensure the peanut butter is smooth to prevent choking hazards, and adjust the size of the bites accordingly. Always supervise young children while eating.
5. Can I add protein powder?
Yes, you can add 1-2 tablespoons of unflavored or vanilla protein powder to boost the protein content. You might need to add a touch more liquid (honey or a dash of milk) to maintain the right consistency.