Elevate Your Weeknight: The Ultimate Guide to Perfect Homemade Rice Pilaf
Ever wondered how to transform a simple grain into a captivating culinary experience? Forget bland side dishes! Mastering Rice Pilaf at home isn’t just about cooking; it’s about crafting a dish that’s rich in flavor, versatile, and deeply satisfying. This comprehensive guide will walk you through every step of creating a fluffy, aromatic pilaf that will impress even the most discerning palates. And if you’re looking for an amazing pairing, our perfected rice pilaf recipe is an ideal complement to many main courses. Learning to make your own pilaf gives you complete control over ingredients, ensuring freshness and allowing you to customize it to your family’s preferences. Let’s unlock the secrets to perfect pilaf.
Ingredients & Kitchen Tools
To embark on your pilaf journey, gather the following:
- 1 tbsp Unsalted Butter or Olive Oil: For sautéing aromatics and toasting the rice. Butter adds richness, olive oil keeps it dairy-free.
- 1 cup Long-Grain White Rice: Basmati or jasmine rice works beautifully, providing distinct aroma and a fluffy texture. Avoid short-grain, as it can become gummy.
- ½ cup Orzo or Vermicelli (broken): Adds textural contrast and helps prevent clumping. Optional, but highly recommended for authentic pilaf.
- ½ Small Onion, finely diced: Provides a foundational layer of sweetness and aroma.
- 2 cloves Garlic, minced: Essential for depth of flavor.
- 2 cups Chicken or Vegetable Broth (warm): Crucial for proper absorption and flavor infusion. Using warm broth helps maintain the temperature during cooking.
- ¼ tsp Salt: Adjust to taste, but a starting point for seasoning.
- ⅛ tsp Black Pepper: A hint of spice to round out the flavors.
- Optional Garnishes: Fresh parsley, toasted almonds, or a squeeze of lemon.
Kitchen Tools:
- Medium Saucepan with a tight-fitting lid: Essential for steaming the rice.
- Fine-mesh sieve: For rinsing the rice thoroughly.
- Wooden spoon or spatula: For sautéing and stirring.
- Measuring cups and spoons: For accurate ingredient proportions.
Prep Time & Cooking Schedule
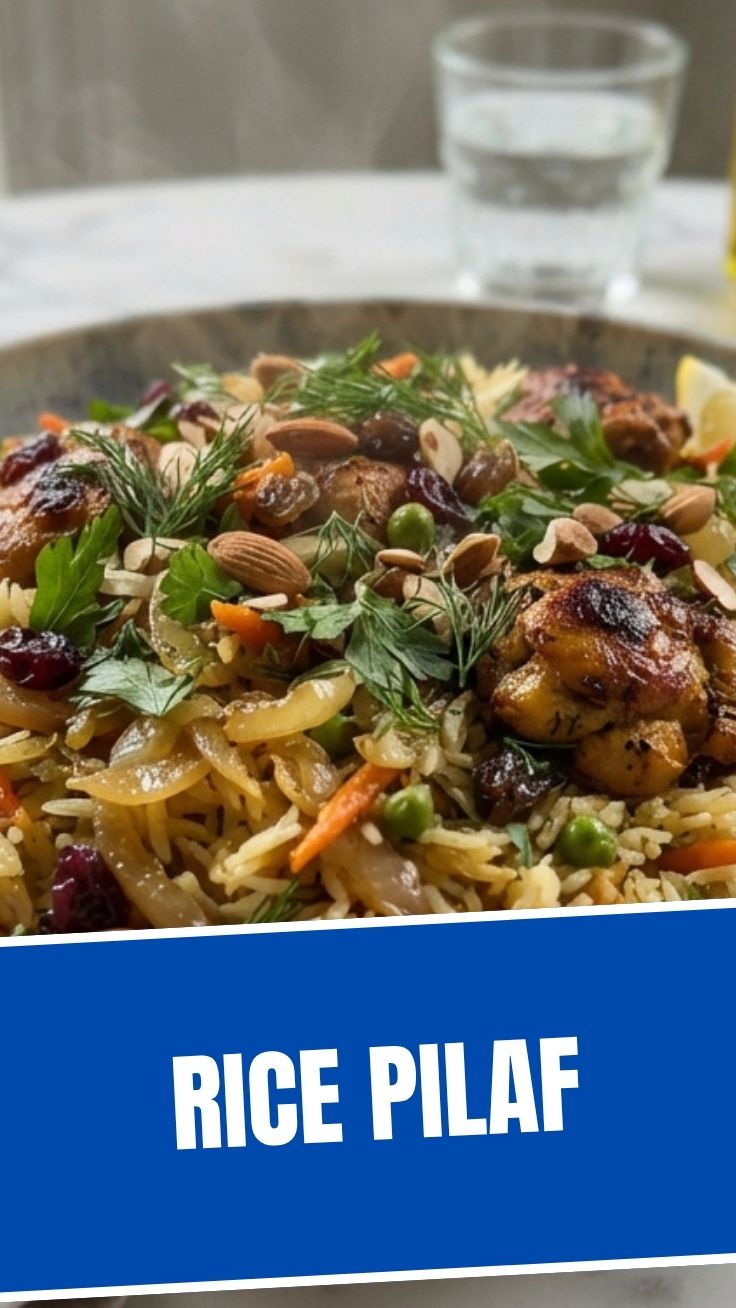
- Prep Time: 10 minutes (rinsing rice, chopping aromatics)
- Cook Time: 20-25 minutes (sautéing, simmering, resting)
- Resting Time: 10 minutes (crucial for perfectly fluffy rice)
This schedule allows for a relaxed and enjoyable cooking experience, ensuring your pilaf is ready to serve alongside your main dish without any last-minute rush.
Step-by-Step Instructions
1. Rinse the Rice: Place the long-grain rice in a fine-mesh sieve and rinse under cold running water until the water runs clear. This removes excess starch, preventing sticky rice. Drain well.
2. Sauté Aromatics & Orzo: In your medium saucepan, melt the butter (or heat olive oil) over medium heat. Add the orzo (if using) and sauté, stirring constantly, until golden brown. This usually takes 2-3 minutes. Add the diced onion and cook until softened and translucent, about 3-5 minutes. Stir in the minced garlic and cook for another minute until fragrant, being careful not to burn it.
3. Toast the Rice: Add the rinsed and drained long-grain rice to the saucepan. Sauté the rice for 2-3 minutes, stirring constantly. This toasting step is key to creating that distinct nutty flavor and preventing the grains from clumping, a hallmark of a great Rice Pilaf.
4. Add Liquid & Seasoning: Carefully pour in the warm chicken or vegetable broth. Stir in the salt and black pepper. Bring the mixture to a boil.
5. Simmer & Steam: Once boiling, immediately reduce the heat to low, cover the saucepan tightly with the lid, and let it simmer undisturbed for 15 minutes. Do not lift the lid during this time! This ensures proper steaming.
6. Rest & Fluff: After 15 minutes, remove the saucepan from the heat, but keep the lid on. Let the pilaf rest for another 10 minutes. This resting period allows the steam to redistribute, resulting in perfectly fluffy, separate grains.
7. Serve: Remove the lid, gently fluff the rice pilaf recipe with a fork, and garnish as desired. Serve immediately.
Nutritional Benefits & Advantages
Rice pilaf, particularly when made with whole-grain brown rice (a great variation!), offers complex carbohydrates for sustained energy. Using vegetable broth makes it a fantastic vegan and vegetarian option. The inclusion of onions and garlic provides beneficial antioxidants and anti-inflammatory properties. It’s naturally gluten-free (ensure broth is certified GF) and can be a low-fat side dish depending on the fat used for sautéing.
Tips, Variations & Cooking Advice
- Flavor Boosts: Sauté a bay leaf or a pinch of saffron threads with the aromatics for added complexity.
- Vegetable Add-ins: Stir in frozen peas, diced carrots, or corn during the last 5 minutes of cooking for extra color and nutrients.
- Herbaceous Notes: Fresh dill or mint stirred in at the end can brighten the flavor profile.
- Protein Power: For a heartier meal, stir in cooked, shredded chicken or chickpeas after the pilaf has rested.
- Brown Rice Pilaf: Use 1 cup brown rice with 2.5 cups broth and increase simmer time to 40-45 minutes, followed by a 10-minute rest.
Common Mistakes to Avoid
- Not rinsing the rice: Leads to gummy, sticky pilaf.
- Lifting the lid during simmering: Releases steam, disrupting the cooking process and resulting in unevenly cooked rice.
- Over-stirring: Can break the grains and make the pilaf mushy.
- Using cold broth: Can shock the rice and lead to less even cooking. Always use warm or hot broth.
- Not resting the pilaf: Skipping this step results in wetter, less fluffy rice.
Storage & Meal Prep Tips
Leftover rice pilaf can be stored in an airtight container in the refrigerator for up to 3-4 days. To reheat, sprinkle a tablespoon or two of water over the rice, cover, and microwave until heated through, or gently reheat in a saucepan over low heat. Freezing is possible for longer storage (up to 1 month), but the texture may change slightly upon thawing.
Conclusion
Mastering Rice Pilaf at home is a truly rewarding experience, transforming a basic ingredient into a dish that’s both comforting and elegant. With this detailed guide, you now possess the knowledge and techniques to consistently create a fluffy, flavorful pilaf. We encourage you to try this amazing rice pilaf recipe and experience the satisfaction of cooking a perfect dish from scratch. Share your creations and favorite variations in the comments below!
FAQs
Q1: Can I use instant rice for this recipe?
A1: While you can, instant rice will not yield the same texture or depth of flavor as long-grain white rice. For best results, stick to the recommended long-grain variety.
Q2: My pilaf is sticky, what went wrong?
A2: This usually happens if the rice wasn’t rinsed thoroughly, if you used too much liquid, or if you lifted the lid during simmering. Ensure proper rinsing and resist the urge to peek!
Q3: How can I make this pilaf spicier?
A3: Add a pinch of red pepper flakes with the garlic, or a dash of your favorite hot sauce after fluffing.
Q4: Can I prepare the pilaf ahead of time for a party?
A4: Yes, you can make it a few hours in advance. Store it covered at room temperature, and gently reheat with a splash of broth or water before serving.
Q5: What’s the difference between pilaf and plain steamed rice?
A5: Pilaf involves sautéing the rice and aromatics in fat before adding liquid, which toasts the grains and infuses them with flavor. Steamed rice is simply cooked in water.