Unlock Pure Nostalgia with the Ultimate Homemade Rice Krispie Treats Recipe!
Ever wonder why some treats just hit different? That’s the magic of a classic, and nothing quite captures pure, unadulterated joy like a perfectly made batch of Rice Krispie Treats. Forget the store-bought versions; preparing these delightful squares at home isn’t just about saving money – it’s about crafting a personalized, wholesome treat that delights every palate. With minimal effort and readily available ingredients like fluffy marshmallows and crisp rice krispie cereal, you can conjure up a batch of these chewy, gooey wonders in no time. Let’s dive into creating a truly unforgettable dessert that will transport you back to simpler, sweeter times.
Ingredients & Kitchen Tools
Here’s everything you’ll need to whip up these irresistible treats:
- 10 oz (approx. 40) Large Marshmallows: The star of the show, providing the signature chewiness and sweetness. Fresh marshmallows melt more smoothly.
- 3 tbsp Unsalted Butter: Adds richness and helps prevent sticking. Salted butter can be used, but adjust any added salt accordingly.
- 6 cups Rice Krispie cereal: The essential crispy element! Look for original, plain varieties for the best authentic flavor.
- 1 tsp Vanilla Extract (Optional): Enhances the flavor profile and adds a warm, aromatic note.
- Pinch of Salt (Optional): Balances the sweetness and brings out other flavors.
Kitchen Tools:
- Large saucepan or Dutch oven: For melting the butter and marshmallows.
- 9×13 inch baking pan: For pressing and setting the treats.
- Parchment paper or aluminum foil: To line the pan for easy removal and cleanup.
- Non-stick cooking spray: To grease the pan and your spatula/hands.
- Rubber spatula or wooden spoon: For stirring and pressing.
- Measuring cups and spoons: For accurate ingredient measurement.
Prep Time & Cooking Schedule
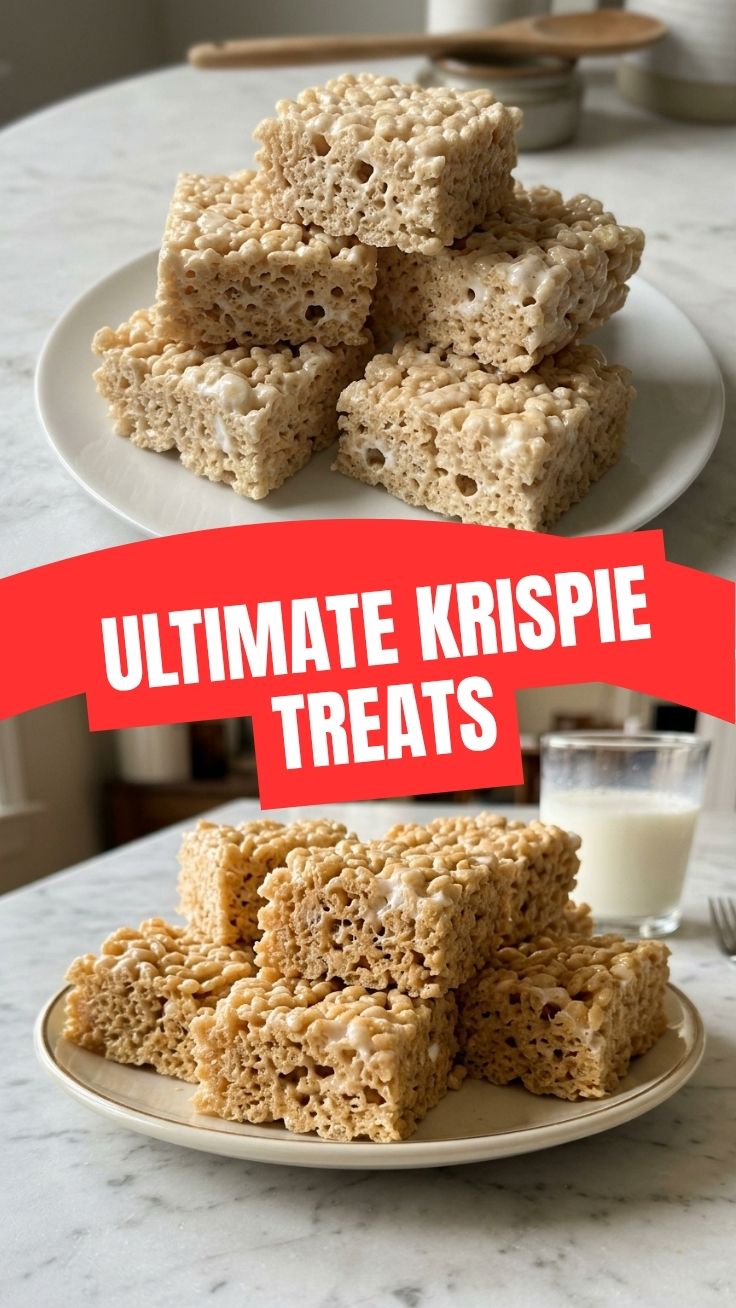
One of the best things about Rice Krispie Treats is how quickly they come together!
- Prep Time: 5 minutes
- Cook Time: 5-7 minutes (melting marshmallows)
- Resting Time: 30-60 minutes (for setting)
This recipe is perfect for last-minute cravings or an impromptu dessert. You can start them right after dinner and have them ready before bedtime!
Step-by-Step Instructions
Follow these simple steps for perfectly chewy and crispy treats every time:
1. Prepare Your Pan: Line a 9×13 inch baking pan with parchment paper or aluminum foil, leaving an overhang on the sides for easy removal. Spray lightly with non-stick cooking spray.
2. Melt Butter: In a large saucepan or Dutch oven over low heat, melt the 3 tablespoons of unsalted butter completely. Don’t rush this step; low heat prevents the butter from browning too quickly.
3. Add Marshmallows: Add the 10 ounces of marshmallows to the melted butter. Continue stirring over low heat until the marshmallows are completely melted and smooth. This usually takes about 5-7 minutes. For optimal texture in your Rice Krispie Treats, ensure the marshmallow mixture is fully dissolved without any lumps.
4. Remove from Heat & Add Vanilla/Salt (Optional): Once melted, remove the pan from the heat. Stir in the optional vanilla extract and a pinch of salt.
5. Fold in Cereal: Quickly add the 6 cups of rice krispie cereal to the marshmallow mixture. Using a rubber spatula or wooden spoon, fold gently until the cereal is evenly coated. Work quickly but carefully before the mixture cools too much.
6. Press into Pan: Transfer the mixture into the prepared baking pan. Lightly spray your spatula or hands with non-stick cooking spray, then gently press the mixture evenly into the pan. Avoid pressing too firmly, as this can lead to hard rather than chewy treats.
7. Cool and Cut: Let the treats cool at room temperature for at least 30 minutes to set. Once firm, use the parchment paper overhang to lift the entire slab out of the pan. Cut into squares or desired shapes with a greased knife.
Nutritional Benefits & Advantages
While Rice Krispie Treats are undeniably a sweet indulgence, they offer a few surprising advantages. The primary ingredient, rice krispie cereal, is often fortified with essential vitamins and minerals like iron and B vitamins, contributing to energy production and overall well-being. This recipe also provides a quick source of carbohydrates for energy. Furthermore, making them at home gives you complete control over ingredients, allowing you to choose high-quality butter and fresh marshmallows, avoiding artificial colors and preservatives often found in commercial versions.
Tips, Variations & Cooking Advice
- Don’t Overcook Marshmallows: Overheating marshmallows can result in hard treats. Keep the heat low and stir constantly.
- Don’t Over-Compress: Pressing the mixture too hard into the pan will make your treats dense and tough. A gentle touch is key for that perfect chewiness.
- Flavor Variations:
* Chocolate Drizzle: Melt milk, dark, or white chocolate and drizzle over cooled treats.
* Sprinkles: Add colorful sprinkles into the mixture before pressing, or on top for decoration.
* Nut Butter: Swirl in 1/4 cup of peanut butter or almond butter with the marshmallows for a nutty twist.
* Extracts: Experiment with almond, peppermint, or orange extract instead of vanilla.
- Dietary Adaptations:
* Gluten-Free: Ensure your rice krispie cereal and marshmallows are certified gluten-free.
* Dairy-Free: Use a dairy-free butter substitute (vegan butter sticks work well).
Common Mistakes to Avoid
- High Heat: Melting marshmallows over high heat leads to a brittle, hard texture. Always use low heat.
- Stale Marshmallows: Old marshmallows might not melt smoothly, resulting in a lumpy mixture. Use fresh ones for the best results.
- Impatience: Cutting the treats before they’ve had a chance to set can lead to messy, gooey squares that don’t hold their shape.
Storage & Meal Prep Tips
Store your homemade Rice Krispie Treats in an airtight container at room temperature for up to 3-4 days. They tend to get harder if refrigerated. Freezing is not recommended as it changes their texture significantly. For optimal freshness, make them close to when you plan to serve them. They are a fantastic make-ahead option for parties or lunchbox snacks.
Conclusion
There you have it – the ultimate guide to crafting the most delectable homemade Rice Krispie Treats. This simple yet satisfying recipe proves that the best desserts often require the fewest ingredients and the simplest steps. By understanding the nuances of melting marshmallows and handling that iconic rice krispie cereal, you’re now equipped to create childhood memories in every bite. We encourage you to try this recipe and share your delightful creations! What’s your favorite twist?
FAQs
Q1: Why are my Rice Krispie Treats hard?
A1: This usually happens if the marshmallows were cooked over too high heat or for too long, making them brittle. Another reason could be pressing the mixture too firmly into the pan.
Q2: Can I use different types of cereal?
A2: Absolutely! While the classic uses rice krispie cereal, you can experiment with other puffed cereals like Corn Chex, Cheerios, or even chocolate-flavored cereals for a unique twist.
Q3: How do I prevent the mixture from sticking to my hands/spatula?
A3: Lightly spray your spatula, hands, or even the inside of your mixing bowl with non-stick cooking spray before handling the warm, sticky mixture.
Q4: Can I add mix-ins to my Rice Krispie Treats?
A4: Yes! After folding in the cereal, you can quickly stir in mini chocolate chips, chopped candy bars, or even dried fruit before pressing the mixture into the pan.
Q5: How long do homemade Rice Krispie Treats last?
A5: When stored in an airtight container at room temperature, they typically stay fresh, soft, and chewy for 3-4 days. After that, they tend to harden.