Unlock Sweet Nostalgia: Crafting the Perfect Chewy Rice Krispie Treats at Home!
Ever wondered if you could recreate those iconic, chewy, and utterly irresistible treats from your childhood, right in your own kitchen? The answer is a resounding YES! Preparing Rice Krispie Treats at home isn’t just about saving money; it’s about experiencing the joy of crafting a timeless dessert with fresh ingredients, ensuring that perfect balance of sweetness and chewiness. Forget the store-bought versions; homemade Rice Krispie squares offer an unparalleled taste and texture that will transport you back to simpler times. This comprehensive guide will equip you with everything you need to whip up a batch of these delightful confections that are guaranteed to be a hit with everyone.
Ingredients & Kitchen Tools
Here’s what you’ll need to get started on your marshmallowy masterpiece:
- Unsalted Butter (4 tablespoons): Essential for flavor and preventing sticking. Using unsalted butter allows you to control the overall saltiness.
- Mini Marshmallows (10 ounces, about 40 cups): The star of the show. Mini marshmallows melt more evenly and quickly than large ones.
- Crispy Rice Cereal (6 cups): The “Krispie” in Rice Krispie. Choose a fresh box for maximum crunch.
- Vanilla Extract (1 teaspoon, optional): Enhances the overall flavor profile. Pure vanilla extract offers the best taste.
- Salt (1/4 teaspoon, optional): A pinch of salt balances the sweetness and elevates the other flavors.
Cooking Tools & Utensils:
- Large Saucepan: For melting butter and marshmallows. Choose one with a heavy bottom to prevent scorching.
- Large Mixing Bowl: If you prefer to combine the cereal and marshmallow mixture separately.
- 9×13 inch Baking Pan: The ideal size for a standard batch, yielding perfectly sized squares.
- Parchment Paper or Aluminum Foil: For easy removal and cleanup.
- Non-stick Cooking Spray or Butter: To prevent sticking on surfaces and your hands.
- Heat-Resistant Spatula or Wooden Spoon: For stirring and pressing the mixture.
Optional Substitutions:
- Brown Butter: For a deeper, nutty flavor. Simply cook the butter a bit longer until lightly browned.
- Flavored Marshmallows: Experiment with strawberry or chocolate marshmallows for a twist.
- Gluten-Free Crispy Rice Cereal: Many brands offer certified gluten-free options for dietary needs.
Prep Time & Cooking Schedule
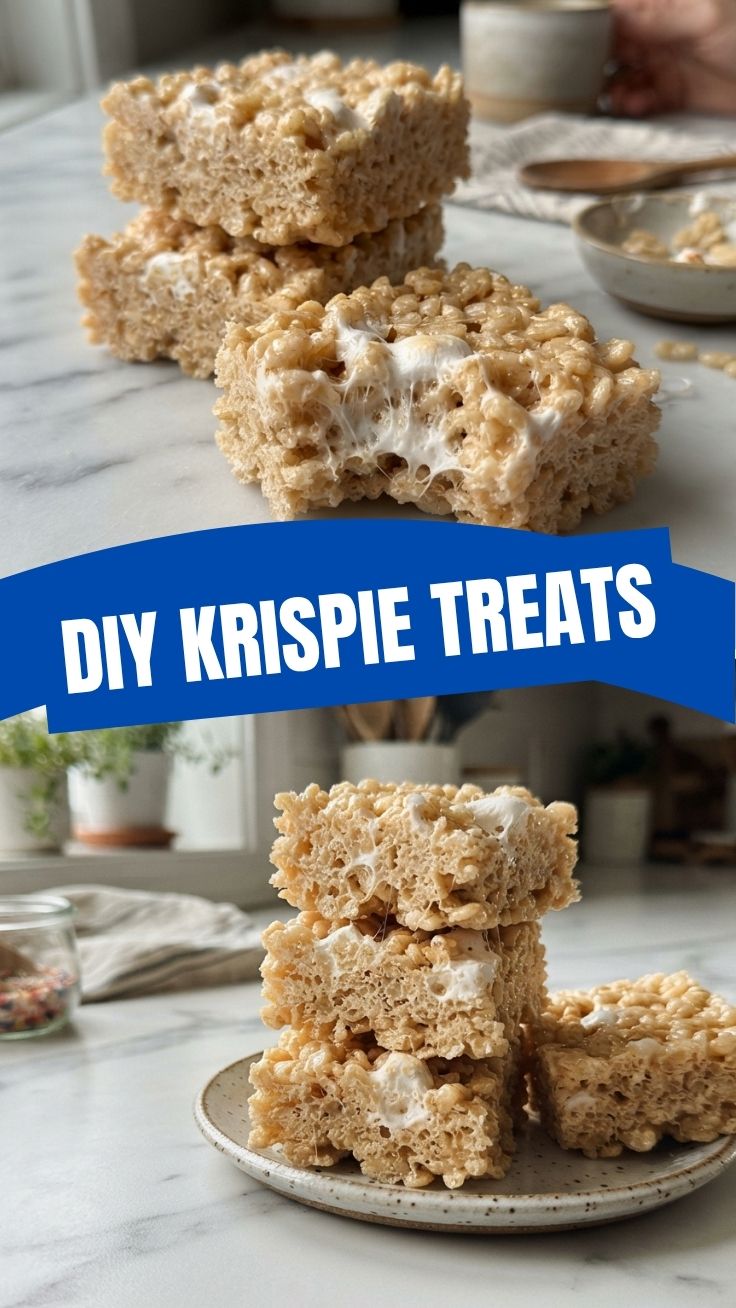
This recipe is renowned for its speed and simplicity, making it perfect for a last-minute dessert or a fun activity with kids.
- Prep Time: 10 minutes (gathering ingredients, lining the pan)
- Cook Time: 5-7 minutes (melting butter and marshmallows)
- Resting Time: 30-60 minutes (for cooling and setting)
The relatively short preparation and cooking times mean you can whip up a batch quickly. The longest part is the cooling time, which is essential for achieving that perfect, firm yet chewy texture. Plan ahead to allow adequate time for setting before slicing and serving.
Step-by-Step Instructions
Let’s get cooking! Follow these clear steps to achieve the perfect balance of chewy and crunchy.
1. Prepare Your Pan: Grease a 9×13 inch baking pan with non-stick cooking spray or butter, then line it with parchment paper, leaving an overhang on the sides for easy lifting. This crucial step ensures your Rice Krispie Treats won’t stick.
2. Melt the Butter: In a large saucepan, melt the unsalted butter over low heat. Be careful not to let it brown too quickly, unless you’re aiming for a brown butter flavor. Low heat is key for even melting without burning.
3. Add Marshmallows: Once the butter is melted, add the mini marshmallows to the saucepan. Continue stirring constantly over low heat until the marshmallows are completely melted and smooth. This step can take a few minutes; patience yields the best results. For even more flavorful Rice Krispie squares, ensure the marshmallow mixture is fully homogenous before moving on.
4. Remove from Heat & Flavor: Remove the saucepan from the heat. Stir in the vanilla extract (if using) and salt. Mix thoroughly to combine these flavor enhancers throughout the marshmallow mixture.
5. Fold in Cereal: Add the crispy rice cereal to the melted marshmallow mixture. Using your heat-resistant spatula, gently fold the cereal into the marshmallow until it’s evenly coated. Work quickly but gently to avoid crushing the cereal.
6. Press into Pan: Transfer the mixture into your prepared 9×13 inch baking pan. Using a buttered spatula or your buttered hands, gently and evenly press the mixture into the pan. Avoid pressing too firmly, as this can result in hard, dense treats. A light, even press is all that’s needed for chewy perfection.
7. Cool & Cut: Allow the treats to cool completely at room temperature for at least 30-60 minutes, or until firm. Once cooled, use the parchment paper overhang to lift the entire block out of the pan. Place it on a cutting board and slice into squares using a sharp, lightly buttered knife.
Nutritional Benefits & Advantages
While Rice Krispie Treats are undeniably a sweet indulgence, they do offer some surprising benefits. Crispy rice cereal, often fortified with essential vitamins and minerals like iron and B vitamins, can contribute to your daily intake. Furthermore, marshmallows are primarily sugar, providing a quick energy boost. When made at home, you have complete control over the ingredients, allowing you to choose organic options, reduce sugar slightly, or even incorporate whole-grain crispy rice cereals for a fiber boost. These treats are naturally fat-free (aside from the butter) and relatively low in calories compared to many other desserts, making them a permissible sweet treat in moderation.
Tips, Variations & Cooking Advice
- Brown Butter Magic: For an elevated flavor, melt the butter until it starts to brown and smell nutty before adding the marshmallows. This adds a depth of flavor that’s truly delightful.
- Chocolate Drizzle: After the squares have cooled, melt some chocolate chips and drizzle them over the top for an extra layer of sweetness and visual appeal.
- Mix-ins: Incorporate sprinkles, mini chocolate chips, crushed candies, or even dried fruit into the mixture along with the cereal for different textures and flavors. Just be sure to add them towards the end so they don’t melt completely.
- Holiday Fun: Use cookie cutters to create festive shapes for holidays before the treats fully set.
- Dairy-Free: Substitute regular butter with a good quality dairy-free butter alternative. Ensure your marshmallows are also dairy-free (most are, but always check the label).
- Flavor Extracts: Beyond vanilla, consider using almond, peppermint, or even a touch of orange extract for unique flavor profiles.
Common Mistakes to Avoid
- Overheating Marshmallows: Cooking marshmallows over high heat will result in tough, hard treats. Always use low heat and stir constantly for a beautifully smooth, pliable mixture.
- Over-compressing: Pressing the mixture too firmly into the pan will yield dense, brick-like treats instead of light and chewy ones. A gentle hand is best.
- Not Greasing/Lining the Pan: This is a recipe for disaster (and a sticky mess!). Always grease and/or line your pan meticulously.
- Skipping the Salt (Optional): A small pinch of salt truly balances the sweetness, enhancing the overall flavor without making the treats taste salty.
Storage & Meal Prep Tips
Rice Krispie Treats are best enjoyed fresh, but they can be stored for up to 3-4 days at room temperature.
- Room Temperature: Store cooled and cut squares in an airtight container at room temperature. Placing a piece of parchment paper between layers can prevent sticking.
Freezing: While generally not recommended as it can alter the texture, you can* freeze them for up to 6 weeks. Wrap individual squares tightly in plastic wrap, then place them in a freezer-safe bag or container. Thaw at room temperature before serving.
- Reheating: Do not reheat in the microwave, as this will make them soft and mushy. They are designed to be enjoyed at room temperature.
Conclusion
Crafting homemade Rice Krispie Treats is a delightful and rewarding experience. With simple ingredients and minimal effort, you can create a nostalgic dessert that’s far superior to any store-bought equivalent. From the initial melting of the butter to the final, satisfying chew of each square, this recipe is a testament to the joy of straightforward, delicious baking. We hope you’ll give these tempting Rice Krispie squares a try and rediscover the magic of this classic treat. Share your creations with us and let us know your favorite variations! Happy baking!
FAQs
Q1: Why are my Rice Krispie Treats hard?
A1: Your treats might be hard if you overheated the marshmallows (used too high heat) or if you pressed the mixture too firmly into the pan. Always use low heat and a gentle hand.
Q2: Can I use different cereals for this recipe?
A2: Absolutely! While crispy rice cereal is classic, you can experiment with corn flakes, Cheerios, or even chocolate-flavored cereals for different textures and tastes. Adjust quantities as needed to maintain the right consistency.
Q3: How can I make these treats gluten-free?
A3: Simply use a certified gluten-free crispy rice cereal. Most large grocery stores offer a gluten-free option in their cereal aisle.
Q4: Can I add food coloring for themed treats?
A4: Yes! Add a few drops of gel food coloring to the melted marshmallow mixture before adding the cereal. Mix thoroughly for an even color.
Q5: My marshmallows are old and hard; will they work?
A5: It’s best to use fresh, soft marshmallows for the chewiest results. Old, hard marshmallows may not melt as smoothly and could result in a tougher treat.