Unlock the Sweet Secret: The Easiest Peanut Butter Fudge You’ll Ever Make
Ever craved that rich, creamy, and utterly irresistible taste of homemade fudge, but been intimidated by complex recipes? What if I told you that creating confectionery perfection, specifically a luscious batch of creamy peanut butter fudge, was not only achievable but surprisingly simple? This isn’t just another dessert; it’s a testament to the magic that happens when a few humble ingredients come together to form an unforgettable treat. Preparing your own Peanut Butter Fudge at home offers unparalleled satisfaction – the aroma filling your kitchen, the control over ingredients, and the sheer delight of tasting something truly handcrafted. Forget store-bought imitations; we’re about to embark on a sweet journey that will redefine your understanding of delicious Fudge Recipes.
Ingredients & Kitchen Tools
To whip up this dream dessert, gather these essentials:
- 1 cup (2 sticks) unsalted butter: Adds richness and structure.
- 2 cups granulated sugar: Provides sweetness and contributes to the fudge’s texture.
- 1 cup evaporated milk: The secret to its creamy consistency and prevents crystallization.
- 1 teaspoon vanilla extract: Enhances flavor and aroma.
- 1 jar (16 ounces) creamy peanut butter: The star ingredient, choose a good quality brand for the best taste.
- 1 (7-ounce) jar marshmallow creme (or fluff): Helps create a smooth, light texture and prevents graininess.
Cooking Tools & Utensils:
- Heavy-bottomed saucepan: Essential for even heat distribution to prevent scorching.
- 9×13 inch baking pan: For setting your fudge, line with parchment paper for easy removal.
- Whisk or wooden spoon: For stirring.
- Candy thermometer (optional but recommended): For precise temperature control.
- Parchment paper: For lining the pan, ensuring easy release and clean-up.
Prep Time & Cooking Schedule
- Prep time: 10 minutes
- Cook time: 15-20 minutes
- Cooling/Setting time: 2-3 hours (at room temperature or in the refrigerator)
This recipe is perfect for a spontaneous craving or a last-minute gift! The active cooking time is minimal, but the cooling period is crucial for achieving that perfect firm, sliceable fudge. Plan accordingly if you’re making it for an event.
Step-by-Step Instructions
1. Prepare your pan: Lightly grease a 9×13 inch baking pan and line it with parchment paper, allowing an overhang on the sides for easy lifting later. This simple step will save you a lot of hassle!
2. Melt and combine: In your heavy-bottomed saucepan, melt the butter over medium heat. Once melted, stir in the granulated sugar and evaporated milk. Bring the mixture to a rolling boil, stirring constantly.
3. Boil to temperature: Continue to boil and stir for 5 minutes. If using a candy thermometer, aim for 234°F (112°C), which is the soft-ball stage. Consistent stirring is key here to prevent sticking and burning. This precise temperature is crucial for the perfect Peanut Butter Fudge texture.
4. Remove from heat and add flavor: Take the saucepan off the heat. Immediately stir in the vanilla extract, creamy peanut butter, and marshmallow creme. Stir vigorously until all ingredients are thoroughly combined and the mixture is smooth and glossy. The inclusion of these ingredients transforms our basic sugar syrup into a velvety, decadent treat, distinguishing it from other Fudge Recipes.
5. Pour and cool: Quickly pour the peanut butter fudge mixture into your prepared pan. Spread evenly with a spatula.
6. Set: Allow the fudge to cool completely at room temperature for at least 2-3 hours, or refrigerate for about 1 hour for a quicker set. Once firm, use the parchment paper overhang to lift the fudge from the pan and cut it into squares.
Nutritional Benefits & Advantages
While this is undoubtedly an indulgent treat, peanut butter does offer some nutritional upsides! Peanut butter is a good source of plant-based protein, healthy fats (monounsaturated and polyunsaturated), and dietary fiber, which can contribute to satiety. It also provides essential vitamins and minerals like magnesium, potassium, zinc, and vitamin E. Making it at home allows you to control the quality of ingredients, opting for natural peanut butter with minimal additives.
Tips, Variations & Cooking Advice
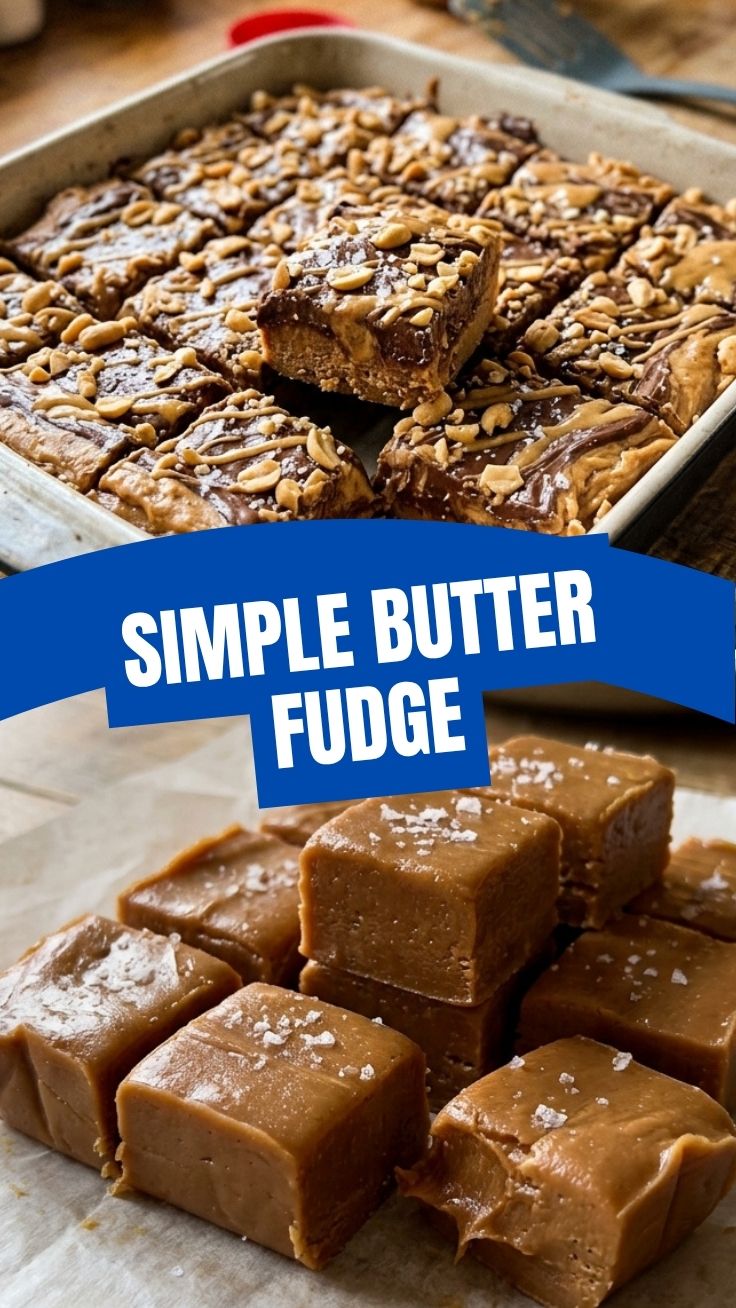
- Sea Salt Flakes: A sprinkle of flaky sea salt on top before the fudge sets elevates the flavor profile, balancing the sweetness with a touch of savory.
- Chocolate Swirl: Melt 1/2 cup of chocolate chips and swirl them into the fudge before it sets for a classic flavor combination.
- Nutty Crunch: For added texture, stir in 1/2 cup of chopped roasted peanuts after removing from heat, before adding to the pan.
- Dairy-Free: Substitute unsalted butter with a plant-based butter alternative and evaporated milk with a dairy-free condensed milk for a dairy-free version.
- Adjusting Sweetness: While this recipe is balanced, you can slightly reduce the sugar by 1/4 cup if you prefer a less sweet fudge, though this may slightly alter the texture.
Common Mistakes to Avoid
- Not stirring constantly: This can lead to the sugar burning or sticking to the bottom of the pan, resulting in a gritty texture or scorched flavor.
- Not reaching the correct temperature: Undercooked fudge won’t set properly, while overcooked fudge will be crumbly and dry. A candy thermometer is your best friend here.
- Rushing the cooling process: While tempting, allowing the fudge to set gradually helps it achieve its ideal texture. Don’t put it directly into the freezer immediately after pouring.
- Using natural peanut butter with oil separation: While great for health, natural peanut butter that separates oil may not yield the same consistent texture for this specific fudge recipe. Stick to creamy, stabilized peanut butter here.
Storage & Meal Prep Tips
Store Peanut Butter Fudge in an airtight container at room temperature for up to 1 week, or in the refrigerator for up to 2 weeks. If refrigerating, allow it to come to room temperature for a few minutes before serving for optimal texture. For longer storage, freeze individual pieces wrapped in parchment paper and then in an airtight freezer bag for up to 3 months. Thaw at room temperature. This fudge is an excellent make-ahead treat for parties or edible gifts.
Conclusion
Mastering homemade Peanut Butter Fudge is more than just learning a recipe; it’s about unlocking a world of delicious possibilities and embracing the joy of creating something truly special. This easy guide has walked you through every step, ensuring your success in crafting a smooth, rich, and utterly delightful confection. So go ahead, whip up a batch, and savor the sweet rewards. Don’t be afraid to experiment and make it your own! Share your creations and discoveries with us – we always love hearing your success stories. And remember, there’s a vast universe of delectable Fudge Recipes waiting to be explored, but this one is a perfect place to start your journey.
FAQs
Q1: Why is my fudge gritty?
A: Gritty fudge often results from sugar crystals forming. Ensure you stir constantly while boiling and scrape down the sides of the pan to prevent crystals from adhering above the mixture.
Q2: Can I use crunchy peanut butter?
A: While creamy peanut butter is recommended for a smooth texture, you can use crunchy peanut butter if you prefer a textural contrast.
Q3: My fudge didn’t set. What went wrong?
A: This usually means the mixture didn’t reach the correct temperature (soft-ball stage, 234°F/112°C). It might also be due to insufficient boiling time.
Q4: How can I cut the fudge cleanly?
A: For clean cuts, use a sharp, warm knife. Run the knife under hot water and wipe it dry between each cut.
Q5: Can I make this fudge in a microwave?
A: While some fudge recipes can be adapted for the microwave, this stovetop method is recommended for consistent results and precise temperature control.