Bake the Best Peanut Butter Cookies: A Step-by-Step Guide
Ever crave that perfect balance of sweet and salty, a treat that’s both comforting and incredibly satisfying? Few homemade delights hit the spot quite like freshly baked Peanut Butter Cookies. While store-bought versions are readily available, there’s an undeniable magic in creating these golden-brown discs of joy in your own kitchen. Not only do you control the quality of ingredients, ensuring no artificial additives, but the aroma alone is enough to transform your home into a haven of warmth and nostalgia. This comprehensive guide will walk you through everything you need to master this classic recipe, culminating in an Easy Peanut Butter Cookie Recipe that will become a go-to in your repertoire. Preparing them at home offers unparalleled freshness and the satisfaction of a wholesome, delicious dessert.
Ingredients & Kitchen Tools
Crafting the perfect batch requires a few simple ingredients and standard kitchen tools.
Ingredients:
- 1 cup (2 sticks) unsalted butter, softened: Provides richness and tender texture. Using unsalted allows you to control the salt content.
- 1 cup granulated sugar: For sweetness and crisp edges.
- 1 cup packed light brown sugar: Adds moisture, depth of flavor, and chewiness.
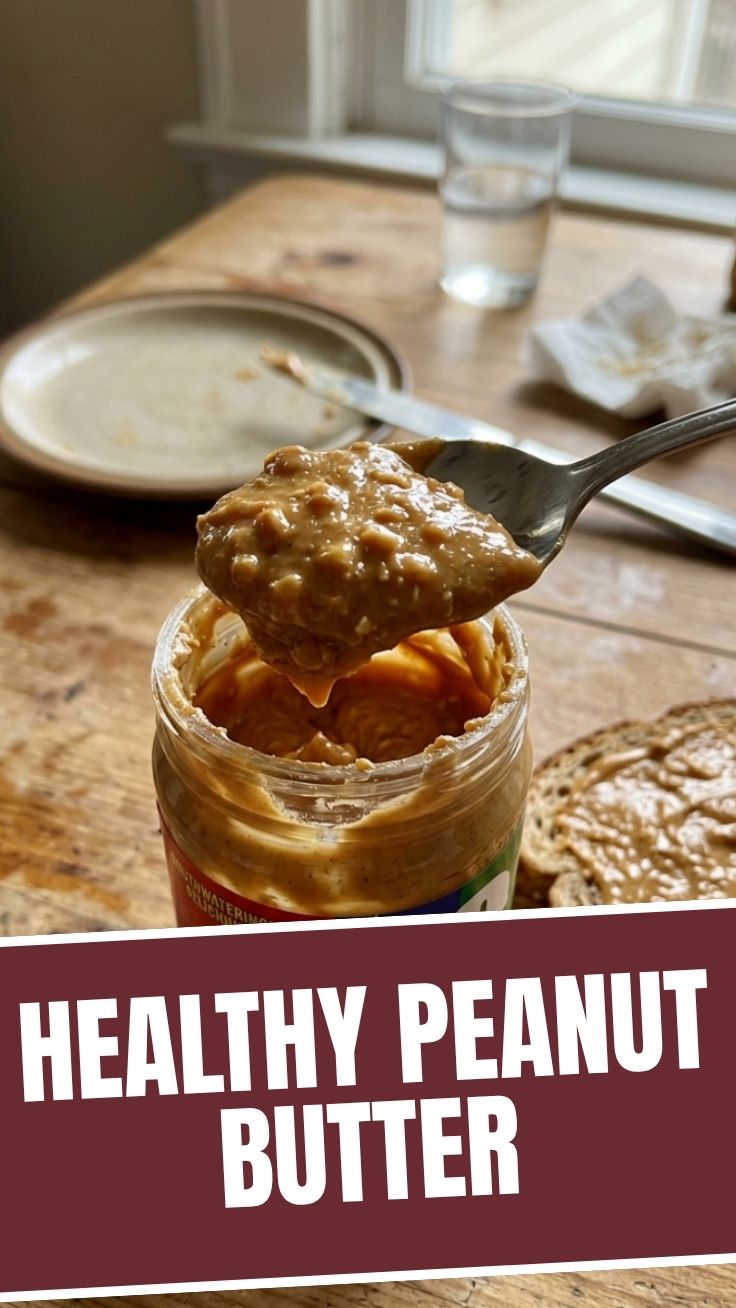
- 1 cup creamy peanut butter: The star of the show! Choose a good quality, creamy variety (not natural, as the oil separation can affect consistency).
- 2 large eggs: Binds ingredients together and adds structure.
- 1 teaspoon vanilla extract: Enhances all the flavors.
- 2 ½ cups all-purpose flour: The primary dry ingredient for structure.
- 1 teaspoon baking soda: Leavening agent that helps cookies rise and spread.
- ½ teaspoon salt: Balances sweetness and enhances flavor.
- Optional: ½ cup chocolate chips or chopped peanuts: For added texture and flavor variations.
Kitchen Tools:
- Large mixing bowls (2): For wet and dry ingredients.
- Electric mixer (stand or hand-held): Essential for creaming butter and sugar. A whisk can work, but it’s more effort.
- Rubber spatula: For scraping down bowls and folding.
- Measuring cups and spoons: For accurate ingredient portions.
- Baking sheets: Preferably light-colored to prevent over-browning.
- Parchment paper or silicone baking mats: Prevents sticking and ensures even baking.
- Wire cooling rack: For proper cooling and crispness.
- Fork: To create the classic crosshatch pattern.
Prep Time & Cooking Schedule
This recipe is surprisingly quick, making it perfect for an impromptu baking session.
- Prep Time: 15-20 minutes (includes gathering ingredients and mixing)
- Chill Time (Optional but Recommended): 30 minutes (or longer) for better flavor and less spread.
- Cook Time: 8-12 minutes per batch
- Resting Time: 5 minutes on the baking sheet, then transfer to a wire rack to cool completely.
Plan to start about an hour before you want to enjoy your first warm cookie, allowing for prep, a brief chill, and baking in batches.
Step-by-Step Instructions
Follow these detailed steps to achieve perfect Peanut Butter Cookies every time. Remember, precision in baking leads to delicious results.
1. Preheat Oven & Prep: Preheat your oven to 375°F (190°C). Line baking sheets with parchment paper or silicone mats.
2. Cream Wet Ingredients: In a large mixing bowl, using an electric mixer on medium speed, cream together the softened butter, granulated sugar, and brown sugar until light and fluffy (about 2-3 minutes). This aeration is crucial for the cookie’s texture.
3. Add Peanut Butter & Eggs: Beat in the creamy peanut butter until well combined. Then, add the eggs one at a time, mixing well after each addition. Stir in the vanilla extract.
4. Combine Dry Ingredients: In a separate medium bowl, whisk together the all-purpose flour, baking soda, and salt.
5. Combine Wet & Dry: Gradually add the dry ingredient mixture to the wet ingredients, mixing on low speed until just combined. Be careful not to overmix; over-developing gluten can lead to tough cookies. If adding chocolate chips or chopped peanuts, fold them in now.
6. Chill Dough (Recommended): For best results, cover the dough and refrigerate for at least 30 minutes. This helps prevent excessive spreading and deepens the flavor, contributing to an amazing Easy Peanut Butter Cookie Recipe later.
7. Portion & Shape: Scoop rounded tablespoons of dough onto the prepared baking sheets, spacing them about 2 inches apart.
8. Create Crosshatch Pattern: Using a fork, gently press down on each dough ball in a crisscross pattern. This adds visual appeal and helps ensure even baking.
9. Bake: Bake for 8-12 minutes, or until the edges are golden brown and the centers are just set. They might look slightly underdone in the middle, but they will continue to set as they cool. Do not overbake!
10. Cool: Remove from the oven and let cool on the baking sheets for 5 minutes before transferring to a wire rack to cool completely.
Nutritional Benefits & Advantages
Peanut butter, the star ingredient, offers several nutritional benefits. It’s a good source of protein, which contributes to satiety and muscle repair, and healthy fats, including monounsaturated and polyunsaturated fats, beneficial for heart health. Peanuts also provide fiber, supporting digestive health, and essential vitamins and minerals like Vitamin E, magnesium, and potassium. While these cookies are a treat, enjoying them in moderation can be part of a balanced diet, offering a wholesome energy boost.
Tips, Variations & Cooking Advice
- Soft vs. Chewy: For softer cookies, slightly underbake them. For chewier cookies, ensure the dough is well-chilled.
- Nut Butter Swap: While peanut butter is classic, you can experiment with almond butter or cashew butter for different flavor profiles. Adjust sweetness as needed.
- Gluten-Free: Substitute the all-purpose flour with a 1:1 gluten-free baking flour blend that contains xanthan gum.
- Dairy-Free: Use a good quality dairy-free butter substitute.
- Flavor Boosts: Add a pinch of cinnamon or nutmeg to the dry ingredients for a warm, spiced flavor. A drizzle of melted chocolate after cooling is also divine.
- Portion Control: Use a small ice cream scoop for consistent cookie sizes, ensuring even baking.
Common Mistakes to Avoid
- Overmixing the Dough: This develops gluten too much, leading to tough, dense cookies. Mix until just combined.
- Not Chilling the Dough: While optional, chilling prevents cookies from spreading too much and losing their shape, resulting in flatter, oilier cookies.
- Overbaking: This is the most common mistake! Overbaked cookies are dry and crumbly. Remove them when the edges are golden, and the centers look slightly soft. They will firm up as they cool.
- Using Natural Peanut Butter: The oil separation in natural peanut butter can make the dough too oily and cause excessive spreading. Stick to creamy, processed peanut butter for this recipe.
Storage & Meal Prep Tips
These cookies are fantastic for meal prep or feeding a crowd!
- At Room Temperature: Store cooled cookies in an airtight container at room temperature for up to 5-7 days.
- Freezing Baked Cookies: Place cooled cookies in a single layer on a baking sheet to freeze solid, then transfer to a freezer-safe bag or container for up to 3 months. Thaw at room temperature.
- Freezing Dough: Roll cookie dough into balls, flatten with a fork, and freeze on a baking sheet. Once solid, transfer to a freezer-safe bag. Bake from frozen, adding an extra 2-4 minutes to the baking time. This is excellent for having fresh cookies on demand!
Conclusion
Baking your own Peanut Butter Cookies is a rewarding experience, yielding a delicious and comforting treat that often surpasses anything you can buy. By following this comprehensive guide, you’ve gained the knowledge and confidence to create perfect batches every time. This Easy Peanut Butter Cookie Recipe is more than just a dessert; it’s a taste of home and a testament to the joy of homemade baking. Don’t hesitate to dive in and try it yourself! Share your results in the comments below – we’d love to hear how your cookies turned out!
FAQs
Q1: Can I use crunchy peanut butter instead of creamy?
A1: Yes, you can! Crunchy peanut butter will add a nice textural element with small peanut pieces, but ensure it’s not a “natural” variety with separated oils.
Q2: My cookies spread too much. What went wrong?
A2: Common culprits include using softened butter that was too warm, not chilling the dough (especially on warm days), or an inaccurate flour measurement. Ensure your butter is just softened (not melted) and try chilling the dough for at least an hour.
Q3: How do I store leftover dough?
A3: Wrap leftover dough tightly in plastic wrap and store it in the refrigerator for up to 3-4 days. You can also freeze dough balls for up to 3 months and bake from frozen.
Q4: Can I halve or double this recipe?
A4: Absolutely! This recipe scales very well. Just ensure you accurately halve or double all ingredients to maintain the correct ratios.
Q5: What’s the best way to get the classic crosshatch pattern?
A5: Gently press a fork down on the top of each dough ball, then rotate the fork 90 degrees and press again. This creates the traditional crisscross design. Don’t press too hard, or the cookies will be too thin.