Master the Art of the New York Cheesecake: Your Ultimate Home Baking Guide
Are you ready to transform humble ingredients into a dessert masterpiece that will have everyone asking for your secret? Forget store-bought versions; making a New York Cheesecake at home is a rewarding experience that yields an unparalleled creamy texture and rich flavor. This comprehensive guide will walk you through every step, ensuring your homemade New York Cheesecake rivals the best bakeries. We’ll also touch upon the nuances that distinguish it from a classic Philadelphia Cheesecake, ensuring you master both the techniques and the appreciation for this iconic dessert.
Ingredients & Kitchen Tools
Crafting the perfect cheesecake requires quality ingredients and the right equipment. Here’s what you’ll need:
- For the Graham Cracker Crust:
* 1 ½ cups Graham cracker crumbs: About 10-12 full sheets, finely crushed. Provides a sweet, buttery base.
* ¼ cup granulated sugar: Adds sweetness to the crust.
* 6 tablespoons unsalted butter, melted: Binds the crumbs together and enriches the flavor.
- For the Cheesecake Filling:
* 32 ounces (4 blocks) cream cheese, full-fat, softened: Essential for the classic rich, tangy, and creamy texture. Softened cream cheese prevents lumps.
* 1 ½ cups granulated sugar: Sweetens the filling.
* 4 large eggs, room temperature: Acts as a binder and contributes to the smooth texture. Room temperature eggs emulsify better.
* 1 cup full-fat sour cream, room temperature: Adds a delightful tang and extra creaminess, preventing cracks.
* 1 tablespoon fresh lemon juice: Brightens the flavor and balances the richness.
* 1 teaspoon vanilla extract, pure: Enhances the overall flavor profile.
* 1 tablespoon all-purpose flour (optional): Can help prevent cracking, especially for beginners.
- Kitchen Tools:
* 9-inch springform pan: Crucial for easy cheesecake removal.
* Aluminum foil: To wrap the springform pan for a water bath.
* Large roasting pan: For the water bath.
* Electric mixer (stand or hand-held): For creaming ingredients smoothly.
* Rubber spatula: For scraping bowls and folding.
* Measuring cups and spoons: For precise ingredient measurements.
* Large mixing bowls: For preparing the crust and filling.
Prep Time & Cooking Schedule
Planning your cheesecake making is key to success. This recipe requires patience but the results are worth it!
- Prep Time: 25 minutes
- Cook Time: 1 hour 15 minutes to 1 hour 30 minutes
- Cooling Time (in oven with door ajar): 1 hour
- Chilling Time (refrigerated): Minimum 6 hours, ideally overnight. This allows the cheesecake to fully set and develop its signature dense, rich texture.
The long chilling time is non-negotiable for a perfectly set New York Cheesecake. Plan to start your cheesecake the day before you want to serve it.
Step-by-Step Instructions
Follow these detailed steps for a beautifully baked cheesecake:
1. Prepare the Crust: Preheat oven to 350°F (175°C). In a medium bowl, combine graham cracker crumbs, granulated sugar, and melted butter. Press firmly and evenly onto the bottom of a 9-inch springform pan. Bake for 10 minutes, then remove and let cool. This initial bake prevents a soggy crust. Wrap the outside of the springform pan tightly with several layers of heavy-duty aluminum foil to prevent water from seeping in during the water bath later, a critical step for a smooth, crack-free New York Cheesecake.
2. Make the Filling: Reduce oven temperature to 325°F (160°C). In a large mixing bowl, using an electric mixer on medium speed, beat the softened cream cheese until smooth and creamy, about 2-3 minutes. This is crucial for avoiding lumps. Gradually add the granulated sugar, beating until just combined and smooth.
3. Incorporate Wet Ingredients: Add the eggs one at a time, beating on low speed after each addition just until incorporated. Do not overmix – overmixing can introduce too much air, leading to cracks. Stir in the sour cream, lemon juice, and vanilla extract until just blended. If using, gently fold in the tablespoon of all-purpose flour. The consistency should be thick and somewhat light, a hallmark of a good Philadelphia Cheesecake style filling.
4. Bake with Water Bath: Pour the filling over the cooled crust in the prepared springform pan. Place the springform pan in a large roasting pan. Carefully pour hot water into the roasting pan until it comes halfway up the sides of the springform pan. This water bath creates a moist, even heat, preventing cracking and ensuring a silky texture.
5. Bake: Bake for 1 hour 15 minutes to 1 hour 30 minutes, or until the edges are set but the center still jiggles slightly (about 2-3 inches in diameter).
6. Cooling: Turn off the oven, prop the oven door ajar with a wooden spoon, and let the cheesecake cool in the oven for 1 hour. This slow cooling prevents sudden temperature changes that can cause cracks.
7. Chill: Remove the cheesecake from the oven and the water bath. Carefully unwrap the foil. Let it cool completely on a wire rack at room temperature. Once cool, cover loosely with plastic wrap and refrigerate for at least 6 hours, or preferably overnight, until completely firm and thoroughly chilled.
Nutritional Benefits & Advantages
While a treat, homemade cheesecake offers some advantages. Using full-fat dairy provides healthy fats and fat-soluble vitamins (A, D, E, K). Eggs contribute protein and choline, important for brain health. Baking at home allows you to control sugar content and avoid artificial ingredients often found in commercially prepared versions. Sour cream also offers probiotics, beneficial for gut health.
Tips, Variations & Cooking Advice
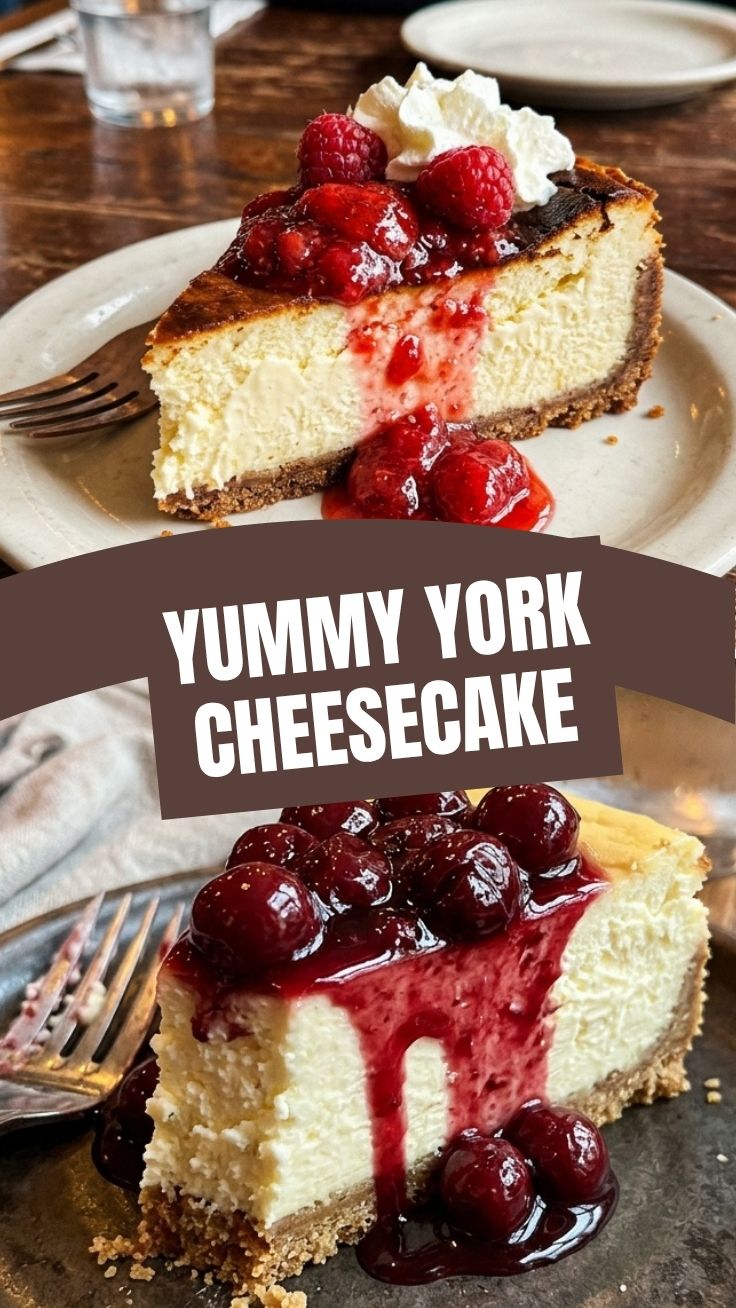
- Flavor Variations: Swirl in fruit purees (raspberry, blueberry), chocolate ganache, or caramel sauce before baking for added flavor. Top with fresh berries, whipped cream, or a chocolate drizzle for serving.
- Gluten-Free: Use gluten-free graham cracker crumbs for the base.
- Dairy-Free: Substitute dairy cream cheese, sour cream, and butter with plant-based alternatives.
- Mini Cheesecakes: Bake in a muffin tin lined with paper liners for individual servings, adjusting baking time accordingly.
- Preventing Cracks: Room temperature ingredients, not overmixing, and the water bath are your best defenses. Don’t open the oven door during baking.
Common Mistakes to Avoid
- Cold Ingredients: Using cold cream cheese or eggs leads to lumps and an uneven texture. Always bring them to room temperature.
- Overmixing: Incorporates too much air, causing the cheesecake to puff up excessively in the oven and then collapse, leading to cracks. Mix only until just combined.
- Skipping the Water Bath: This is a crucial step for preventing cracks and achieving a moist, creamy texture.
- Not Chilling Enough: The cheesecake needs ample time to set. Cutting it too soon will result in a messy, under-set slice.
- Opening Oven Door: Resist the urge! Rapid temperature changes are a crack’s best friend.
Storage & Meal Prep Tips
Store leftover cheesecake wrapped loosely in plastic wrap or in an airtight container in the refrigerator for up to 5-7 days. For longer storage, cheesecake freezes beautifully. Slice the cheesecake, then wrap each slice individually in plastic wrap and then in aluminum foil. Freeze for up to 1-2 months. Thaw frozen cheesecake slices in the refrigerator overnight before serving. Do not reheat, as this will alter the texture.
Conclusion
Mastering the homemade New York Cheesecake is a culinary triumph that will surely impress. With its dense, creamy texture and rich flavor, it’s a dessert that truly stands apart, subtly different yet equally delightful as a classic Philadelphia Cheesecake. By following these detailed steps, you can confidently create a show-stopping dessert from scratch. Give it a try, and share your baking journey with us!
FAQs
Q: Do I really need a water bath?
A: Yes, the water bath is highly recommended. It provides a moist, even cooking environment, which is crucial for preventing cracks and ensuring a truly creamy, smooth texture.
Q: My cheesecake cracked. What happened?
A: Common causes include overmixing, using cold ingredients, baking at too high a temperature, not using a water bath, or cooling too quickly. Review the tips and avoid common mistakes for next time.
Q: Can I use low-fat cream cheese?
A: While possible, full-fat cream cheese is essential for the authentic dense and rich texture of a true New York cheesecake. Low-fat versions may result in a less satisfying, often rubbery, texture.
Q: How do I know when the cheesecake is done?
A: The edges should appear set, but the center (about a 2-3 inch diameter) should still jiggle slightly when you gently shake the pan. It will continue to set as it cools and chills.
Q: Can I prepare the crust ahead of time?
A: Yes, you can bake the crust and let it cool completely up to a day in advance. Cover it loosely and store at room temperature until you’re ready to add the filling.