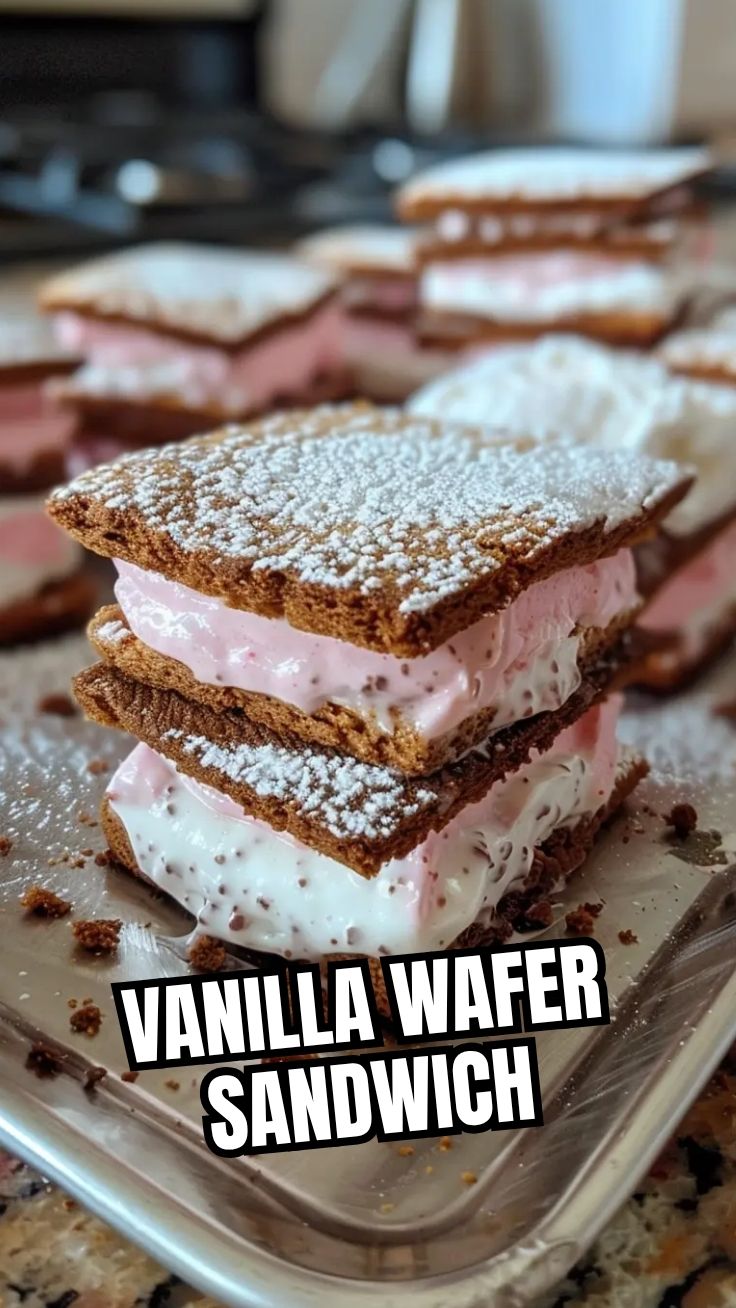
The Ultimate Guide to Crafting Irresistible Homemade Ice Cream Sandwiches
Tired of store-bought frozen treats that lack that special something? Imagine biting into a perfectly chewy chocolate cookie embracing a core of creamy, dreamy ice cream. What if we told you that creating this culinary magic, Ice Cream Sandwiches (Homemade), is not only achievable but immensely rewarding? Crafting these delightful frozen treats at home allows for unparalleled customization, from the richness of your chosen ice cream to the perfect texture of your cookies. Not only do you control the quality of every ingredient, but you also get to infuse them with your personal touch, turning a simple dessert into a memorable experience. And for those who love to experiment, incorporating a stellar Cookie Dough Recipe into your repertoire opens up a world of possibilities, not just for sandwiches but for countless other baked goods. Let’s dive into making the ultimate summer (or any season!) indulgence.
Ingredients & Kitchen Tools
- Unsalted Butter (1 cup, softened): Provides richness and tenderness to your cookie base. Using unsalted butter allows you to control the salt content.
- Granulated Sugar (3/4 cup): For sweetness and contributes to the cookie’s structure.
- Light Brown Sugar (3/4 cup, packed): Adds moisture, chewiness, and a subtle caramel flavor.
- Large Eggs (2): Act as a binder and add richness.
- Vanilla Extract (2 tsp): Essential for flavor enhancement.
- All-Purpose Flour (2 1/4 cups): Structure for the cookies.
- Unsweetened Cocoa Powder (3/4 cup): For deep chocolate flavor in your cookie wafers.
- Baking Soda (1 tsp): A leavening agent that helps the cookies rise and spread slightly.
- Salt (1/2 tsp): Balances sweetness and enhances other flavors.
- Your Favorite Ice Cream (1.5 quarts, slightly softened): The heart of your sandwich! Choose a high-quality ice cream for the best results.
- Optional: Chocolate Chips or Sprinkles (1/2 cup): For rolling the sides of your finished sandwiches.
Kitchen Tools:
- Electric Mixer (stand or hand-held): For creaming butter and sugar and mixing the dough efficiently.
- Large Mixing Bowls (2): For wet and dry ingredients.
- Rubber Spatula: For scraping bowls and folding ingredients.
- Measuring Cups and Spoons: For accurate ingredient portions.
- Baking Sheets (2-3): Essential for baking cookies.
- Parchment Paper: Prevents sticking and makes cleanup easier.
- Offset Spatula or Icing Spatula: For spreading ice cream smoothly.
- 9×13 inch Baking Pan (or similar size): For pressing and freezing the ice cream layer.
- Plastic Wrap: For covering dough and ice cream.
- Sharp Knife or Pizza Cutter: For cutting finished sandwiches.
Prep Time & Cooking Schedule
- Cookie Dough Prep: 20 minutes
- Cookie Dough Chill Time: 30 minutes (minimum, but longer is better for easier handling)
- Cookie Baking: 10-12 minutes per batch (active cooking)
- Cookie Cooling: 20 minutes
- Ice Cream Prep & Assembly: 20 minutes
- Freezing Time (Assembled Sandwiches): 2-4 hours (essential for firming up)
Total Time: Plan for at least 3-5 hours, mostly hands-off, to ensure everything is perfectly chilled and set. This allows ample time for the cookies to cool completely and the ice cream to firm up after assembly, crucial for a mess-free experience.
Step-by-Step Instructions
1. Cream Butter & Sugars: In a large bowl, using an electric mixer, beat the softened butter, granulated sugar, and brown sugar on medium speed until light and fluffy, about 2-3 minutes.
2. Add Wet Ingredients: Beat in the eggs one at a time, ensuring each is fully incorporated before adding the next. Stir in the vanilla extract.
3. Combine Dry Ingredients: In a separate medium bowl, whisk together the all-purpose flour, cocoa powder, baking soda, and salt.
4. Gradually Add Dry to Wet: With the mixer on low, gradually add the dry ingredients to the wet ingredients, mixing until just combined. Do not overmix. The dough will be thick.
5. Chill the Dough: Divide the Cookie Dough Recipe in half, flatten each half into a disc, wrap tightly in plastic wrap, and refrigerate for at least 30 minutes. This makes the dough much easier to handle.
6. Preheat Oven & Prepare Pans: Preheat your oven to 350°F (175°C). Line two baking sheets with parchment paper.
7. Roll and Bake Cookies: On a lightly floured surface, roll out one disc of chilled cookie dough to about 1/4-inch thickness. Using a cookie cutter or a sharp knife, cut out rectangular or square shapes (the size of your desired Ice Cream Sandwiches (Homemade)). Place them 1 inch apart on the prepared baking sheets. Bake for 10-12 minutes, or until the edges are set and the centers are still slightly soft. They will firm up as they cool. Repeat with the remaining dough.
8. Cool Completely: Transfer cookies to a wire rack and let cool completely. This is crucial; warm cookies will melt your ice cream.
9. Prepare Ice Cream Layer: Line a 9×13 inch baking pan with plastic wrap, leaving an overhang on all sides. Spread the slightly softened ice cream evenly into the pan, pressing down firmly to eliminate air pockets. Cover with more plastic wrap and freeze for at least 1-2 hours, or until very firm.
10. Assemble Sandwiches: Once both the cookies and ice cream are firm, remove the ice cream slab from the pan using the plastic wrap overhang. Peel off the top layer of plastic wrap. Place the slab on a cutting board. Cut the ice cream into shapes that match your cooled cookies.
11. Final Assembly: Place one cookie on a flat surface, top with an ice cream slab, and then place another cookie on top. Gently press down. If desired, roll the sides in chocolate chips or sprinkles.
12. Freeze to Set: Wrap each assembled sandwich individually in plastic wrap or parchment paper and freeze for at least 2 hours, or until thoroughly firm.
Nutritional Benefits & Advantages
While these Ice Cream Sandwiches (Homemade) are undoubtedly an indulgence, making them yourself offers several advantages. You control the sugar content, potentially reducing it compared to commercial versions. Opting for organic dairy in your ice cream or using whole wheat flour in your Cookie Dough Recipe can add minor nutritional benefits. Moreover, you avoid artificial flavors, preservatives, and high-fructose corn syrup often found in store-bought options. This allows you to savor a treat that’s not only delicious but also made with ingredients you trust, offering a more wholesome and transparent dessert experience.
Tips, Variations & Cooking Advice
- Cookie Variations: Instead of chocolate, try vanilla, peanut butter, or even snickerdoodle cookies for your sandwiches. Ensure they are sturdy enough to hold the ice cream.
- Ice Cream Flavors: The possibilities are endless! Experiment with different ice cream flavors like mint chip, strawberry, coffee, or even a dairy-free alternative for dietary needs.
- Add-ins: Roll the sides of your finished sandwiches into mini chocolate chips, sprinkles, chopped nuts, toasted coconut, or even crushed candies for extra texture and flavor.
- Perfectly Square Cookies: For a cleaner look, use a ruler and a sharp knife to trim your rolled-out cookie dough into precise squares or rectangles before baking.
- Gluten-Free Option: Substitute all-purpose flour with a 1:1 gluten-free baking blend for the cookies. Ensure your blend contains xanthan gum for elasticity.
- Dairy-Free Option: Use plant-based butter and a dairy-free ice cream alternative.
Common Mistakes to Avoid
- Warm Cookies: Attempting to assemble sandwiches with warm or even slightly warm cookies will result in a melty, messy disaster. Always ensure your cookies are completely cool, preferably chilled.
- Soft Ice Cream: If your ice cream is too soft when you try to spread it in the pan or cut it, it will be difficult to handle and create a uniform layer. Ensure it’s slightly softened for spreading but firm enough for slicing.
- Overmixing Dough: Overmixing the cookie dough can lead to tough, dry cookies. Mix until just combined.
- Not Chilling Dough: Skipping the dough chilling step will result in cookies that spread too much and lose their desired shape.
- Uneven Ice Cream Layer: An uneven ice cream layer will make assembly difficult and lead to lopsided sandwiches. Press down firmly to create a smooth, even surface.
Storage & Meal Prep Tips
Individually wrap each finished Ice Cream Sandwiches (Homemade) tightly in plastic wrap to prevent freezer burn. Once wrapped, store them in an airtight container or a freezer-safe bag. They’ll stay fresh and delicious in the freezer for up to 2-3 months. For meal prep, you can bake the cookies in advance and freeze them un-iced. Then, when a craving strikes, simply thaw the cookies slightly, prepare your ice cream layer, and assemble!
Conclusion
There’s truly nothing quite as satisfying as creating your own Ice Cream Sandwiches (Homemade) from scratch. The control over ingredients, the customization possibilities, and the sheer joy of biting into a perfectly crafted frozen treat make the effort entirely worthwhile. Whether you stick to the classic chocolate and vanilla or venture into more adventurous flavor combinations, mastering this recipe, especially starting with a solid Cookie Dough Recipe, will earn you rave reviews. So, go ahead, gather your ingredients, and embark on this delicious journey. Share your creations with us, and let us know your favorite flavor pairings!
FAQs
1. Can I make the cookies ahead of time?
Absolutely! You can bake the cookies up to a week in advance and store them in an airtight container at room temperature. For longer storage, freeze the baked cookies for up to 2 months.
2. My ice cream is melting too fast during assembly. What should I do?
Ensure both your cookies and the ice cream slab are very cold. Work quickly in a cool environment. If needed, pop the ice cream slab back into the freezer for 15-20 minutes to firm up before cutting.
3. Can I use store-bought cookie dough?
Yes, you can. However, choose a high-quality dough that bakes into a sturdy, yet chewy, cookie for the best structural integrity of the sandwich.
4. How do I prevent the cookies from getting soggy in the freezer?
Ensure your cookies are completely cool and your ice cream is very firm before assembly. Wrapping each sandwich tightly in plastic wrap also helps minimize moisture contact.
5. What’s the best way to cut the ice cream evenly?
Use a long, sharp knife heated with hot water (and dried) between cuts. Alternatively, a pizza cutter can work well for consistent lines.