The Ultimate Comfort in a Mug: Crafting the Perfect Homemade Hot Chocolate
Ever found yourself craving that rich, velvety warmth only a perfectly brewed cup of hot chocolate can provide? Skip the powdered mixes and discover the unparalleled joy of making your own. Not only is crafting your own Hot Chocolate an incredibly rewarding experience, but it also allows you to control the quality of ingredients, ensuring a far superior taste and a delightful absence of artificial additives. This guide will walk you through creating an indulgent beverage that surpasses any store-bought version, inspiring you to explore more delicious hot chocolate recipes.
Ingredients & Kitchen Tools
- Whole Milk (4 cups): Provides a creamy base. For a dairy-free alternative, unsweetened almond or oat milk works wonderfully.
- Good Quality Dark Chocolate (6 oz, 70-85% cocoa solids), finely chopped: The star of the show. Higher cocoa content yields a richer, less sweet flavor. Chocolate chips can also be used.
- Granulated Sugar (2-4 tablespoons), to taste: Adjust based on your preferred sweetness and the cocoa content of your chocolate.
- Unsweetened Cocoa Powder (2 tablespoons): Deepens the chocolate flavor and color.
- Vanilla Extract (1 teaspoon): Enhances other flavors and adds a touch of aromatic warmth.
- Pinch of Salt: Balances the sweetness and amplifies the chocolate notes.
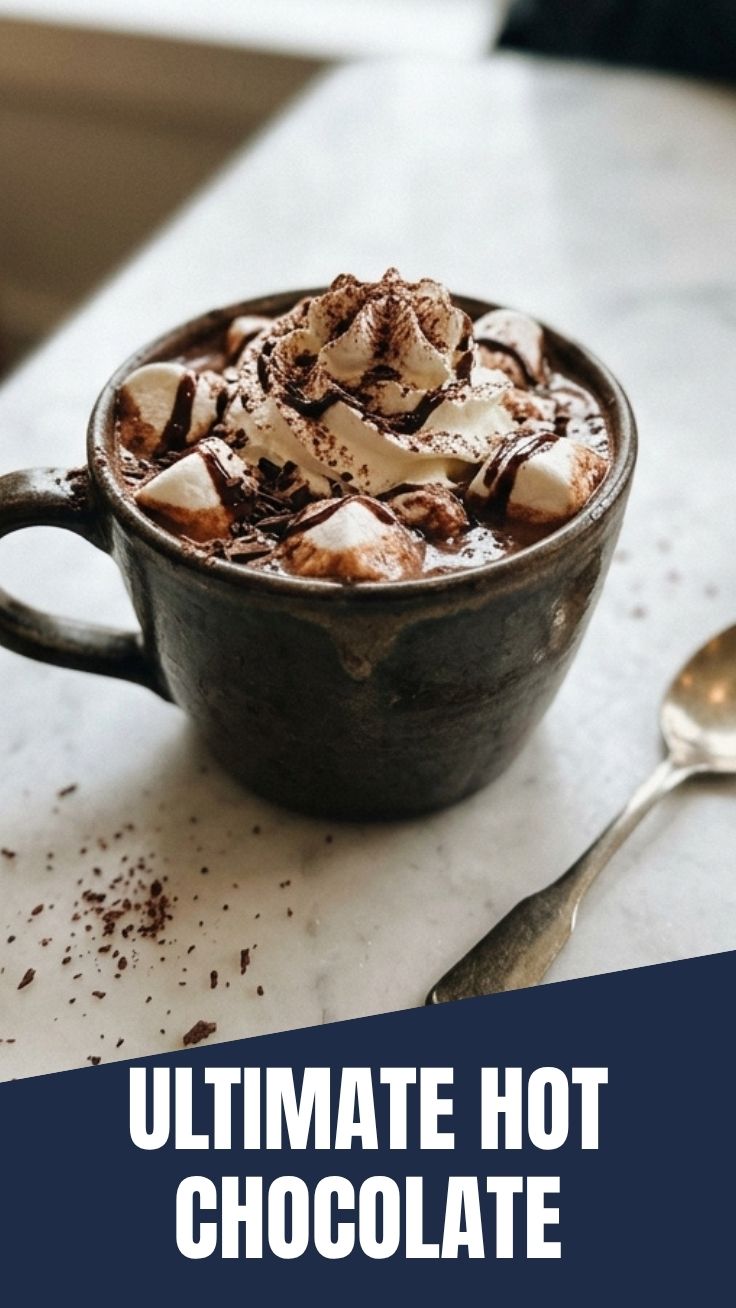
- Optional Toppings: Whipped cream, marshmallows, chocolate shavings, cinnamon sticks, a drizzle of caramel, or a sprinkle of chili powder for a spicy kick.
- Saucepan (medium-sized): For heating and whisking.
- Whisk: Essential for achieving a smooth, lump-free consistency.
- Measuring Cups & Spoons: For accurate ingredient portions.
- Mugs: To serve your delicious creation.
Prep Time & Cooking Schedule
- Prep Time: 5 minutes
- Cook Time: 10-12 minutes
- Resting Time: None, best enjoyed immediately.
This recipe is perfect for a quick, comforting treat. You can have a steaming mug of homemade goodness ready in under 20 minutes, making it an ideal last-minute indulgence or a delightful addition to a cozy evening.
Step-by-Step Instructions
1. Combine Wet Ingredients: In a medium saucepan, pour in the whole milk. Heat over medium heat until it’s warm and steamy, but not boiling. Watch for small bubbles forming around the edges.
2. Whisk in Dry Ingredients: Reduce the heat to low. Add the unsweetened cocoa powder, granulated sugar, and the pinch of salt to the warm milk. Whisk continuously until these ingredients are fully dissolved and no lumps remain. This ensures a smooth, consistent base for our luscious Hot Chocolate.
3. Melt the Chocolate: Gradually add the finely chopped dark chocolate to the saucepan, whisking constantly until it has completely melted and is fully incorporated into the milk mixture. Continue to gently heat and whisk for another 2-3 minutes, allowing the flavors to meld and the hot chocolate to thicken slightly. The secret to rich hot chocolate recipes lies in this gradual melting process.
4. Add Vanilla: Remove the saucepan from the heat and stir in the vanilla extract.
5. Serve & Garnish: Ladle the hot chocolate into your favorite mugs. Top with your desired garnishes like whipped cream, marshmallows, or a sprinkle of cinnamon. Serve immediately and savor the moment!
Nutritional Benefits & Advantages
Crafting your own hot chocolate offers several nutritional advantages. Dark chocolate, especially with a high cocoa content, is rich in antioxidants, which can help combat free radicals in the body. It also contains minerals like iron, magnesium, and copper. Using whole milk provides calcium and vitamin D, crucial for bone health. By controlling the sugar content, you can significantly reduce the amount typically found in pre-packaged mixes, making it a healthier indulgence.
Tips, Variations & Cooking Advice
- Spiced Hot Chocolate: Add a pinch of cayenne pepper or a cinnamon stick to the milk while heating for a delightful warmth.
- Mint Hot Chocolate: Stir in a few drops of peppermint extract with the vanilla.
- Orange Zest: A grating of fresh orange zest can add a beautiful bright note.
- Thicker Hot Chocolate: For an even thicker, more decadent texture, consider using a combination of whole milk and a splash of heavy cream.
- Vegan Version: Replace whole milk with your preferred plant-based milk (oat, almond, or cashew are excellent) and ensure your dark chocolate is dairy-free.
Common Mistakes to Avoid
- Boiling the Milk: Heating milk too rapidly can cause it to scorch and develop an unpleasant skin, impacting the final flavor and texture. Always heat gently over medium-low to medium heat.
- Not Chopping Chocolate Finely: Large chunks of chocolate will melt unevenly, leading to a lumpy hot chocolate.
- Over-Sweetening: It’s easier to add more sugar than to take it away. Start with less and adjust to your taste.
- Using Low-Quality Chocolate: The quality of your chocolate directly impacts the flavor. Invest in good dark chocolate for the best results.
Storage & Meal Prep Tips
While hot chocolate is truly best enjoyed fresh, you can prepare a larger batch and store it. Allow any leftover hot chocolate to cool completely before transferring it to an airtight container. Refrigerate for up to 2-3 days. To reheat, gently warm over low heat on the stovetop, stirring frequently, or microwave in short intervals. Avoid reheating to a boil, as this can alter the texture and flavor.
Conclusion
There’s nothing quite like the soothing embrace of a homemade cup of Hot Chocolate. This simple yet sophisticated recipe proves that the best comforts are often the ones we create ourselves. By opting for quality ingredients and following these straightforward steps, you can elevate a classic treat into an unforgettable experience. We encourage you to try this recipe, experiment with the variations, and share your delicious creations! And if this has sparked your culinary curiosity, delve deeper into the wonderful world of hot chocolate recipes for endless cozy possibilities.
FAQs
Q1: Can I use milk chocolate instead of dark chocolate?
A1: Yes, you can, but you may need to reduce the amount of added sugar as milk chocolate is already sweeter. The flavor will also be less intense.
Q2: How can I make my hot chocolate frothy?
A2: After the chocolate has melted, you can use an immersion blender to froth the hot chocolate directly in the saucepan, or use a milk frother.
Q3: What if my hot chocolate tastes bitter?
A3: If it’s too bitter, it likely needs a touch more sugar. Add a teaspoon at a time and stir well until dissolved, tasting after each addition. A pinch of salt can also help balance bitterness.
Q4: Can I prepare this in a slow cooker for a crowd?
A4: Absolutely! Combine all ingredients (except vanilla) in a slow cooker on low for 2-3 hours, stirring occasionally. Add vanilla just before serving.
Q5: My hot chocolate is lumpy. What did I do wrong?
A5: Lumps usually occur if the cocoa powder wasn’t fully whisked into the milk before adding the chocolate, or if the chocolate wasn’t chopped finely enough. You can pass it through a fine-mesh sieve for a smoother texture.