Decadent Homemade Chocolate Cupcakes: Your Ultimate Guide
Are you ready to transform your kitchen into a haven of sweet indulgence? Forget store-bought desserts; there’s an unparalleled joy in creating something truly spectacular from scratch. Today, we’re diving into the delightful world of homemade Chocolate Cupcakes – a treat that promises to elevate any occasion, from simple family gatherings to elaborate celebrations. Crafting these rich, moist delights at home not only guarantees freshness but also allows you to personalize every nuanced flavor, including the perfect frosting for cupcakes. Get ready to impress yourself and your loved ones with a dessert that’s as rewarding to make as it is to eat.
Ingredients & Kitchen Tools
Gather your culinary arsenal! Here’s what you’ll need to create these irresistible treats:
For the Cupcakes:
- All-purpose flour (1 ½ cups): The structural backbone for soft, airy cupcakes.
- Granulated sugar (1 ½ cups): For sweetness and moisture retention.
- Unsweetened cocoa powder (¾ cup, natural or Dutch-processed): The star ingredient for deep chocolate flavor. Dutch-processed creates a darker, less acidic cupcake.
- Baking soda (1 ½ teaspoons): Ensures a beautiful rise and tender crumb.
- Baking powder (1 teaspoon): Provides additional lift and lightness.
- Salt (1 teaspoon): Balances sweetness and enhances chocolate notes.
- Large eggs (2, at room temperature): Binds ingredients, adds richness, and aids in leavening.
- Milk (1 cup, whole or 2%): Adds moisture and helps activate leavening agents.
- Vegetable oil (½ cup): Creates an incredibly moist texture.
- Vanilla extract (2 teaspoons): Enhances all other flavors.
- Boiling water (½ cup): Blooms the cocoa, intensifying the chocolate flavor, and contributes to a tender crumb.
For the Frosting (or your preferred frosting for cupcakes):
- Unsalted butter (1 cup, softened): The creamy base, provides richness.
- Powdered sugar (3-4 cups, sifted): For sweetness and smooth texture. Sifting prevents lumps.
- Unsweetened cocoa powder (½ cup, sifted): For chocolate flavor in the frosting.
- Milk or heavy cream (3-5 tablespoons): Adjusts consistency for spreadability.
- Vanilla extract (1 teaspoon): Adds aromatic depth.
- Pinch of salt: Balances sweetness.
Kitchen Tools:
- 12-cup muffin pan: The essential mold for your cupcakes.
- Paper cupcake liners: Prevents sticking and makes for easy serving.
- Large mixing bowls (2): For dry and wet ingredients.
- Whisk: For combining dry ingredients.
- Electric mixer (stand or hand-held): Crucial for creaming butter and sugar, and whipping the frosting.
- Rubber spatula: For scraping bowls and folding.
- Measuring cups and spoons: For precise ingredient amounts.
- Ice cream scoop or large spoon: For evenly portioning batter.
- Cooling rack: To cool cupcakes completely before frosting.
Prep Time & Cooking Schedule
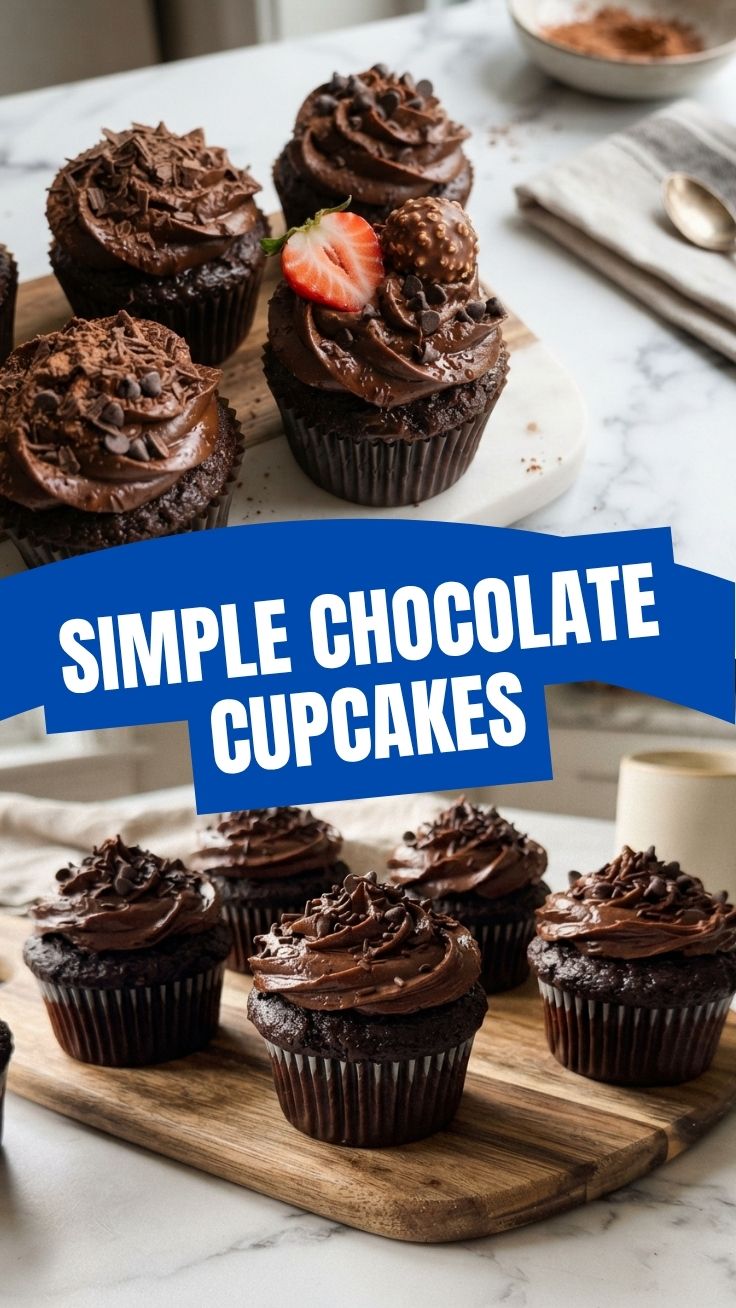
- Prep Time: 20-25 minutes
- Cook Time: 18-22 minutes
- Cooling Time: 30-40 minutes (crucial before frosting!)
Factor in about an hour and a half from start to finish, not including the cooling time for the frosting to set. This recipe is perfect for a weekend baking project or to prepare ahead for a special event. The batter comes together quickly, leaving ample time for the cupcakes to cool completely before the fun of decorating begins.
Step-by-Step Instructions
1. Preheat & Prepare: Preheat your oven to 350°F (175°C). Line a 12-cup muffin pan with paper liners.
2. Combine Dry Ingredients: In a large bowl, whisk together the flour, granulated sugar, cocoa powder, baking soda, baking powder, and salt. Ensure there are no lumps.
3. Combine Wet Ingredients: In a separate medium bowl, whisk together the eggs, milk, vegetable oil, and vanilla extract until well combined.
4. Marry Wet & Dry: Pour the wet ingredients into the dry ingredients. Mix on low speed with an electric mixer (or by hand) until just combined.
5. Add Boiling Water: Slowly pour the boiling water into the batter, mixing until just incorporated. The batter will be thin – this is normal and contributes to the perfect moistness of these Chocolate Cupcakes. Be careful not to overmix!
6. Fill Liners: Divide the batter evenly among the prepared muffin cups, filling each about two-thirds full. An ice cream scoop works wonders for consistency.
7. Bake: Bake for 18-22 minutes, or until a wooden skewer or toothpick inserted into the center comes out clean.
8. Cool: Let the cupcakes cool in the muffin pan for 5-10 minutes before transferring them to a wire rack to cool completely. This prevents them from getting gummy.
9. Prepare the Frosting: While the cupcakes cool, prepare your desired frosting for cupcakes. For a classic chocolate buttercream: In a large bowl, beat the softened butter with an electric mixer until creamy. Gradually add the sifted powdered sugar and cocoa powder, alternating with milk/cream, until smooth and fluffy. Beat in vanilla and salt. Adjust milk/cream for desired consistency.
10. Frost & Serve: Once the cupcakes are completely cool, frost them generously using a spatula or piping bag.
Nutritional Benefits & Advantages
While often seen as an indulgence, homemade Chocolate Cupcakes can offer some surprising advantages over their commercial counterparts. By making them at home, you have full control over the quality of ingredients, opting for organic, non-GMO, or sustainably sourced items if you wish. Dark cocoa powder, for instance, is rich in antioxidants, which can contribute to heart health and reduce inflammation. Although a treat, the moderate consumption of well-chosen ingredients ensures greater dietary balance compared to highly processed alternatives.
Tips, Variations & Cooking Advice
- Espresso Boost: Add ½ teaspoon of instant espresso powder to the warm water (or directly to the dry ingredients) to intensify the chocolate flavor without making it taste like coffee.
- Moisture Secrets: Don’t skip the boiling water! It “blooms” the cocoa for deeper flavor and results in an incredibly moist crumb.
- Room Temperature Ingredients: Ensure your eggs and milk are at room temperature. This helps them combine more evenly with other ingredients, leading to a smoother batter and a better rise.
- Buttermilk Swap: For an ultra-tender cupcake, substitute regular milk with buttermilk. The acidity reacts beautifully with baking soda.
- Ganache Glaze: Instead of traditional buttercream, try a simple chocolate ganache as your frosting for cupcakes for a sleek, intensely chocolatey finish.
- Gluten-Free: Substitute the all-purpose flour with a 1:1 gluten-free baking blend that contains xanthan gum.
Common Mistakes to Avoid
- Overmixing the Batter: This is the most common culprit for dry, tough cupcakes. Mix until just combined; a few small lumps are fine.
- Overfilling Cupcake Liners: Filling more than two-thirds full can lead to overflowing and uneven baking.
- Baking at the Wrong Temperature: An oven that’s too hot can cause domed, cracked tops and dry interiors. Use an oven thermometer to ensure accuracy.
- Frosting Warm Cupcakes: Never frost warm cupcakes! The frosting will melt and create a messy situation. Patience is key.
- Ignoring Ingredient Temperatures: As mentioned, room temperature ingredients significantly impact the texture.
Storage & Meal Prep Tips
Store unfrosted Chocolate Cupcakes in an airtight container at room temperature for up to 2-3 days. Once frosted with a buttercream, they are best stored in an airtight container in the refrigerator for up to 3-4 days to maintain the integrity of the frosting for cupcakes. Bring them to room temperature for about 30 minutes before serving to ensure the frosting is creamy. Unfrosted cupcakes can also be frozen for up to 3 months. Thaw them at room temperature before frosting and serving.
Conclusion
Baking your own Chocolate Cupcakes is more than just making a dessert; it’s an act of love and creativity. With this comprehensive guide, you’re now equipped to create truly exceptional treats, complete with the perfect frosting for cupcakes. We encourage you to try this recipe and share your delicious results! Your journey into homemade baking excellence starts here. Happy baking!
FAQs
Q1: Can I make these cupcakes ahead of time?
A1: Absolutely! Unfrosted cupcakes can be stored at room temperature for 2-3 days or frozen for up to 3 months. Frost them just before serving for the best results.
Q2: My cupcakes came out dry. What went wrong?
A2: The most common causes are overmixing the batter, overbaking, or an oven that runs too hot. Using an oven thermometer can help ensure accurate baking temperatures.
Q3: How can I get perfectly flat cupcake tops for easy frosting?
A3: Ensure your oven temperature is accurate and avoid overmixing. Some recipes naturally produce slightly domed tops, but careful temperature control and not opening the oven door too early can help.
Q4: Can I use oil instead of butter in the frosting?
A4: While you can, the texture and flavor of the frosting will be significantly different. Butter provides the creamy, rich consistency characteristic of buttercream. For a dairy-free option, plant-based butters can be used.
Q5: What’s the difference between natural and Dutch-processed cocoa powder?
A5: Natural cocoa is acidic and interacts with baking soda for leavening. Dutch-processed cocoa is alkalized, less acidic, and provides a darker color and milder chocolate flavor. It typically requires baking powder or a balance of both leavening agents.