Master the Art of Flavor: Homemade Chicken Kabobs for Every Occasion
Ever wondered how to consistently create mouth-watering, perfectly cooked Chicken Kabobs that rival your favorite restaurant’s? There’s an undeniable satisfaction in crafting a culinary masterpiece in your own kitchen, especially when it involves fresh, vibrant ingredients skewered and grilled to perfection. Today, we’re diving into the delightful world of homemade kabobs, focusing on an exceptionally flavorful and surprisingly simple recipe for Grilled chicken kabobs. Beyond just a meal, preparing these at home offers control over ingredients, an opportunity for personalization, and the incredible joy of sharing a wholesome, delicious dish with loved ones. Forget dry, overcooked chicken; we’re about to unlock the secrets to juicy, tender, and incredibly satisfying kabobs.
Ingredients & Kitchen Tools
Gathering your mise en place is the first step to culinary success. Here’s what you’ll need:
- For the Marinade:
* 2 lbs boneless, skinless chicken breast or thighs: Cut into 1-inch pieces. Thighs offer more juiciness; breast is leaner.
* 1/4 cup olive oil: Binds flavors and contributes to tenderization.
* 1/4 cup lemon juice: Adds acidity for flavor balance and tenderizing properties.
* 2 cloves garlic, minced: Essential aromatic for depth of flavor.
* 1 tbsp dried oregano: Classic Mediterranean herb, adds earthy notes.
* 1 tsp smoked paprika: For a touch of smoky sweetness and color.
* 1/2 tsp salt: Seasons the chicken from within.
* 1/4 tsp black pepper: A universal flavor enhancer.
- For the Kabobs:
* 1 large bell pepper (any color), cut into 1-inch pieces: Adds sweetness and crunch.
* 1 large red onion, cut into 1-inch pieces: Pungent and sweet when grilled.
* 1 cup cherry tomatoes: Burst with juicy flavor.
* 1 cup zucchini, cut into 1/2-inch thick half-moons: Mild flavor, nice texture.
* Optional: Pineapple chunks: For a tropical, sweet-savory twist.
- Kitchen Tools:
* Large mixing bowl: For marinating the chicken.
* Sharp knife & cutting board: For prepping ingredients.
* Skewers (metal or wooden): If using wooden, soak them in water for at least 30 minutes to prevent burning.
* Grill (charcoal, gas, or indoor grill pan): For cooking the kabobs.
* Tongs: For turning the kabobs evenly.
* Basting brush (optional): For adding extra marinade or sauce.
Prep Time & Cooking Schedule
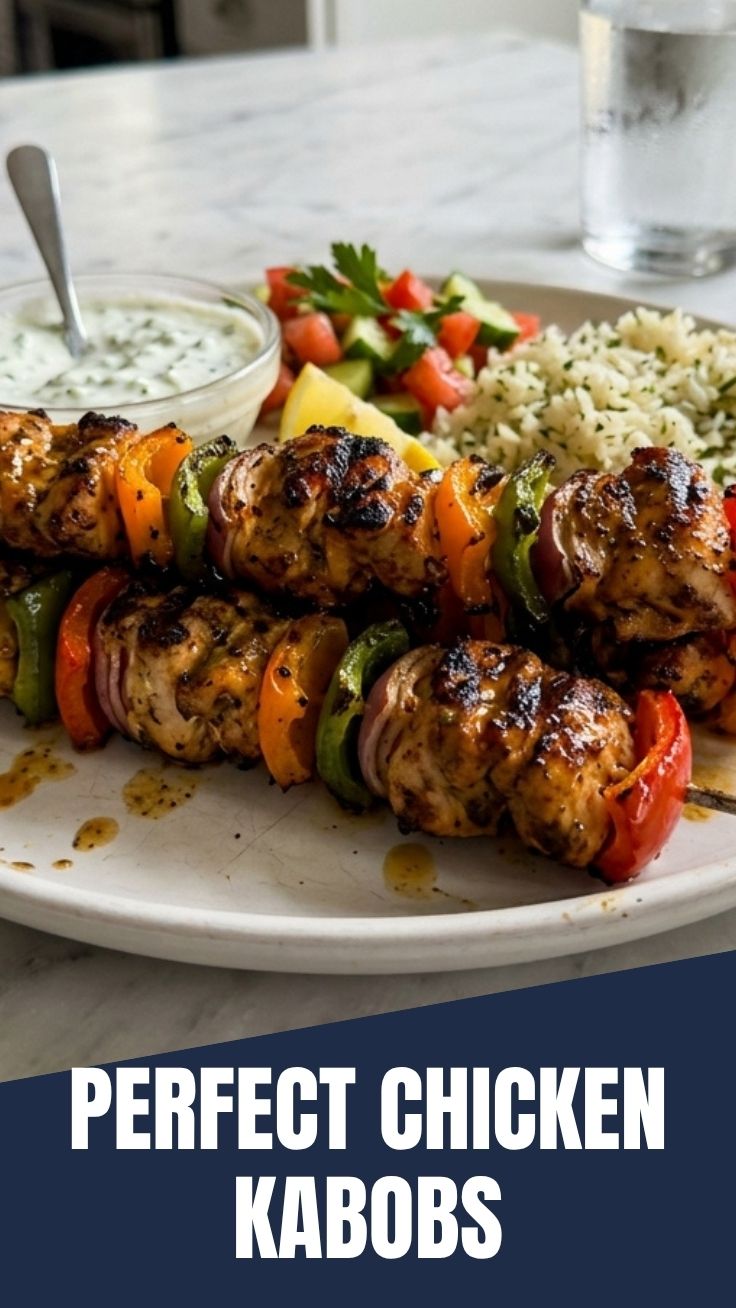
Planning is key for perfectly cooked kabobs!
- Prep Time: 20 minutes (chopping, mixing marinade)
- Marinating Time: Minimum 30 minutes, ideally 2-4 hours, or even overnight for maximum flavor. This is crucial for tenderizing the chicken and allowing flavors to meld.
- Grilling Time: 10-15 minutes, depending on grill temperature and chicken thickness.
- Resting Time: 5 minutes after grilling.
Step-by-Step Instructions
Follow these simple steps for succulent Chicken Kabobs:
1. Prepare the Marinade: In the large mixing bowl, combine olive oil, lemon juice, minced garlic, oregano, smoked paprika, salt, and pepper. Whisk until well combined.
2. Marinate the Chicken: Add the cut chicken pieces to the marinade, tossing to ensure each piece is evenly coated. Cover the bowl and refrigerate for the recommended marinating time.
3. Prepare Vegetables & Skewers: While the chicken marinates, chop all your vegetables. If using wooden skewers, immerse them in water.
4. Assemble the Kabobs: Thread the marinated chicken and vegetables alternately onto the skewers. Try to create a balance of ingredients on each skewer for even cooking. For spectacular Grilled chicken kabobs, ensure the pieces aren’t too crowded, allowing for good airflow and even cooking.
5. Preheat Grill: Preheat your grill to medium-high heat (about 375-400°F or 190-200°C).
6. Grill the Kabobs: Place the assembled skewers on the hot grill. Cook for 10-15 minutes, turning every 2-3 minutes, until the chicken is cooked through (internal temperature reaches 165°F or 74°C) and the vegetables are tender-crisp with nice grill marks.
7. Rest and Serve: Once cooked, remove the kabobs from the grill and let them rest for 5 minutes. This allows the juices to redistribute, ensuring tender and moist chicken. Serve hot.
Nutritional Benefits & Advantages
These kabobs are not just delicious; they’re packed with goodness! Chicken is an excellent source of lean protein, essential for muscle repair and growth. The array of colorful vegetables provides a wealth of vitamins, minerals, and dietary fiber, supporting digestive health and boosting overall well-being. Lemon juice adds a dose of Vitamin C, while olive oil offers healthy monounsaturated fats. This meal is naturally low in saturated fat (especially if using chicken breast) and can be easily customized to fit various dietary needs, making it a fantastic choice for a balanced, health-conscious diet.
Tips, Variations & Cooking Advice
- Flavor Boost: Add a splash of soy sauce or apple cider vinegar to the marinade for an extra umami punch.
- Spice It Up: Include a pinch of cayenne pepper or red pepper flakes for heat.
- Herb Garden: Experiment with fresh herbs like rosemary or thyme in the marinade.
- Alternative Proteins: This marinade works wonderfully with shrimp, beef, or firm tofu for a vegetarian option.
- Cooking Methods: If grilling isn’t an option, you can bake these kabobs in the oven at 400°F (200°C) for 20-25 minutes, or pan-fry the chicken and vegetables separately.
- Dietary Adaptations: Easily made gluten-free (ensure no cross-contamination) and dairy-free.
Common Mistakes to Avoid
1. Under-marinating: Not allowing enough time for the chicken to soak up the flavors can lead to bland kabobs. Aim for at least 30 minutes, but longer is better.
2. Overcrowding Skewers: When pieces are too tightly packed, they steam rather than grill, resulting in less flavorful, less tender results.
3. Uneven Pieces: If chicken and vegetable pieces are different sizes, some will cook faster than others, leading to overcooked or undercooked elements.
4. High Heat: Cooking at too high a temperature can burn the outside before the inside is cooked. Medium-high heat is ideal.
5. No Resting Time: Skipping the resting period means juices escape when you cut into the chicken, leading to drier meat.
Storage & Meal Prep Tips
Leftover Chicken Kabobs can be stored in an airtight container in the refrigerator for up to 3-4 days. You can remove the ingredients from the skewers for easier storage. Reheat gently in the microwave, oven, or a skillet until warmed through, being careful not to overcook. These are excellent for meal prep; simply cook a larger batch and portion them out for lunches throughout the week, perhaps served over rice or with a side salad.
Conclusion
There you have it – a foolproof guide to crafting irresistible Chicken Kabobs right in your own kitchen. This vibrant and flavorful dish is not only a delight to eat but also a fantastic way to incorporate lean protein and a rainbow of vegetables into your diet. Mastering these homemade Grilled chicken kabobs will undoubtedly earn you rave reviews and solidify your status as a culinary wizard. So, fire up that grill, embrace the sizzle, and share your delicious creations! We’d love to hear about your experience in the comments below.
FAQs
1. Can I use frozen chicken?
Yes, but ensure it’s fully thawed before marinating to allow for proper flavor absorption and even cooking.
2. What if I don’t have a grill?
You can bake them in the oven at 400°F (200°C) for 20-25 minutes, flipping halfway, or use a grill pan on the stovetop.
3. How can I prevent the chicken from drying out?
Marinating properly, not overcrowding the skewers, and avoiding overcooking (use a meat thermometer!) are key. Resting the meat after grilling also helps.
4. Can I prepare the kabobs ahead of time?
You can chop vegetables and marinate the chicken up to 24 hours in advance. Assemble the skewers just before grilling for the best results.
5. What are good side dishes?
These kabobs pair wonderfully with rice pilaf, quinoa, couscous, a refreshing cucumber and tomato salad, or warm pita bread.