Indulge in Perfection: Crafting the Ultimate Homemade Cheesecake
Have you ever craved that velvety, rich dessert that melts in your mouth, leaving a lingering sweetness? That, my friends, is the magic of a perfectly executed Cheesecake. While many believe this decadent treat is best left to professional bakeries, I’m here to tell you that preparing the ultimate homemade cheesecake, especially one using premium Cream Cheese, is incredibly rewarding. Not only do you get to control the quality of every ingredient, but the process itself is a comforting culinary adventure, culminating in a dessert that will undoubtedly impress even the most discerning palates. Forget store-bought; let’s unlock the secrets to a truly unforgettable dessert experience right in your own kitchen!
Ingredients & Kitchen Tools
To embark on this delightful baking journey, gather the following:
- For the Crust:
* 1 ½ cups graham cracker crumbs: Approximately 10-12 full graham cracker sheets, finely crushed. You can use a food processor for a consistent texture.
* ¼ cup granulated sugar: Adds a touch of sweetness to balance the buttery crust.
* 6 tablespoons unsalted butter, melted: Binds the crumbs together, creating a firm base.
- For the Filling:
* 32 ounces (four 8-ounce blocks) full-fat Cream Cheese, softened: Room temperature is crucial for a smooth, lump-free batter. Philadelphia brand is highly recommended for its richness.
* 1 ½ cups granulated sugar: Sweetens the rich Cream Cheese filling.
* 1 teaspoon vanilla extract: Enhances the overall flavor profile. Use pure vanilla extract for the best results.
* ¼ cup all-purpose flour: A small amount helps prevent cracking and gives the cheesecake a smoother texture.
* 4 large eggs, at room temperature: Essential for binding and structure. Ensure they are at room temperature to prevent curdling.
* ½ cup sour cream, at room temperature: Adds a tangy note and contributes to the creamy texture. Full-fat is best.
- Kitchen Tools:
* 9-inch springform pan: Absolutely essential for easy removal and showcasing your beautiful Cheesecake.
* Mixing bowls: Several for different components.
* Electric mixer (stand or hand-held): For thoroughly combining ingredients.
* Rubber spatula: For scraping down the sides of the bowl.
* Measuring cups and spoons: For accurate ingredient measurement.
* Aluminum foil: For water bath preparation.
* Large roasting pan: To accommodate the springform pan for the water bath.
Prep Time & Cooking Schedule
- Prep Time: 30 minutes (includes softening Cream Cheese and prepping crust)
- Bake Time: 60-70 minutes
- Cooling Time: 1 hour at room temperature, followed by 4 hours (or ideally overnight) in the refrigerator.
Planning is key for a flawless Cheesecake. Begin by allowing your Cream Cheese and eggs to come to room temperature at least an hour before you start baking. This ensures a smooth batter!
Step-by-Step Instructions
1. Preheat Oven & Prepare Pan: Preheat your oven to 325°F (160°C). Wrap the outside of your 9-inch springform pan tightly with several layers of heavy-duty aluminum foil to prevent water from seeping in during the water bath.
2. Make the Crust: In a medium bowl, combine graham cracker crumbs, granulated sugar, and melted butter. Press this mixture firmly into the bottom of the prepared springform pan. You can use the bottom of a glass to get an even, compact layer. Bake for 10 minutes, then remove from the oven and let cool slightly.
3. Prepare the Filling: In a large mixing bowl, beat the softened Cream Cheese with an electric mixer on medium speed until smooth and creamy, about 2-3 minutes. Scrape down the sides of the bowl. Gradually add the granulated sugar, beating until well combined.
4. Add Remaining Ingredients: Beat in the vanilla extract. Slowly add the all-purpose flour, mixing until just combined. Add the eggs one at a time, beating on low speed after each addition until just incorporated. Overmixing eggs can introduce too much air, leading to cracks. Finally, gently fold in the sour cream until the batter is smooth and free of lumps. This rich Cream Cheese mixture is the heart of your perfect Cheesecake.
5. Water Bath Baking: Pour the filling over the cooled crust in the springform pan. Place the springform pan inside a larger roasting pan. Carefully pour hot water into the roasting pan until it comes about halfway up the sides of the springform pan.
6. Bake: Bake for 60-70 minutes, or until the edges are set and the center still has a slight jiggle (like firm jello) when gently shaken. This indicates it’s cooked through without being overbaked.
7. Cooling: Turn off the oven, crack the oven door open, and let the cheesecake cool in the water bath for 1 hour. This slow cooling prevents cracking. Remove from the water bath, remove the foil, and let it cool completely on a wire rack at room temperature.
8. Chill: Once at room temperature, cover the Cheesecake loosely with plastic wrap and refrigerate for at least 4 hours, or preferably overnight, to allow it to firm up and fully set.
Nutritional Benefits & Advantages
Our homemade Cheesecake, while a treat, offers some advantages. Using real, full-fat Cream Cheese provides a good source of fat-soluble vitamins like A and D. Additionally, the eggs contribute protein, and making it at home allows you to control sugar levels and avoid artificial preservatives often found in store-bought versions. It’s a rich dessert designed for enjoyment, and in moderation, it can be a satisfying part of a balanced diet.
Tips, Variations & Cooking Advice
- Flavor Variations: Swirl in fruit purees (raspberry, blueberry), lemon zest, or chocolate ganache for different flavor profiles. A swirl of caramel or chopped nuts can also elevate its appeal.
- Crust Alternatives: Try crushed Orea cookies, gingersnaps, or shortbread for a unique crust.
- Mini Cheesecakes: Bake in cupcake liners in a muffin tin for individual servings; adjust baking time to 20-25 minutes.
- Avoid Overmixing: This is crucial, especially once the eggs are added. Overmixing incorporates too much air, which can cause the cheesecake to puff up and then crack as it cools.
Common Mistakes to Avoid
- Cold Ingredients: Using cold Cream Cheese or eggs will result in a lumpy batter. Always bring them to room temperature.
- Skipping the Water Bath: This is probably the most common mistake. A water bath provides moist, even heat, preventing cracks and ensuring a creamy texture.
- Overbaking: An overbaked Cheesecake will be dry and rubbery. Look for that slight jiggle in the center.
- Rapid Cooling: Cooling too quickly can cause cracks. Always let it cool slowly, first in the oven with the door ajar, then at room temperature, before refrigerating.
Storage & Meal Prep Tips
Leftover Cheesecake should be covered tightly with plastic wrap or stored in an airtight container in the refrigerator for up to 5-7 days. For longer storage, slices can be individually wrapped in plastic wrap, then foil, and frozen for up to 2-3 months. Thaw frozen slices in the refrigerator overnight before serving to maintain the perfect creamy texture. It’s an excellent make-ahead dessert for parties or special occasions.
Conclusion
There you have it – the definitive guide to crafting a spectacular homemade Cheesecake. By following these steps and paying close attention to the quality of your ingredients, especially that rich, smooth Cream Cheese, you’re guaranteed to create a dessert that will earn rave reviews. Don’t be intimidated; the process is immensely satisfying, and the results speak for themselves. Go ahead, give it a try, and share your glorious creations with us! Happy baking!
FAQs
Q1: Why did my cheesecake crack?
A1: Cracking is usually due to temperature shock or overbaking. Ensure your ingredients are at room temperature, use a water bath, and cool the cheesecake slowly, first in the turned-off oven, then at room temperature, before chilling.
Q2: Can I use low-fat cream cheese?
A2: While technically possible, it is highly discouraged. Full-fat Cream Cheese is essential for the classic rich, creamy texture and flavor of a true Cheesecake.
Q3: How do I know when my cheesecake is done baking?
A3: The edges should appear set and firm, but the very center (about a 2-3 inch diameter) should still have a slight jiggle when you gently shake the pan. It will continue to set as it cools.
Q4: Can I make the crust ahead of time?
A4: Yes, you can bake and cool the crust up to a day in advance. Store it covered at room temperature until you’re ready to add the filling.
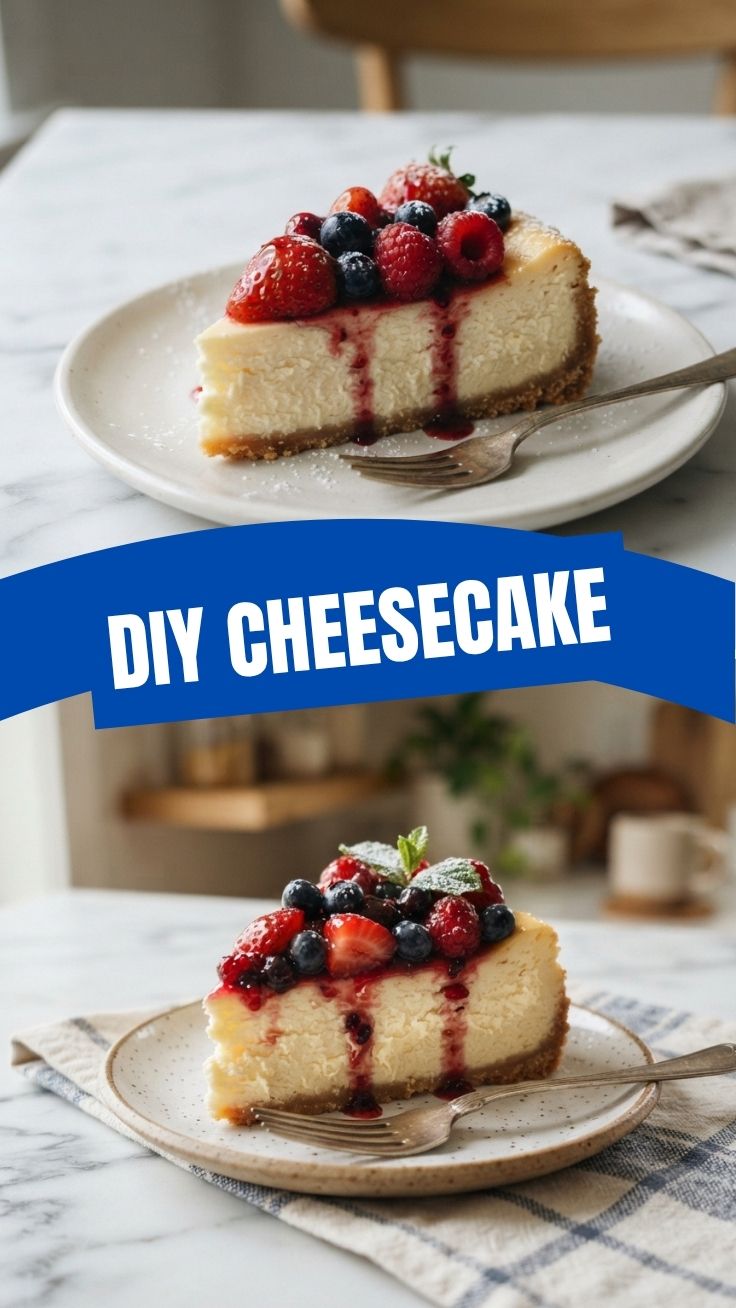
Q5: What are some good toppings for cheesecake?
A5: Fresh berries, fruit compotes, chocolate ganache, caramel sauce, whipped cream, or a dusting of cocoa powder are all fantastic choices.