The Ultimate Guide to Crafting Perfect Homemade Candy Apples
Ever wondered what it takes to recreate those glossy, vibrant Candy Apples of your childhood fairgrounds right in your own kitchen? Beyond the mere satisfaction of a sweet treat, mastering this classic confection at home offers unparalleled control over ingredients, freshness, and the pure joy of a personalized creation. This comprehensive guide will walk you through every step, ensuring your homemade caramel apples are not just delicious, but also Instagram-worthy. Let’s delve into the art and science of the perfect sweet apple.
Ingredients & Kitchen Tools
Crafting these delightful apple treats requires a specific set of components and equipment to achieve that signature crunch and sheen.
- Apples: 6-8 medium-sized firm apples (e.g., Granny Smith, Fuji, Honeycrisp). Choose unwaxed apples or thoroughly wash and dry them to ensure the candy coating adheres properly.
- Granulated Sugar: 3 cups. The backbone of your candy coating.
- Light Corn Syrup: 1 cup. Prevents sugar crystallization, ensuring a smooth, glassy finish.
- Water: 1 cup. Dissolves the sugar and corn syrup to create the syrup base.
- Red Food Coloring Gel: 1-2 teaspoons, or as desired. For that iconic vibrant red hue. Gel coloring offers more concentrated color without adding excess liquid.
- Pinch of Salt: Enhances flavor and balances the sweetness.
- Wooden Skewers or Lollipop Sticks: 6-8. For easy handling and eating.
- Heavy-Bottomed Saucepan (2-3 quart): Essential for even heat distribution and preventing scorching.
- Candy Thermometer: Crucial for accurate temperature readings, which dictates the texture of your candy.
- Baking Sheet Lined with Parchment Paper or Silicone Mat: For cooling the apples without sticking.
- Pastry Brush: Optionally, for brushing down sugar crystals from the sides of the pan.
- Measuring Cups and Spoons: For precise ingredient measurement.
- Heat-Resistant Spatula or Wooden Spoon: For stirring.
Prep Time & Cooking Schedule
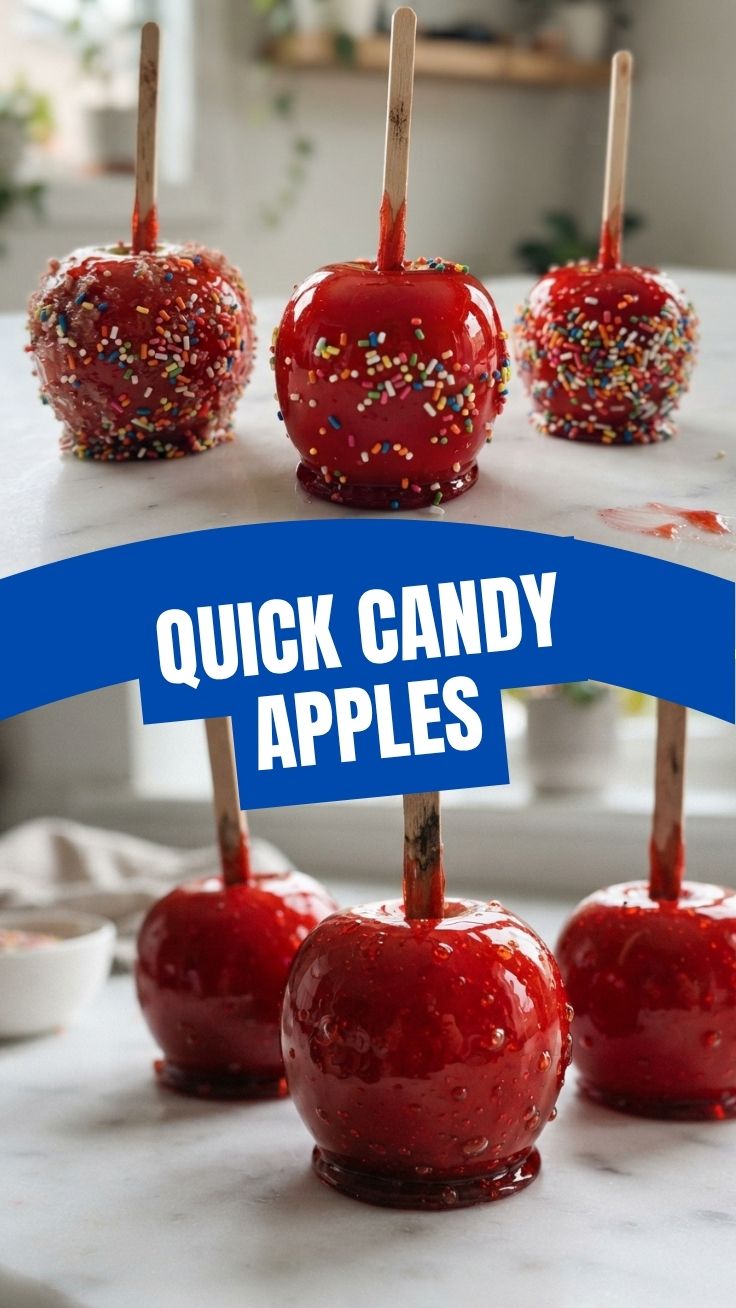
Achieving candy apple perfection involves a focused approach to timing and preparation.
- Prep Time: 20-30 minutes (includes washing apples, inserting sticks, and gathering ingredients).
- Cook Time: 15-25 minutes (actual cooking of the candy mixture).
- Cooling/Setting Time: 30-60 minutes (allows the candy coating to harden completely).
Plan ahead: ensure your apples are perfectly dry before you start cooking the candy mixture. Any moisture can prevent the coating from adhering or cause it to slide off.
Step-by-Step Instructions
Follow these detailed steps to guarantee a dazzling result for your homemade treats.
1. Prepare the Apples: Wash and thoroughly dry your chosen apples. This step is critical; any residual moisture will make the candy coating slide off. Remove the stems and firmly insert a wooden skewer or lollipop stick into the stem end of each apple, pushing it about halfway through. Line a baking sheet with parchment paper or a silicone mat and set it aside.
2. Combine Ingredients: In your heavy-bottomed saucepan, combine the granulated sugar, light corn syrup, water, and a pinch of salt. Stir gently over medium heat until the sugar completely dissolves. Avoid vigorous stirring, which can introduce air bubbles and sugar crystals.
3. Cook the Syrup: Insert your candy thermometer into the mixture, ensuring it doesn’t touch the bottom of the pan. Increase the heat to medium-high and bring the mixture to a boil. Cook, without stirring, until the mixture reaches 300°F (149°C) – the hard crack stage. If sugar crystals form on the sides of the pan, dip a pastry brush in warm water and gently brush them down.
4. Add Food Coloring: Once the syrup reaches 300°F, remove it immediately from the heat. Carefully stir in the red food coloring gel until evenly distributed. Work quickly but safely, as the mixture is extremely hot.
5. Dip the Apples: Tilt the saucepan to one side to create a deeper pool of candy syrup. Holding an apple by its stick, quickly dip and rotate it in the hot candy mixture until it’s fully coated. Lift the apple, allowing any excess candy to drip back into the pan.
6. Cool and Set: Place the dipped Candy Apples onto the prepared baking sheet. Repeat with the remaining apples, reheating the syrup slightly if it becomes too thick to work with. Allow them to cool completely at room temperature for 30-60 minutes, or until the candy shell is firm and glossy. The perfect homemade treat will have a satisfying crunch, making it a delightful alternative to traditional caramel apples.
Nutritional Benefits & Advantages
While primarily a sweet indulgence, apples themselves offer some health benefits. They are a good source of dietary fiber, which aids digestion, and contain vitamin C and various antioxidants, which support immune health. By making Candy Apples at home, you control the quality of ingredients, opting for fresh, organic apples and avoiding artificial preservatives often found in store-bought versions.
Tips, Variations & Cooking Advice
- Flavor Variations: Add a few drops of cinnamon oil or extract to the candy mixture for a spiced apple flavor. A tiny hint of almond extract can also enhance the sweetness.
- Texture Variations: For a softer chew, cook the syrup to 285°F (140°C) – the firm ball stage. However, this will result in a less traditional “hard crack” candy apple.
- Gourmet Toppings: Once dipped, and while the candy is still slightly tacky, roll the apples in chopped nuts, sprinkles, coconut flakes, or even crushed cookies for an extra layer of flavor and texture.
- Dietary Adaptations: For a sugar-free version, experiment with sugar substitutes, keeping in mind that the texture and setting point may vary significantly.
- Troubleshooting: If your candy coating is too sticky, it likely didn’t reach the hard crack stage. If it’s too thick, gently reheat it over low heat until it thins out.
Common Mistakes to Avoid
- Wet Apples: This is the number one culprit for a messy, streaky candy coating. Ensure apples are bone dry.
- Not Using a Candy Thermometer: Guessing the temperature often leads to sticky, soft, or burnt candy. It’s an indispensable tool for this recipe.
- Stirring During Boiling: Stirring too much once the syrup boils can cause sugar crystals to form, resulting in a gritty texture.
- Overcooking or Undercooking: Overcooking leads to burnt sugar and a bitter taste, while undercooking results in a sticky, soft candy that won’t set.
- Not Having a Prepared Surface: Trying to find parchment paper while juggling hot, drippy apples is a recipe for disaster. Have everything ready before you start dipping.
Storage & Meal Prep Tips
Homemade Candy Apples are best enjoyed within 1-2 days of preparation. Store them individually wrapped in cellophane or waxed paper at room temperature to prevent stickiness. Refrigeration is not recommended as it can cause the candy to “sweat” and become tacky or dull. They do not freeze well due to the high moisture content of the apple and the crystal structure of the candy.
Conclusion
Crafting your own Candy Apples is a truly rewarding experience, transforming simple fruit into a dazzling, crunchy confection that evokes nostalgia and delight. With the right technique and attention to detail, you can achieve that perfect glossy finish and satisfying snap every time. While they might seem like a distant cousin, the meticulous process for perfect caramel apples shares many similarities, proving that a little precision goes a long way. So, roll up your sleeves, gather your ingredients, and embark on this sweet culinary adventure. Share your beautiful creations with us – we can’t wait to see your vibrant masterpieces!
FAQs
Q1: Why did my candy coating turn sticky?
A1: Your candy syrup likely didn’t reach the hard crack stage (300°F). Ensure you use a reliable candy thermometer and cook until the precise temperature is achieved. Humidity can also contribute to stickiness.
Q2: Can I use different types of apples?
A2: Yes, but firm, crisp apples like Granny Smith, Fuji, or Honeycrisp work best as they hold up well to the hot candy coating and offer a nice textural contrast. Softer apple varieties can become mushy.
Q3: How can I prevent the candy from sliding off the apples?
A3: The most common reason is moisture on the apples. Thoroughly wash and dry your apples, even wiping them with a paper towel dipped in vinegar to remove any waxy residue, then dry them completely.
Q4: Can I reheat the candy mixture if it cools and thickens?
A4: Yes, you can gently reheat the mixture over low heat until it thins out to a dippable consistency. Be careful not to scorch it.
Q5: What if I don’t have a candy thermometer?
A5: While challenging, you can test the candy’s stage by dropping a small amount into ice water. For hard crack, it should instantly form brittle, hard threads that snap when bent. However, a thermometer is highly recommended for accuracy.