Pitmaster Perfection at Home: Unveiling the Secrets to Authentic Texas-Style BBQ Brisket
Ever wonder what makes Texas BBQ brisket so legendary, so melt-in-your-mouth tender, and so utterly irresistible? Achieving that perfect bark and juicy interior might seem like a culinary Everest reserved for professional pitmasters, but I’m here to tell you it’s a journey you can absolutely conquer in your own backyard. Mastering BBQ Brisket (Texas Style) at home isn’t just about saving money; it’s about experiencing the profound satisfaction of transforming a humble cut of beef into a masterpiece. This comprehensive guide will demystify the process, turning you into a backyard hero. We’ll delve into every nuance, from selecting the right cut to perfecting your smoke, ensuring your smoked brisket becomes a flavor sensation your family and friends will rave about for years. Get ready to embark on a delicious adventure!
Ingredients & Kitchen Tools
- Brisket (Full Packer, 12-15 lbs): Look for USDA Prime or Choice grade with good marbling. A full packer includes both the flat and the point.
- Coarse Kosher Salt (½ cup): Essential for forming the iconic “bark.”
- Coarse Black Pepper (½ cup): Freshly cracked for optimal flavor and bark development.
- Water (for spritzing): Helps keep the brisket moist during the long cook. Consider adding apple cider vinegar or beef broth for extra flavor.
- Aluminum Foil or Butcher Paper: For wrapping the brisket during the stall phase. Butcher paper allows for a better bark development.
- Meat Thermometer (Leave-in probe and instant-read): Crucial for monitoring internal temperature accurately.
- Sharp Boning Knife: For trimming the fat effectively.
- Large Cutting Board: For trimming and slicing.
- Smoker (Offset, pellet, or kamado): The heart of your operation. Ensure it can hold a consistent low temperature for extended periods.
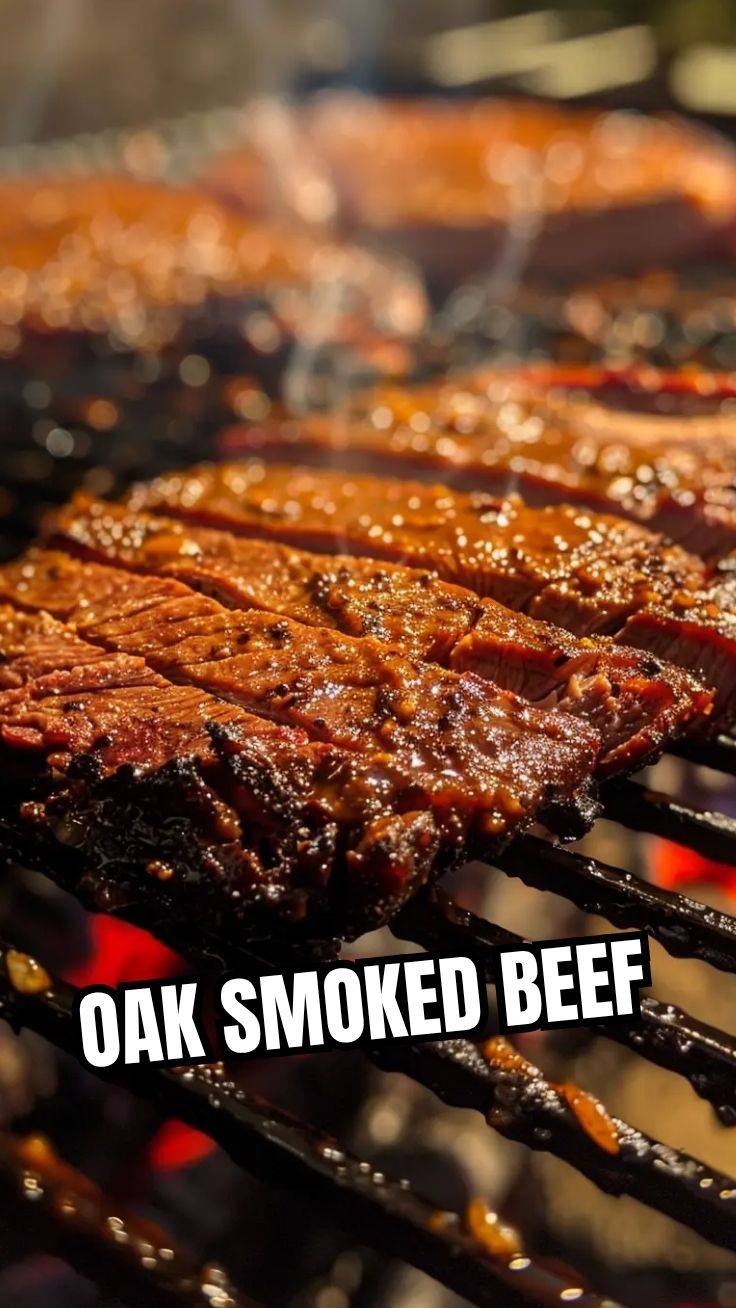
- Wood Chunks/Pellets (Oak, Mesquite, Hickory): These provide the signature Texas smoke flavor. Oak is a classic choice.
- Fire Starters/Chimney Starter: For safely lighting charcoal if using an offset or kamado.
- Heat-Resistant Gloves: For handling hot meat and charcoal.
- Large Pan or Cooler: For resting the brisket.
Prep Time & Cooking Schedule
- Prep Time: 1-2 hours (Trimming, seasoning, preheating smoker)
- Cook Time: 10-16 hours (depending on brisket size, smoker temperature, and individual brisket characteristics). Plan for roughly 1.5 hours per pound at 275°F (135°C).
- Resting Time: 2-4 hours. This is non-negotiable for tender, juicy results.
Planning Context: Brisket is an all-day (and sometimes all-night) affair. Start early, often the night before, if you want your brisket ready for a midday meal. Factor in ample time for the stall, where the internal temperature plateaus for hours due to evaporative cooling. This planning ensures you’re not rushing and can enjoy the process.
Step-by-Step Instructions
1. Trim the Brisket (1 hour): Start with a cold brisket for easier handling. Remove excess hard fat from the flat, leaving about ¼ inch of fat on the fatty side to protect the meat. Also, trim the “deckle” fat between the point and the flat. Shape the brisket to promote even cooking.
2. Season Generously: Combine equal parts coarse kosher salt and coarse black pepper. This simple “Dalmatian rub” is classic Texas. Apply the rub evenly over all surfaces, pressing it into the meat. Don’t be shy; the brisket can take a lot of seasoning.
3. Preheat Your Smoker (45-60 minutes): Bring your smoker to a consistent temperature of 275°F (135°C). Use your chosen wood for smoke.
4. Smoke the Brisket (6-8 hours): Place the brisket, fat side up or down depending on your smoker’s heat source, directly on the grates. Close the lid and maintain a consistent temperature. For the ultimate BBQ Brisket (Texas Style), spritz the brisket every hour or so with water (or your spritz mixture) to keep the surface moist and promote bark formation.
5. The Stall & Wrapping (Internal Temp 150-170°F / 65-77°C): Around this temperature range, the brisket will likely “stall.” Wrap the brisket tightly in butcher paper or aluminum foil. This pushes it through the stall and locks in moisture.
6. Continue Cooking (4-6 hours): Return the wrapped brisket to the smoker. Continue cooking until the internal temperature reaches 200-205°F (93-96°C) and the probe slides into the meat with very little resistance – like butter. This is the most crucial test for tender smoked brisket.
7. Rest the Brisket (2-4 hours): This step is critical. Transfer the wrapped brisket to an empty cooler or a pan wrapped in towels. Let it rest for a minimum of 2 hours, ideally 3-4 hours. This allows the juices to redistribute, resulting in incredibly moist and tender meat.
8. Slice and Serve: Slice against the grain. Separate the point and the flat for easier slicing. The flat should be sliced into ¼-inch thick pieces. The point can be cubed for burnt ends!
Nutritional Benefits & Advantages
Brisket, while rich in flavor, can offer some nutritional benefits when consumed in moderation. As beef, it’s an excellent source of protein, essential for muscle repair and growth. It also provides vital micronutrients like iron, zinc, selenium, and B vitamins (especially B12), which support energy production, immune function, and nervous system health. The slow-cooking process also helps break down connective tissues, making the meat more digestible. When prepared at home, you have complete control over the trimming of excess fat and the amount of sodium in your rub, making it a healthier alternative to some restaurant options.
Tips, Variations & Cooking Advice
- Wood Choice: Experiment with different woods. Oak is classic, but a mix of oak and pecan or a touch of mesquite can also create fantastic flavor profiles.
- The “Texas Crutch”: Wrapping the brisket in foil during the stall is often called the “Texas Crutch” as it speeds up cooking. Butcher paper is preferred by many for maintaining a better bark.
- Making Burnt Ends: Once the brisket is rested, separate the point. Cube it, toss with a little extra rub and your favorite BBQ sauce, and return it to the smoker for another 1-2 hours until caramelized and tender.
- Temperature Control: Consistency is key! Get to know your smoker’s hot and cold spots and manage your fire or pellet feed diligently.
- Don’t Over-Trim: While you want to remove hard fat, leaving a thin layer on the fat cap helps keep the meat moist during the long cook.
Common Mistakes to Avoid
- Not Resting Long Enough: Impatience is the enemy of good brisket. A properly rested brisket is dramatically better than one sliced too early.
- Cooking to Temperature Alone: Tenderness is the ultimate indicator. Probe the meat for “probe tenderness,” not just a specific temperature reading.
- Over-Trimming: Removing too much fat can lead to a dry brisket.
- Fluctuating Smoker Temperatures: Wild temperature swings can result in tough or unevenly cooked meat. Invest in good thermometers and learn to manage your smoker.
- Not Enough Seasoning: Brisket is a large cut of meat and needs a generous amount of salt and pepper to form that delicious bark and penetrate the meat flavor.
Storage & Meal Prep Tips
Leftover brisket stores beautifully!
- Refrigeration: Store sliced or whole brisket in an airtight container in the refrigerator for up to 3-4 days. To reheat, wrap slices in foil with a splash of beef broth and warm in a 300°F (150°C) oven until heated through, or gently warm in a pan on the stovetop.
- Freezing: For longer storage, slice the brisket and vacuum seal or wrap tightly in plastic wrap and then foil. Freeze for up to 2-3 months. Thaw overnight in the refrigerator before reheating. Reheating from frozen without thawing can dry out the meat.
- Meal Prep: Brisket leftovers are fantastic for sandwiches, tacos, chili, or even breakfast hash. Shredded brisket can be prepped for quick weeknight meals.
Conclusion
Mastering BBQ Brisket (Texas Style) is a fulfilling culinary journey that rewards patience with unparalleled flavor. From meticulous trimming to the vital resting phase, each step plays a crucial role in achieving that sought-after tender, smoky perfection. By following this guide, you’re not just cooking; you’re creating art, transforming a challenging cut into an unforgettable meal. The satisfaction of slicing into a perfectly executed smoked brisket, with its impeccable bark and juicy interior, is truly unmatched. Don’t be afraid to experiment, learn from each cook, and most importantly, enjoy the process! Share your brisket adventures in the comments below – I’d love to hear about your triumphs and tips!
FAQs
Q: Can I make brisket without a dedicated smoker?
A: While a dedicated smoker is ideal, you can achieve decent results using a charcoal grill with indirect heat and wood chunks, or even an oven (though you’ll miss the authentic smoke flavor).
Q: Why is my brisket dry?
A: Common culprits include overcooking (cooking purely by temperature instead of tenderness), not resting the brisket long enough, or trimming too much fat.
Q: What’s the difference between the flat and the point?
A: The flat is leaner and provides classic slices, while the point is fattier and more marbled, often used for burnt ends due to its richness.
Q: How do I know when the brisket is truly done?
A: The best indicator is “probe tenderness.” A skewer or meat thermometer probe should slide into the thickest part of the flat with very little resistance, feeling like it’s entering soft butter. This usually happens between 200-205°F (93-96°C) internal temperature.
Q: What kind of wood is best for Texas-style brisket?
A: Oak is the traditional and most popular choice for Texas-style brisket due to its strong, clean smoke flavor that pairs well with beef. Mesquite and hickory are also popular, offering more intense smoke profiles.