The Ultimate Guide to Crafting the Perfect Homemade Apple Pie
Have you ever wondered how to achieve that quintessential, comforting taste of a truly homemade apple pie? There’s something undeniably magical about a freshly baked Apple Pie, a culinary masterpiece that evokes warmth, nostalgia, and pure indulgence. Beyond the delightful aroma and exquisite taste, preparing this beloved dessert at home offers the invaluable satisfaction of knowing exactly what goes into your food, allowing for personalized touches and the creation of lasting memories. Forget store-bought iterations; mastering this classic is an essential skill for any home baker looking to impress and delight. Plus, it opens the door to exploring a world of other enchanting dessert recipes, starting with this foundational favorite.
Ingredients & Kitchen Tools
To embark on this delightful baking journey, gather the following:
- For the Pie Crust (Double Crust Recipe):
* 2 ½ cups all-purpose flour (for structure and flakiness)
* 1 teaspoon salt (enhances flavor)
* 1 cup (2 sticks) unsalted butter, very cold and cubed (creates tender, flaky layers)
* ½ cup ice water, plus more if needed (binds the dough without over-hydrating)
Optional substitution:* Use a store-bought pie crust for convenience, though homemade is superior!
- For the Apple Filling:
* 6-8 medium baking apples (e.g., Granny Smith, Honeycrisp, Fuji – a mix provides best flavor and texture), peeled, cored, and sliced ¼-inch thick
* ½ cup granulated sugar (for sweetness)
* ¼ cup packed light brown sugar (adds depth and moisture)
* 2 tablespoons all-purpose flour or cornstarch (thickens the filling)
* 1 teaspoon ground cinnamon (classic apple pie spice)
* ¼ teaspoon ground nutmeg (warm, aromatic complement)
* ⅛ teaspoon ground cloves (subtle spice note)
* 2 tablespoons fresh lemon juice (prevents browning and brightens flavor)
* 2 tablespoons unsalted butter, cut into small pieces (enriches the filling)
- For the Egg Wash (Optional):
* 1 large egg, beaten (for a golden, shiny crust)
* 1 tablespoon milk or cream (helps the egg wash spread smoothly)
* 1 tablespoon coarse sugar (for sparkle and crunch)
- Kitchen Tools:
* 9-inch pie plate (essential for shaping and baking)
* Large mixing bowls (for dough and filling)
* Pastry blender or food processor (for cutting butter into flour)
* Rolling pin (for shaping the crust)
* Parchment paper or silicone baking mat (prevents sticking, aids in transfer)
* Paring knife or apple corer/slicer (for fruit preparation)
* Wire rack (for cooling)
Prep Time & Cooking Schedule
- Prep Time: 45-60 minutes (includes making dough and preparing apples)
- Chilling Time: 30 minutes for pie crust dough (essential for flakiness, can be extended to overnight)
- Cook Time: 50-60 minutes
- Resting Time: 2-3 hours (crucial for the filling to set, prevents a runny pie)
Plan to start your Apple Pie in the late morning or early afternoon if you’re aiming for an evening dessert, allowing ample time for chilling and cooling. The resting time is non-negotiable for a perfectly set filling.
Step-by-Step Instructions
1. Prepare the Pie Dough: In a large bowl, whisk together flour and salt. Cut in the very cold, cubed butter using a pastry blender or your fingertips until the mixture resembles coarse crumbs with some pea-sized pieces of butter remaining. Gradually add ice water, one tablespoon at a time, mixing until just combined. Do not overmix. Divide dough in half, flatten into discs, wrap in plastic, and chill for at least 30 minutes.
2. Prepare the Apple Filling: In a large bowl, combine the sliced apples, both sugars, flour (or cornstarch), cinnamon, nutmeg, cloves, and lemon juice. Toss gently until the apples are evenly coated.
3. Assemble the Pie: On a lightly floured surface, roll out one disc of dough into a 12-inch circle. Carefully transfer it to your 9-inch pie plate. Trim edges, leaving a ½-inch overhang. Pour the apple filling into the crust, mounding it slightly in the center. Dot with the small pieces of butter.
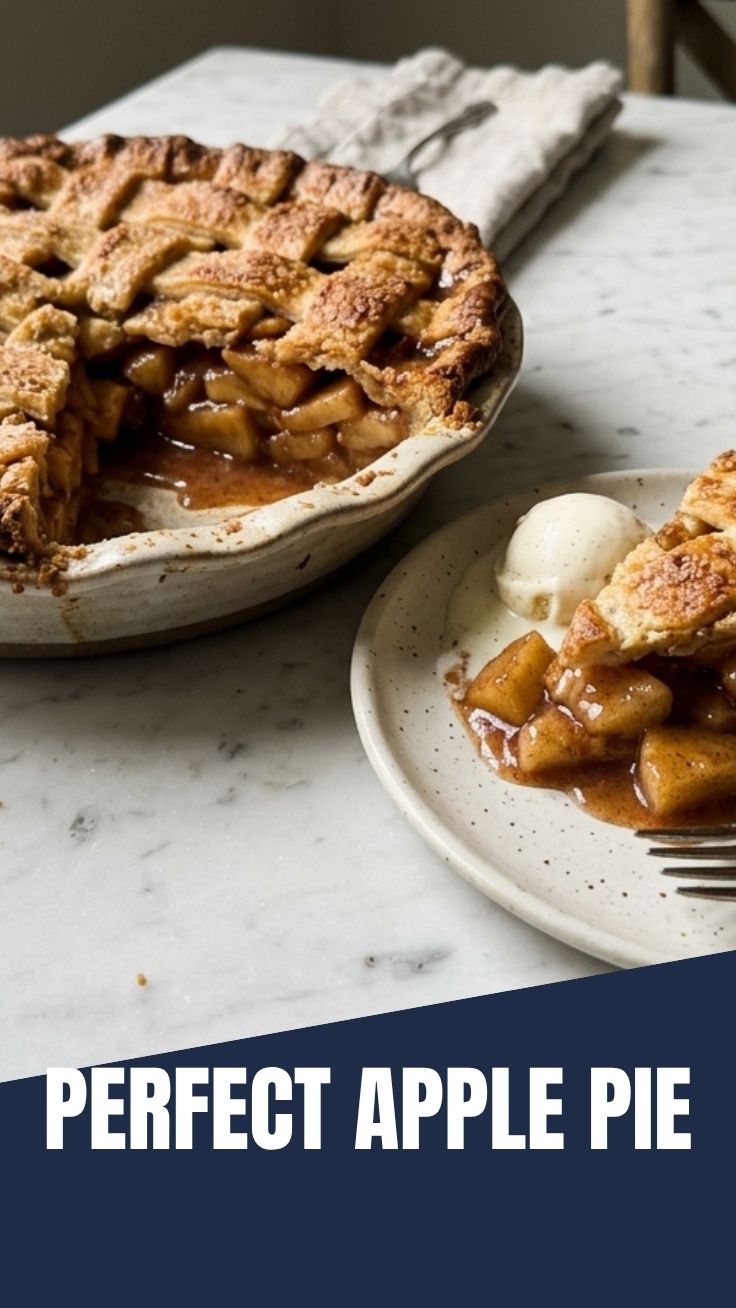
4. Top the Pie: Roll out the second disc of dough. You can create a lattice top or simply place the entire crust over the apples, cutting a few vents for steam. Trim the top crust to overlap the bottom by about ½-inch. Crimp the edges together using your fingers or a fork to seal the pie. For a golden finish, brush with egg wash (if using) and sprinkle with coarse sugar.
5. Bake: Preheat your oven to 425°F (220°C). Place the pie on a baking sheet (to catch any drips). Bake for 15 minutes, then reduce the oven temperature to 375°F (190°C) and continue baking for another 35-45 minutes, or until the crust is golden brown and the filling is bubbly. If the crust browns too quickly, loosely tent with aluminum foil.
6. Cool and Set: Transfer the baked homemade Apple Pie to a wire rack and let it cool completely for at least 2-3 hours. This allows the filling to set properly, ensuring a perfect slice every time. This cooling period is crucial for getting it ready to serve alongside other delightful dessert recipes.
Nutritional Benefits & Advantages
Apples, the star of this dish, are a good source of dietary fiber, which aids in digestion and can help with satiety. They also provide vitamin C, an essential antioxidant. While an Apple Pie is a treat, baking it at home allows you to control the sugar content and choose high-quality butter, avoiding artificial ingredients often found in commercially prepared counterparts. It’s a comforting dessert that, in moderation, can be part of a balanced diet.
Tips, Variations & Cooking Advice
- Apple Varieties: Use a mix of tart (Granny Smith) and sweet (Honeycrisp, Fuji) apples for a balanced flavor profile and varied texture.
- Spice It Up: Add a pinch of ground ginger or cardamom for a different, warmer spice note. A splash of bourbon or brandy in the filling can also add incredible depth.
- Gluten-Free: Substitute the all-purpose flour in the crust with a 1:1 gluten-free baking blend. Ensure the flour in the filling is also gluten-free (cornstarch is naturally gluten-free).
- Dairy-Free: Use a high-quality plant-based butter alternative for both the crust and dotting the filling.
- Lattice Topping: For an impressive presentation, weave a lattice top with strips of pie dough. Numerous tutorials are available online for this technique.
- Thickening Agent: If you prefer a very thick filling, increase the flour or cornstarch by another tablespoon.
Common Mistakes to Avoid
- Overworking the Dough: This develops gluten, leading to a tough crust. Mix just until combined.
- Not Chilling the Dough: Cold butter is key to flaky pastry. Don’t skip the chilling step.
- Underbaking: An underbaked crust is pale and soggy. Ensure it’s golden brown on the bottom too.
- Cutting Too Soon: Patience is a virtue! Cutting into a hot pie will result in a runny, messy slice. Allow it ample time to cool and set.
Storage & Meal Prep Tips
Leftover Apple Pie can be stored at room temperature, loosely covered, for up to 2 days. For longer storage, refrigerate for up to 5 days. To freeze, wrap the entire baked and cooled pie (or individual slices) tightly in plastic wrap and then foil. It will keep for up to 3 months. Thaw in the refrigerator overnight, then reheat in a 350°F (175°C) oven for 15-20 minutes to crisp up the crust.
Conclusion
Crafting a homemade Apple Pie is a deeply rewarding experience, resulting in a dessert that truly stands apart. By following these detailed steps and paying attention to little details, you’ll produce a perfectly flaky crust and a wonderfully spiced, tender apple filling that simply sings. This classic isn’t just a recipe; it’s a statement of comfort and culinary passion, a true centerpiece among dessert recipes. Don’t hesitate to give it a try – your taste buds (and your family!) will thank you. Share your baking adventures in the comments below!
FAQs
Q1: What are the best apples for apple pie?
A1: A mix of Granny Smith (tart), Honeycrisp (sweet-tart), and Fuji (sweet, firm) is often recommended for a balanced flavor and texture that holds up during baking.
Q2: My pie crust sometimes turns out soggy. What am I doing wrong?
A2: A soggy bottom crust can be due to several factors: insufficient baking time, cutting the pie before it’s fully cooled, or a very juicy apple filling. Try pre-baking your bottom crust (blind baking) for 10-15 minutes before adding the filling, and ensure you let the pie cool completely.
Q3: Can I make the pie dough ahead of time?
A3: Absolutely! You can prepare the pie dough up to 2-3 days in advance and store it tightly wrapped in the refrigerator. You can also freeze it for up to a month; just thaw it in the fridge overnight before using.
Q4: How can I prevent the top crust from browning too quickly?
A4: If you notice the top crust browning too much before the filling is cooked, loosely tent the pie with aluminum foil during the later stages of baking.