Bake Irresistible Bliss: Your Guide to Perfect Homemade Vanilla Cupcakes
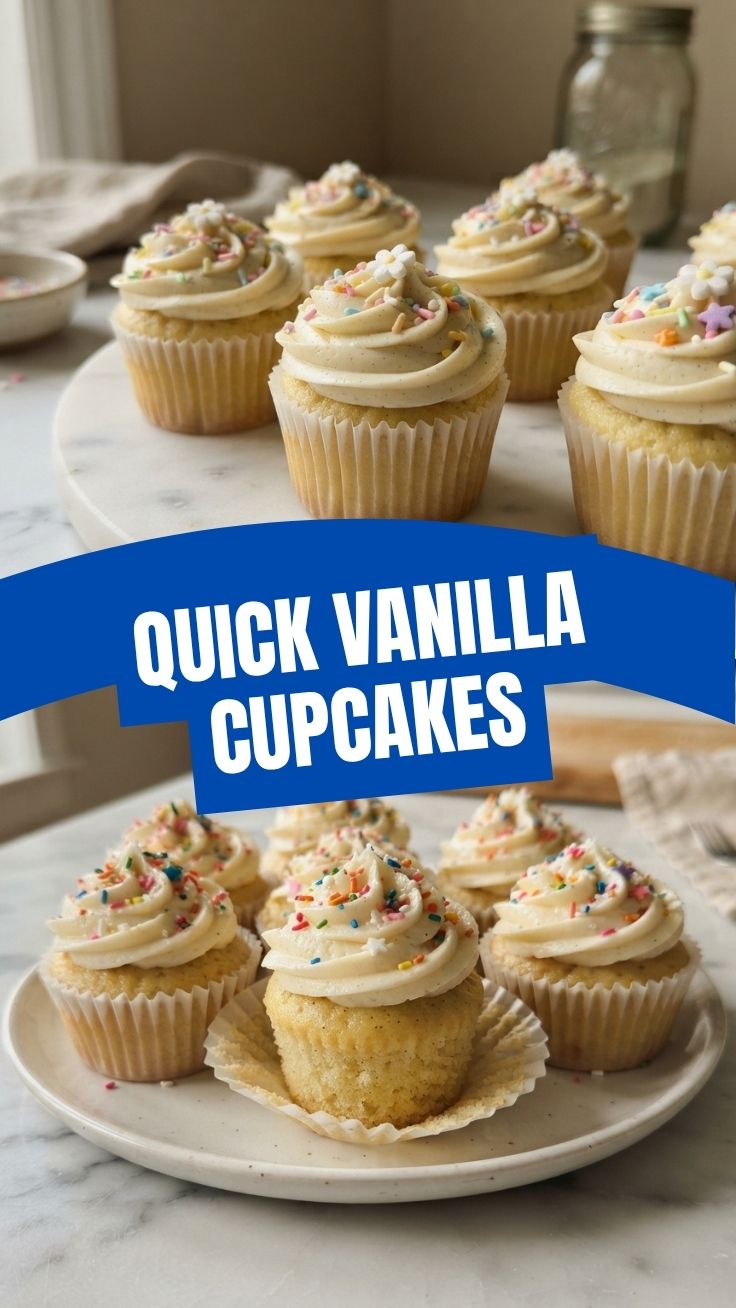
Ever wondered if you could recreate that fluffy, melt-in-your-mouth bakery experience right in your own kitchen? The answer is a resounding YES! Preparing homemade treats like perfect Vanilla Cupcakes isn’t just about saving money; it’s about the joy of creation, the superior taste of fresh ingredients, and the warmth of sharing something truly special. This comprehensive guide will walk you through every step to achieving cupcake perfection, complete with the ideal Vanilla frosting that will have everyone asking for your secret. Get ready to transform simple ingredients into edible masterpieces that are both easy to make and incredibly rewarding.
Ingredients & Kitchen Tools
Crafting these delightful treats requires a few essential items. Here’s what you’ll need:
- All-Purpose Flour (2 cups): Provides structure to your cupcakes.
- Granulated Sugar (1 ½ cups): Sweetens and tenderizes the crumb.
- Baking Powder (1 ½ tsp): Leavening agent for a light, airy texture.
- Salt (½ tsp): Enhances all the other flavors.
- Unsalted Butter (¾ cup, softened): Adds richness and moisture. Ensure it’s at room temperature for easy creaming.
- Large Eggs (3, room temperature): Binds ingredients and contributes to structure and richness.
- Vanilla Extract (2 tsp): The star flavor of our Vanilla Cupcakes.
- Whole Milk (1 cup): Hydrates the batter and keeps the cupcakes tender.
- Muffin Pan: For baking. A 12-cup pan works well.
- Paper Liners: Prevents sticking and makes for easy serving.
- Electric Mixer (stand or hand-held): For efficient blending of ingredients.
- Mixing Bowls (various sizes): For combining wet and dry ingredients.
- Rubber Spatula: For scraping bowls and folding ingredients.
- Measuring Cups and Spoons: For accurate ingredient measurement.
- Wire Rack: For cooling the baked cupcakes.
Optional Substitutions: For a dairy-free version, use plant-based milk and dairy-free butter. Gluten-free flour blends can also be substituted, though results may vary slightly.
Prep Time & Cooking Schedule
- Prep Time: 20-25 minutes
- Bake Time: 18-22 minutes
- Cooling Time (Cupcakes): 15-20 minutes
- Cooling Time (Total before frosting): 45-60 minutes (Allow cupcakes to cool completely to prevent frosting meltdown!)
- Total Time: Approximately 1 hour 30 minutes
Plan your baking session to ensure ample cooling time. Impatiently frosting warm cupcakes is a common pitfall!
Step-by-Step Instructions
Follow these clear directions for baking success:
1. Preheat Oven & Prep Muffin Pan: Preheat your oven to 350°F (175°C). Line a 12-cup muffin pan with paper liners. This ensures easy release and minimal cleanup.
2. Combine Dry Ingredients: In a medium bowl, whisk together the all-purpose flour, granulated sugar, baking powder, and salt. Set aside. This step evenly distributes the leavening agents.
3. Cream Butter & Sugar: In a large mixing bowl, using an electric mixer on medium speed, cream the softened unsalted butter until light and fluffy. Gradually add the granulated sugar and continue to beat for 2-3 minutes until the mixture is pale and airy. This creates pockets of air for a lighter cupcake.
4. Add Eggs & Vanilla: Beat in the large eggs one at a time, mixing well after each addition. Scrape down the sides of the bowl as needed. Stir in the vanilla extract until just combined.
5. Alternate Dry & Wet Ingredients: With the mixer on low speed, gradually add half of the dry ingredients to the butter mixture, mixing until just combined. Pour in half of the whole milk and mix until just incorporated. Repeat with the remaining dry ingredients and milk, beginning and ending with the dry. Be careful not to overmix, as this can lead to tough cupcakes.
6. Fill Liners: Divide the batter evenly among the prepared muffin liners, filling each about two-thirds full. This allows room for them to rise without overflowing.
7. Bake: Bake for 18-22 minutes, or until a wooden skewer inserted into the center of a cupcake comes out clean.
8. Cool: Transfer the Vanilla Cupcakes from the muffin pan to a wire rack immediately and let them cool completely before applying the Vanilla frosting. Completely cool means no residual warmth; warm cupcakes will melt your frosting.
Nutritional Benefits & Advantages
While cupcakes are a treat, our homemade version offers advantages. By making them ourselves, we control the quality of ingredients, avoiding artificial flavors and excessive preservatives sometimes found in store-bought options. Whole milk provides calcium, and eggs offer protein and essential nutrients. The simple ingredients ensure a delicious indulgence that you can feel good about enjoying in moderation.
Tips, Variations & Cooking Advice
- Zest it Up: Add a teaspoon of lemon or orange zest to the batter for a bright, citrusy twist.
- Chocolate Chip Surprise: Fold in ½ cup of mini chocolate chips for an added layer of flavor and texture.
- Almond Extract: Replace half of the vanilla extract with almond extract for a delicate, nutty flavor.
- Reduced Sugar: For a less sweet cupcake, you can slightly reduce the sugar by ¼ cup, but be aware it may slightly alter the texture.
- Cupcake Size: Adjust baking time if using larger or smaller muffin pans.
- Precision is Key: Baking is a science. Accurate measurements are crucial for consistent results.
Common Mistakes to Avoid
- Overmixing the Batter: Leads to dense, tough cupcakes. Mix until just combined.
- Overfilling the Liners: Results in mushroom-topped cupcakes that spill over the sides.
- Baking at the Wrong Temperature: Leads to dry or undercooked cupcakes. Use an oven thermometer to ensure accuracy.
- Frosting Warm Cupcakes: A surefire way to end up with a melted, messy frosting disaster. Be patient!
- Not Using Room Temperature Ingredients: Cold ingredients don’t emulsify properly, leading to a lumpy batter and a less uniform texture.
Storage & Meal Prep Tips
Store unfrosted Vanilla Cupcakes in an airtight container at room temperature for up to 3 days. Once frosted with Vanilla frosting, they are best stored in an airtight container in the refrigerator for up to 5 days, especially in warmer climates, due to the dairy in the frosting. Bring to room temperature for the best taste and texture before serving. Freezing unfrosted cupcakes is also an option; wrap them tightly in plastic wrap and then foil, and they will keep for up to 3 months. Thaw at room temperature before frosting.
Conclusion
Mastering the art of perfect homemade Vanilla Cupcakes, complete with a delectable Vanilla frosting, is incredibly satisfying. With this detailed guide, you’re not just baking a dessert; you’re creating moments of joy and delicious memories. So go ahead, don your apron, gather your ingredients, and embark on this sweet adventure. Don’t forget to share your beautifully decorated creations and tell us how they turned out in the comments below!
FAQs
Q1: Can I use oil instead of butter?
A1: While you can substitute oil, butter provides a richer flavor and superior texture. If you must use oil, opt for a neutral-flavored one like vegetable or canola oil.
Q2: My cupcakes sank in the middle, what went wrong?
A2: This often happens due to underbaking, overmixing the batter, or opening the oven door too early during baking. Ensure your oven temperature is accurate and resist the urge to peek before the recommended baking time.
Q3: How do I get my cupcakes to have flat tops for easier frosting?
A3: Slightly reducing the amount of leavening agent (baking powder) by a quarter teaspoon can help. Also, ensure your oven temperature isn’t too high, causing them to dome rapidly.
Q4: Can I make the batter ahead of time?
A4: It’s best to bake the cupcakes immediately after mixing the batter for the best texture and rise. If absolutely necessary, you can refrigerate the batter for up to an hour, but expect a slight decrease in rise.
Q5: What’s the best way to get a smooth, lump-free vanilla frosting?
A5: Ensure your butter is truly softened (but not melted) and your powdered sugar is sifted. Beat the butter thoroughly before adding the sugar, and mix on low speed initially to prevent a cloud of powdered sugar.