Bake Beyond Basic: Mastering the Art of Irresistible Shortbread Cookies at Home
Ever wondered how to achieve that melt-in-your-mouth, buttery perfection you find in the finest bakeries, right in your own kitchen? The secret lies in mastering the art of the Shortbread Cookies. Forget store-bought imitations; crafting these delightful treats at home is not only incredibly rewarding but also allows for unparalleled control over quality and flavor. Today, we’re diving deep into the world of homemade shortbread, ensuring your journey from novice baker to shortbread connoisseur is smooth, delicious, and utterly satisfying. Get ready to discover the magic of simple ingredients transforming into an extraordinary dessert, where the rich, crumbly texture of a perfectly baked butter shortbread awaits.
Ingredients & Kitchen Tools
Gather your culinary arsenal for an exquisite baking experience.
Ingredients:
- 2 cups All-Purpose Flour: The structural backbone of our cookies. Sifting ensures a lighter texture.
- 1 cup (2 sticks) Unsalted Butter, softened: The star of the show. Using unsalted butter allows you to control the salt content precisely. Softened butter creams easily with sugar.
- ¾ cup Powdered Sugar (Confectioners’ Sugar): Dissolves easily for a smoother texture compared to granulated sugar.
- ½ teaspoon Vanilla Extract: Adds a fragrant, classic flavor depth.
- ¼ teaspoon Salt: Balances the sweetness and enhances the buttery notes.
- Optional Flavorings: Zest of 1 lemon/orange, 1 tsp almond extract, or 2 tbsp finely chopped herbs like rosemary for a gourmet twist.
Kitchen Tools:
- Large Mixing Bowl: For combining ingredients.
- Electric Mixer (Stand or Handheld): Essential for creaming butter and sugar effectively. A wooden spoon can work for a more rustic approach.
- Spatula: For scraping down the bowl and folding ingredients.
- Rolling Pin: For achieving uniform cookie thickness.
- Cookie Cutters (Optional): For decorative shapes. A sharp knife works for traditional fingers or squares.
- Baking Sheets: Non-stick or lined with parchment paper/silicone mats for easy release.
- Parchment Paper or Silicone Baking Mat: Prevents sticking and promotes even baking.
- Wire Rack: For cooling the baked cookies completely.
Prep Time & Cooking Schedule
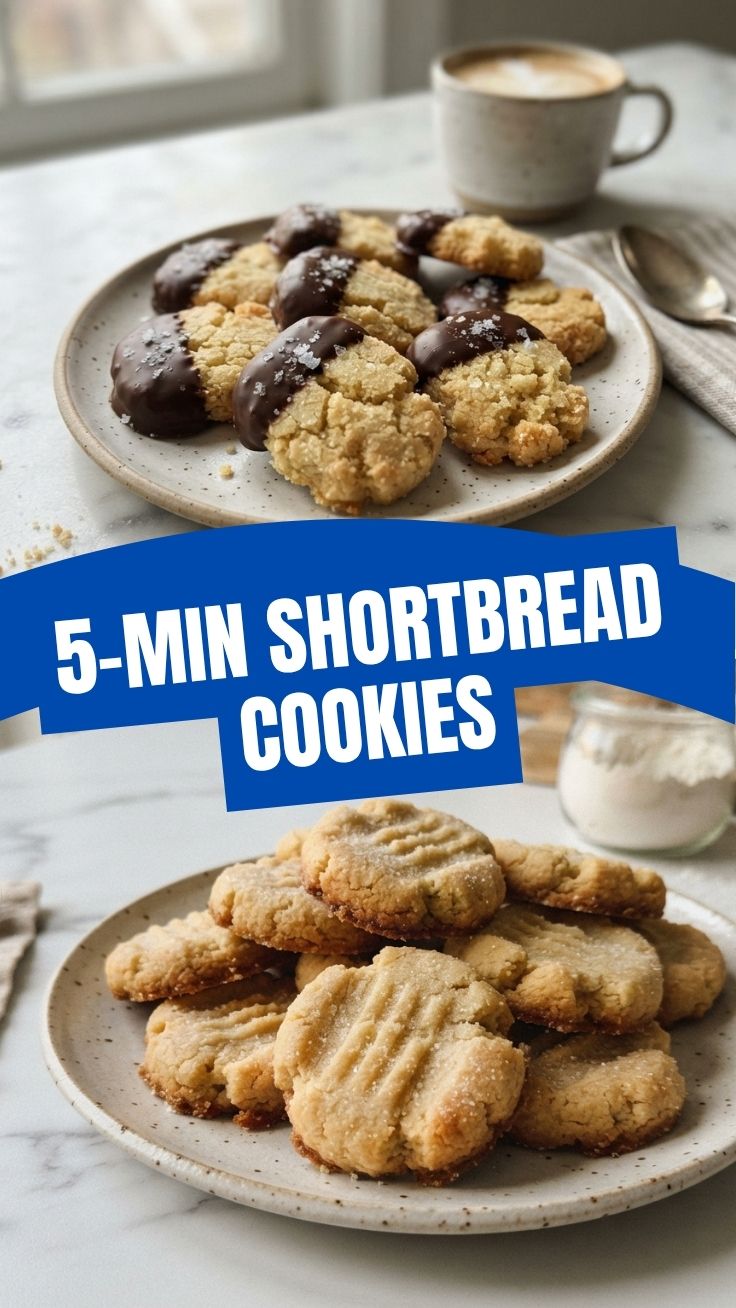
Planning makes perfect! Here’s your schedule to achieve shortbread bliss.
- Prep Time: 20 minutes
- Chill Time (Dough): 30-60 minutes (Crucial for preventing spread and ensuring crispness)
- Bake Time: 15-20 minutes
- Cooling Time: 15 minutes
This recipe is ideal for an afternoon baking session, allowing enough time for chilling the dough. The chilling stage is non-negotiable for achieving that signature shortbread texture and preventing the cookies from spreading too much in the oven.
Step-by-Step Instructions
Follow these clear steps for perfect Shortbread Cookies every time.
1. Cream Butter and Sugar: In your large mixing bowl, beat the softened unsalted butter with the powdered sugar, salt, and vanilla extract using an electric mixer on medium speed. Continue until the mixture is light, fluffy, and pale in color, typically 3-5 minutes. This aeration is key to the cookie’s tender texture.
2. Add Flour: Gradually add the all-purpose flour to the butter mixture, mixing on low speed until just combined. Be careful not to overmix, as this can develop the gluten too much, resulting in tough cookies. The dough will appear crumbly at first, then come together.
3. Form and Chill Dough: Gather the dough into a ball, flatten it slightly into a disc, wrap it tightly in plastic wrap, and refrigerate for 30-60 minutes. This chilling period is vital for the butter shortbread to firm up, making it easier to roll and cut, and preventing excessive spreading during baking.
4. Preheat Oven & Prep Sheets: While the dough chills, preheat your oven to 325°F (160°C). Line two baking sheets with parchment paper or silicone baking mats.
5. Roll and Cut: On a lightly floured surface or between two sheets of parchment paper, roll out the chilled dough to about ¼-inch thickness. Cut into desired shapes using cookie cutters or a knife. For traditional shortbread fingers, cut into rectangles.
6. Bake: Carefully transfer the cut dough to the prepared baking sheets, leaving about an inch between each cookie. Bake for 15-20 minutes, or until the edges are lightly golden and the centers are set. Avoid over-baking to maintain their delicate texture.
7. Cool: Remove the baking sheets from the oven and let the cookies cool on the sheets for 5 minutes before transferring them to a wire rack to cool completely. This allows them to firm up without breaking.
Nutritional Benefits & Advantages
Beyond their undeniable deliciousness, shortbread offers some subtle advantages. Made primarily with butter, sugar, and flour, they are a simple treat, often free from common allergens like nuts or eggs (though always check ingredient labels if using pre-packaged items). Their richness means a little goes a long way, satisfying cravings with a smaller portion. Furthermore, baking shortbread from scratch allows you to control the quality of ingredients, opting for organic butter or reducing sugar content if desired, making them a more wholesome indulgence compared to many processed dessert options.
Tips, Variations & Cooking Advice
- Flavor Boost: Infuse the butter with vanilla bean paste instead of extract for an intense flavor. Add citrus zest, ground cinnamon, or cardamom to the dough for aromatic variations.
- Ingredient Swaps: For a gluten-free option, substitute a 1:1 gluten-free baking flour blend. Note that the texture might be slightly different.
- Decorative Touches: Before baking, gently prick the tops of the cookies with a fork for a classic look. After baking and cooling, drizzle with melted chocolate or a simple glaze made from powdered sugar and lemon juice.
- Portion Control: Bake smaller shortbread bites for a perfect one-or-two-bite treat, great for gifting or portion control.
- High Altitude Baking: For high-altitude adjustments, you might need to slightly increase flour and liquid (if any, though not much in shortbread), and reduce baking powder/soda. For shortbread, simply slightly decrease baking time and watch closely.
Common Mistakes to Avoid
- Overmixing the Dough: This develops gluten, leading to tough, chewy cookies instead of tender, crumbly ones. Mix only until just combined.
- Not Chilling the Dough: Warm dough spreads excessively in the oven, resulting in flat, misshapen cookies. Always chill for at least 30 minutes.
- Over-baking: Shortbread should be lightly golden, not deeply browned. Over-baking makes them dry and hard. Keep a close eye on them towards the end of the baking time.
- Not Using Softened Butter: Cold butter won’t cream properly with sugar, leading to a lumpy dough and inconsistent texture. Ensure your butter is at room temperature.
Storage & Meal Prep Tips
Baked shortbread cookies can be stored in an airtight container at room temperature for up to 1 week. For longer storage, they freeze beautifully! Arrange completely cooled cookies in a single layer on a baking sheet to flash freeze for 30 minutes, then transfer them to a freezer-safe bag or container, separated by parchment paper, for up to 3 months. Thaw at room temperature for a quick treat. The dough can also be prepared in advance and stored, tightly wrapped, in the refrigerator for up to 3 days or frozen for up to 1 month. Thaw frozen dough in the refrigerator overnight before rolling and baking.
Conclusion
There you have it—the definitive guide to crafting exquisite Shortbread Cookies that will impress anyone who tastes them. This recipe is a testament to the fact that simplicity can indeed lead to perfection. With careful attention to technique and a handful of quality ingredients, you can consistently achieve that delightful crumbly texture and rich, pure butter flavor. So go ahead, whip up a batch of this classic treat, and savor the unparalleled satisfaction of creating a perfect butter shortbread from scratch. Share your baking triumphs with us, and let’s celebrate the joy of homemade desserts together!
FAQs
Q1: Why did my shortbread spread too much?
A1: This usually happens if the butter was too warm or if the dough wasn’t sufficiently chilled before baking. Ensure your butter is softened but not melted, and always chill the dough for at least 30 minutes.
Q2: Can I substitute granulated sugar for powdered sugar?
A2: While you can, powdered sugar is highly recommended as it dissolves better, resulting in a smoother, more tender cookie. Granulated sugar can make the cookies slightly crunchier.
Q3: My shortbread came out tough. What went wrong?
A3: Tough shortbread is often a sign of overmixing the dough. Overworking the flour develops gluten, which leads to a chewy rather than crumbly texture. Mix only until the ingredients are just combined.
Q4: How long do homemade shortbread cookies last?
A4: Stored in an airtight container at room temperature, they will stay fresh for up to a week. They can also be frozen for up to 3 months.
Q5: Can I add nuts or dried fruit to the shortbread dough?
A5: Absolutely! Finely chopped nuts (almonds, pecans) or dried fruits (cranberries, currants) can be folded into the dough in step 2. Ensure they are finely chopped to maintain the delicate texture.