Mastering the Silky Smooth: Your Ultimate Guide to Homemade Gravy
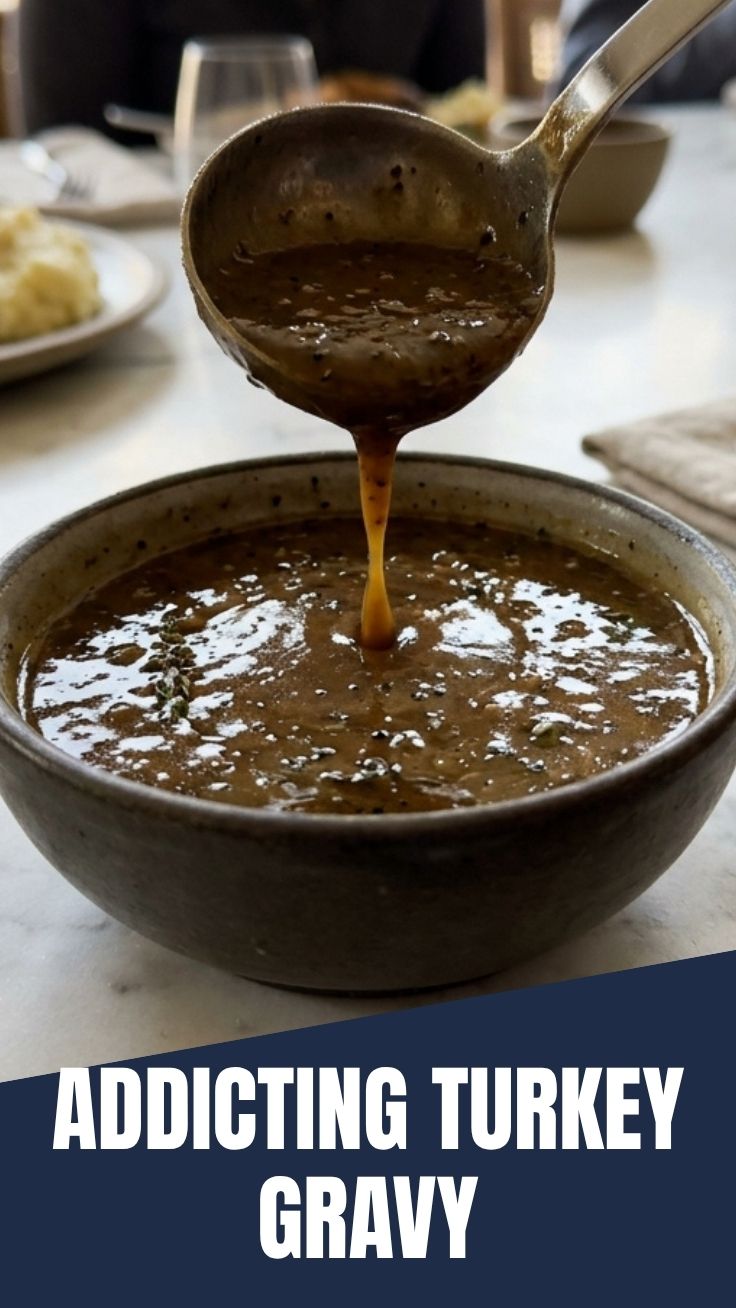
Ever wondered what transforms a good holiday meal into an unforgettable feast? Often, it’s that luxuriously rich, velvety accompaniment that ties everything together. We’re talking, of course, about gravy! While store-bought options can suffice, there’s an incomparable magic in a homemade, perfectly seasoned gravy. Imagine pouring a golden cascade of flavor over your Thanksgiving Turkey, each bite infused with depth and warmth. Mastering the art of making a luscious Turkey Gravy from scratch might seem daunting, but with this comprehensive guide, you’ll be stirring up culinary perfection in no time. Beyond just taste, preparing this staple at home ensures you control the ingredients, avoiding artificial flavors and excessive sodium, delivering a healthier and more authentic experience.
Ingredients & Kitchen Tools
Crafting the perfect gravy starts with the right components and equipment.
Pan Drippings (2-3 cups): The flavorful fat and juices left in the roasting pan after cooking your Thanksgiving Turkey. Crucial for deep flavor.*
- Butter (4 tablespoons, unsalted): Adds richness and helps create the roux.
All-Purpose Flour (4 tablespoons): The thickening agent for your gravy. For a gluten-free option, use cornstarch or a gluten-free flour blend.*
Chicken or Turkey Broth (4-6 cups, low sodium): To thin the gravy to your desired consistency and add liquid. Homemade is always best, but a good quality store-bought works well.*
Dry White Wine or Sherry (¼ cup, optional): Adds a layer of complexity and acidity. Choose a dry white wine like Sauvignon Blanc or a dry sherry.*
Fresh Herbs (Rosemary, Thyme, Sage; 1 sprig each, optional): Infuses aromatic notes into the gravy. Remove before serving.*
Salt and Freshly Ground Black Pepper (to taste): Essential for seasoning. Start with a pinch and adjust as you go.*
- Frying Pan or Saucepan (medium-sized): For making the roux.
Fat Separator: To easily separate the fat from the pan drippings. Highly recommended for a less greasy gravy.*
- Whisk: Essential for smoothly incorporating ingredients and preventing lumps.
- Fine-Mesh Sieve: For straining out any lumps or herb remnants for a silky smooth texture.
- Heat-proof Spatula: For scraping the bottom of the pan.
Prep Time & Cooking Schedule
- Prep Time: 15 minutes (Includes separating drippings, gathering ingredients)
- Cook Time: 15-20 minutes
- Resting Time: 5 minutes (before serving to allow it to thicken slightly)
The beauty of making gravy is that it often happens while your main dish, like the Thanksgiving Turkey, is resting. This allows you to utilize those delicious pan drippings at their freshest. Plan to start making the gravy about 20-30 minutes before you’re ready to serve your meal.
Step-by-Step Instructions
1. Prepare the Pan Drippings: After removing your roast, carefully pour all the pan drippings into a fat separator. Allow it to sit for a few minutes so the fat rises to the top. Pour the defatted drippings into a measuring cup – you’ll want about 2 cups. Skim off and reserve 3-4 tablespoons of the fat to use in creating the roux. This step is key for a flavorful Turkey Gravy that isn’t overly greasy.
2. Make the Roux: In a medium saucepan or frying pan, melt the reserved turkey fat (or butter if you don’t have enough fat) over medium heat. Once melted, gradually whisk in the flour until a smooth paste forms. Cook this roux for 2-3 minutes, stirring constantly, until it reaches a pale golden color. This cooks out the raw flour taste.
3. Deglaze and Whisk: Slowly whisk in the defatted pan drippings, ensuring no lumps form. If using, add the dry white wine or sherry now and allow it to simmer for a minute, scraping up any browned bits from the bottom of the pan – these are flavor gold!
4. Add Broth and Simmer: Gradually whisk in 4 cups of chicken or turkey broth. Add the fresh herb sprigs if using. Bring the mixture to a gentle simmer, continuously whisking to keep it smooth.
5. Thicken and Season: Continue to simmer the gravy, stirring occasionally, for 5-10 minutes, or until it thickens to your desired consistency. If it’s too thick, add more broth, a little at a time. If it’s too thin, you can create a slurry of 1 tablespoon cornstarch mixed with 2 tablespoons cold water and whisk it into the simmering gravy, letting it cook for another minute. Taste and season generously with salt and freshly ground black pepper. Remember, the Thanksgiving Turkey itself might be well-seasoned, so adjust accordingly.
6. Strain and Serve: For an ultra-smooth gravy, pour it through a fine-mesh sieve into a gravy boat or serving pitcher. Remove any herb sprigs. Serve immediately.
Nutritional Benefits & Advantages
Homemade gravy, especially Turkey Gravy made from scratch, offers more than just flavor. When you use real pan drippings, you’re leveraging the natural nutrients and flavors concentrated during the roasting process. By controlling the sodium content in your broth and avoiding artificial thickeners, you create a healthier condiment. Turkey drippings themselves can contain beneficial amino acids and minerals, contributing to a more wholesome meal. It’s a way to ensure every component of your festive spread is as nourishing as it is delicious.
Tips, Variations & Cooking Advice
- For a Gluten-Free Gravy: Substitute the all-purpose flour with an equal amount of cornstarch (mixed with cold water to form a slurry before adding to hot liquid) or a gluten-free flour blend like Bob’s Red Mill 1-to-1 Baking Flour.
- Add Umami: A dash of soy sauce, Worcestershire sauce, or even a few rehydrated dried mushrooms can deepen the savory notes.
- Creamy Gravy: Stir in a tablespoon or two of heavy cream at the very end for an extra luxurious texture.
- Herbaceous Boost: Experiment with different fresh herbs. Besides rosemary, thyme, and sage, consider a bay leaf during simmering.
- Make-Ahead Option: Gravy can be made up to 2-3 days in advance. Reheat gently over low heat, whisking frequently, and add a splash of broth if it’s too thick.
Common Mistakes to Avoid
- Not Separating Fat: This is a common pitfall leading to a greasy, unappetizing gravy. A fat separator is your best friend here.
- Insufficiently Cooked Roux: If your roux doesn’t cook long enough, your gravy can have a raw flour taste. Cook it until it’s a pale golden color.
- Adding Liquid Too Quickly: Pouring all the liquid at once can lead to lumps. Whisk in a small amount first to create a smooth paste, then gradually add the rest.
- Not Seasoning Enough: Gravy can be bland without proper seasoning. Taste as you go and adjust salt and pepper.
- Over-Thickening: A gravy that’s too thick can be pasty. Always aim for a pourable, slightly viscous consistency.
Storage & Meal Prep Tips
Proper storage is key to enjoying your delicious gravy longer.
- Refrigeration: Store leftover gravy in an airtight container in the refrigerator for up to 3-4 days.
- Freezing: For longer storage, gravy freezes beautifully. Pour it into freezer-safe containers or even ice cube trays (for individual portions), and freeze for up to 3 months.
- Reheating: Thaw frozen gravy in the refrigerator overnight. Reheat gently on the stovetop over low heat, whisking constantly. You may need to add a splash of chicken or turkey broth to restore its original consistency if it has become too thick.
Conclusion
Creating a flawless, homemade gravy isn’t just about following a recipe; it’s about understanding the techniques that elevate a simple sauce into a culinary masterpiece. Whether you’re dressing up a weeknight meal or orchestrating a grand holiday feast, a perfectly executed Turkey Gravy makes all the difference. With the tips and steps outlined above, you’re now equipped to serve a velvety, flavorful gravy that will impress everyone fortunate enough to taste it, especially when paired with a succulent Thanksgiving Turkey. So go ahead, whisk up some magic, and transform your meals. We’d love to hear about your gravy-making triumphs in the comments below!
FAQs
Q1: Can I make gravy without pan drippings?
A1: Yes, you can! Substitute the pan drippings with additional good quality chicken or turkey broth and melt more butter (6-8 tablespoons) for your roux to build a flavorful base. You might also want to add a pinch of poultry seasoning for depth.
Q2: My gravy is lumpy. How can I fix it?
A2: Don’t despair! The easiest fix is to pour the lumpy gravy through a fine-mesh sieve. You can also carefully use an immersion blender directly in the saucepan for a super-smooth finish.
Q3: How do I prevent my gravy from being too salty?
A3: Always use low-sodium broth and wait until the very end to season your gravy with salt. Pan drippings can already be quite salty, so taste frequently and add salt gradually.
Q4: Should I use cold or hot broth when adding it to the roux?
A4: While some chefs prefer cold liquid to prevent lumps, adding slightly warm or room-temperature broth gradually while whisking vigorously works best for most home cooks. Avoid boiling hot liquid as it can instantly seize the flour.
Q5: My gravy separated. What happened?
A5: Gravy can separate if it’s held at too high a temperature for too long, or if there’s too much fat. Gently whisk it vigorously over low heat to try and re-emulsify it. If it doesn’t come back together, try whisking in a small amount of heavy cream or a cornstarch slurry.