Unlock the Secret to Flawless Homemade Brownies: A Comprehensive Guide
Ever wondered if you could bake a batch of Brownies so good they’d rival your favorite bakery? The answer is a resounding yes! There’s an unparalleled joy in creating something delicious from scratch, especially when it comes to the irresistible allure of homemade brownies. This comprehensive guide will equip you with the knowledge and techniques to master the art of the perfect chocolate brownies, ensuring a truly decadent experience. From selecting the finest cocoa to understanding the nuances of baking, we’ll demystify the process, making it accessible for every home baker.
Ingredients & Kitchen Tools
Crafting exceptional brownies begins with quality ingredients and the right tools. Here’s what you’ll need:
- Unsalted Butter (1 cup / 2 sticks): Crucial for richness and chewy texture. Unsalted variety gives you control over the overall sodium content.
- Granulated Sugar (2 cups): Provides sweetness and contributes to the crusty top.
- Large Eggs (4): Binds the ingredients, adds moisture, and creates a fudgy consistency. Ensure they are at room temperature for better emulsification.
- Vanilla Extract (2 teaspoons): Enhances the chocolate flavor. Use pure vanilla for the best results.
- All-Purpose Flour (1 cup): Provides structure. Don’t overmix to avoid tough brownies.
- Unsweetened Cocoa Powder (¾ cup): The star of the show. Dutch-processed cocoa yields a darker, less bitter brownie.
- Salt (½ teaspoon): Balances sweetness and enhances chocolate notes.
- Baking Powder (¼ teaspoon): Helps with a slight lift, preventing overly dense brownies.
- Chocolate Chips or Chunks (1 cup, optional): For an extra punch of rich chocolate flavor and melty pockets. Dark chocolate or semi-sweet varieties work wonderfully.
- 9×13 Inch Baking Pan: The ideal size for even baking.
- Parchment Paper: Essential for easy removal and cleanup.
- Large Mixing Bowls (2): For wet and dry ingredients.
- Whisk: For combining dry ingredients and light mixing.
- Rubber Spatula: For gentle folding and scraping the bowl.
- Saucepan (Medium): For melting butter.
- Oven Mitts: For safely handling hot bakeware.
- Wire Rack: For cooling the brownies completely.
Prep Time & Cooking Schedule
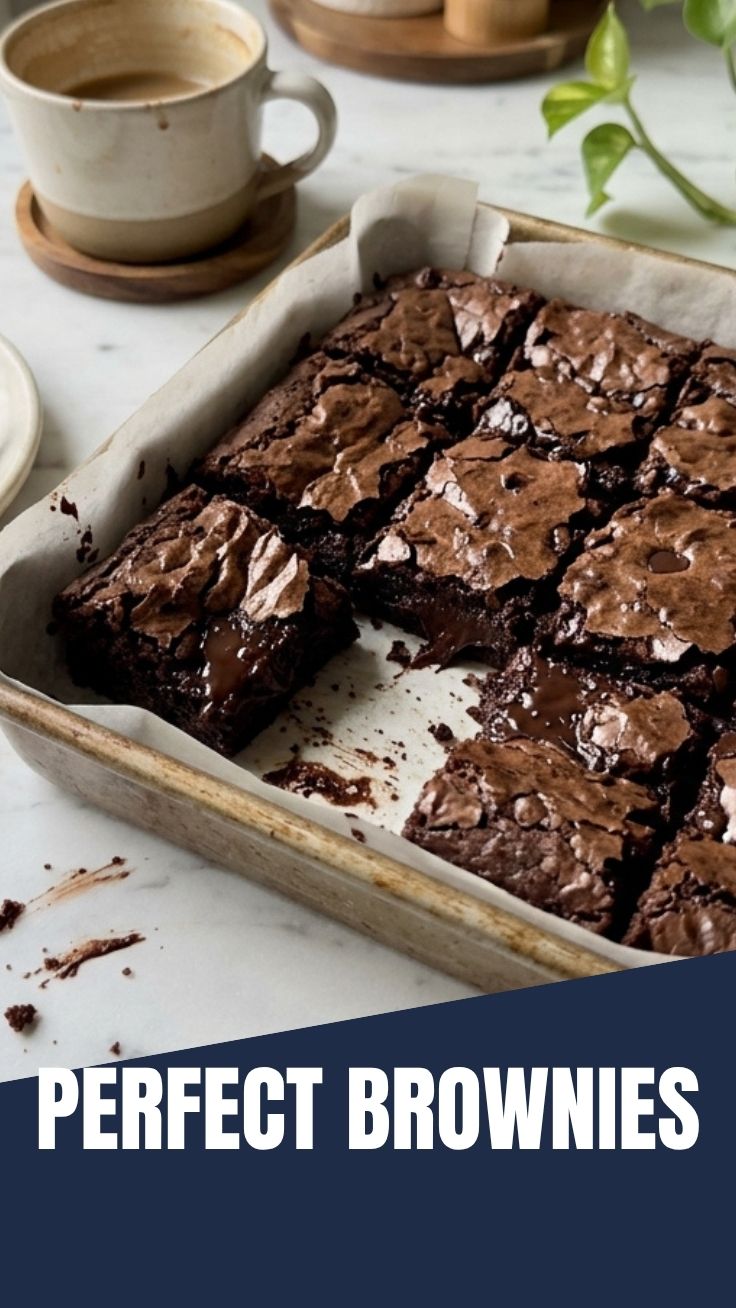
Planning is key to a stress-free baking experience. This recipe is designed for efficiency and delicious results.
- Prep Time: 15 minutes
- Baking Time: 25-30 minutes
- Resting Time: 2 hours (minimum) or until completely cool
Allowing the brownies to cool completely is crucial for achieving that characteristic fudgy texture and clean cuts. Don’t rush this step!
Step-by-Step Instructions
Follow these detailed steps to achieve the ultimate Brownies:
1. Preheat and Prepare: Preheat your oven to 350°F (175°C). Line a 9×13-inch baking pan with parchment paper, leaving an overhang on the sides for easy lifting. Lightly grease the parchment paper for added non-stick insurance.
2. Melt the Butter: In a medium saucepan over low heat, melt the unsalted butter. Remove from heat once fully melted.
3. Combine Wet Ingredients: In a large mixing bowl, whisk together the melted butter and granulated sugar until well combined. Beat in the eggs one at a time, ensuring each is fully incorporated before adding the next. Stir in the vanilla extract. The mixture should be glossy and smooth.
4. Sift Dry Ingredients: In a separate medium bowl, whisk together the all-purpose flour, unsweetened cocoa powder, salt, and baking powder. Sifting prevents lumps and ensures even distribution.
5. Combine Wet and Dry: Gradually add the dry ingredients to the wet ingredients, mixing with a rubber spatula until just combined. Be careful not to overmix, as this can lead to dry and tough brownies. If using, fold in the chocolate chips or chunks at this stage, distributing them evenly throughout the batter to ensure every bite of these amazing chocolate brownies is packed with delicious flavor.
6. Transfer to Pan: Pour the batter evenly into the prepared baking pan, spreading it with the spatula to reach all corners.
7. Bake: Bake for 25-30 minutes, or until a toothpick inserted into the center comes out with moist crumbs, but not wet batter. The edges should be set, and the top will appear slightly cracked.
8. Cool Completely: Remove the pan from the oven and let the brownies cool completely on a wire rack inside the pan. This can take at least two hours, or even longer. For the fudgiest texture, some bakers even prefer to chill them in the refrigerator before cutting.
Nutritional Benefits & Advantages
Beyond their undeniable deliciousness, homemade brownies, especially those made with quality cocoa, offer some surprising advantages. Dark cocoa powder is rich in antioxidants, which are beneficial for heart health. Making them at home allows you to control the sugar content and choose high-quality ingredients, avoiding artificial additives often found in store-bought versions. Opting for less sugar or incorporating whole wheat flour can further enhance their nutritional profile.
Tips Variations & Cooking Advice
- For Extra Fudgy Brownies: Reduce the flour by 2 tablespoons. Using a less intense cocoa powder can also contribute to a fudgier texture.
- For a Cakey Brownie: Increase the flour by 2 tablespoons and add an extra ¼ teaspoon of baking powder.
- Flavor Variations:
* Nutty Brownies: Add ½ cup of chopped walnuts or pecans to the batter.
* Mint Chocolate Brownies: Add ½ teaspoon of peppermint extract to the batter or frost with a mint buttercream.
* Espresso Brownies: Add 1 teaspoon of instant espresso powder to the warm melted butter or dry ingredients to deepen the chocolate flavor.
* Salted Caramel Brownies: Drizzle warm salted caramel over the cooled brownies before cutting.
- Dietary Adaptations:
* Gluten-Free Brownies: Substitute the all-purpose flour with a gluten-free all-purpose flour blend (ensure it contains xanthan gum).
* Dairy-Free Brownies: Use a plant-based butter substitute and dairy-free chocolate chips.
- Don’t Overbake! This is the number one rule for fudgy brownies. It’s better to underbake slightly than overbake.
Common Mistakes to Avoid
- Overmixing the Batter: This develops the gluten in the flour, leading to tough, dry brownies. Mix until just combined.
- Overbaking: As mentioned, this is the enemy of fudgy brownies. Keep an eye on them!
- Cutting While Warm: Cutting warm brownies results in messy, crumbly pieces. Patience is a virtue here.
- Using Low-Quality Cocoa: The cocoa is the star, so invest in good quality unsweetened cocoa powder for the best flavor.
- Skipping the Parchment Paper: Without it, removal can be a frustrating and sticky mess.
Storage & Meal Prep Tips
Properly stored brownies maintain their freshness and delightful texture.
- Room Temperature: Store cooled brownies in an airtight container at room temperature for up to 3-4 days.
- Refrigeration: For extended freshness, store in an airtight container in the refrigerator for up to a week. Bring to room temperature before serving for the best texture.
- Freezing: Wrap individual brownies tightly in plastic wrap, then place them in an airtight freezer-safe bag or container. Freeze for up to 3 months. Thaw at room temperature for a few hours before serving. Reheating in the microwave for a few seconds can bring back some of their fresh-baked warmth.
Conclusion
Mastering homemade Brownies is a rewarding culinary journey that promises delicious results. By following these detailed instructions, utilizing quality ingredients, and understanding the subtle nuances of baking, you can consistently produce fudgy, delightful chocolate brownies that impress every time. So go ahead, preheat that oven, gather your ingredients, and embark on your brownie-baking adventure! Share your perfectly baked creations with us in the comments below – we can’t wait to hear about your success!
FAQs
Q1: My brownies are dry and crumbly. What went wrong?
A1: This usually indicates overbaking or overmixing the batter. Ensure you’re baking only until a toothpick comes out with moist crumbs, and mix the dry ingredients into the wet until just combined.
Q2: Can I use butter substitutes for this recipe?
A2: Yes, you can use a plant-based butter substitute for a dairy-free version. The texture might be slightly different, but it will still yield delicious results.
Q3: How do I know if my brownies are done without overbaking?
A3: Look for a slightly set edge and a top that appears crinkly and somewhat matte. A toothpick inserted into the center should come out with moist crumbs, not wet batter.
Q4: Can I add nuts or other mix-ins to the brownies?
A4: Absolutely! Feel free to incorporate up to 1 cup of chopped nuts, different types of chocolate chips, or even dried fruit for added texture and flavor. Add them during step 5.
Q5: How can I achieve that shiny, crinkly top on my brownies?
A5: The shiny, crinkly top is often a result of melted butter and sugar creating a meringue-like crust. Ensuring your sugar is fully dissolved in the melted butter in step 3 can help. Some bakers swear by beating the eggs and sugar a little longer to incorporate air.