The Ultimate Guide to Irresistible Peanut Butter Cookies
Who can resist the allure of a freshly baked, perfectly golden Peanut Butter Cookie? That rich, nutty aroma, the satisfying chew, and that classic crisscross pattern — it’s pure comfort in every bite. While store-bought options abound, mastering the peanut butter cookie recipe at home offers an unparalleled experience. Not only do you control the quality of ingredients, but the sheer joy of creating these beloved treats from scratch elevates the entire culinary journey. This comprehensive guide will walk you through every step, ensuring your homemade Peanut Butter Cookies are nothing short of legendary.
Ingredients & Kitchen Tools
Crafting perfect cookies starts with the right foundation. Here’s what you’ll need:
- 1 cup (2 sticks) unsalted butter, softened: Provides richness and a tender texture. Unsalted butter allows for better control over the overall sodium content.
- 1 cup granulated sugar: Contributes to sweetness and helps with browning.
- 1 cup packed light brown sugar: Adds moisture, depth of flavor, and a chewier texture.
- 1 cup creamy peanut butter: The star ingredient! Opt for a classic, shelf-stable creamy variety for best results. Natural peanut butter can alter the texture.
- 2 large eggs: Act as a binder, adding moisture and structure.
- 1 teaspoon vanilla extract: Enhances the overall flavor profile.
- 2 ½ cups all-purpose flour: The primary structural component of the cookie.
- 1 teaspoon baking soda: A leavening agent that helps the cookies rise and spread.
- ½ teaspoon salt: Balances the sweetness and enhances other flavors.
- Optional: ½ cup chopped peanuts or chocolate chips: For added texture and flavor variations.
Kitchen Tools:
- Large mixing bowls
- Electric mixer (stand mixer or hand mixer)
- Rubber spatula
- Measuring cups and spoons
- Baking sheets
- Parchment paper or silicone baking mats
- Fork (for the crisscross pattern)
- Wire cooling rack
Prep Time & Cooking Schedule
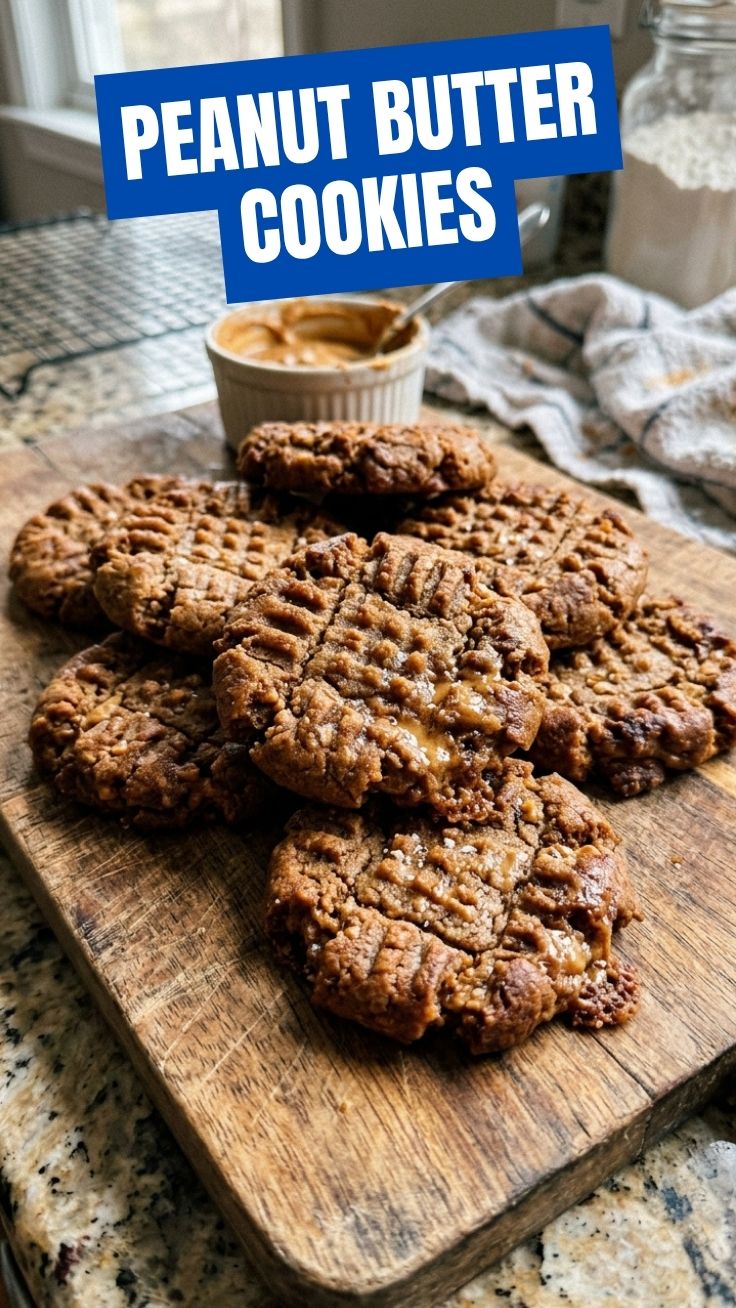
Get ready to enjoy these delightful cookies in no time!
- Prep time: 15-20 minutes (This includes gathering ingredients, mixing the dough, and shaping the cookies).
- Chill time (optional but recommended): 30 minutes (chilling the dough helps prevent excessive spreading and concentrates flavors).
- Cook time: 10-12 minutes per batch (baking time can vary by oven, so keep an eye on them).
- Resting time: 5 minutes (allowing cookies to cool on the baking sheet prevents breakage and helps them set).
Step-by-Step Instructions
Follow these precise steps to bake the perfect batch of Peanut Butter Cookies:
1. Preheat Oven & Prep Pans: Preheat your oven to 375°F (190°C). Line baking sheets with parchment paper or silicone baking mats.
2. Combine Wet Ingredients: In a large mixing bowl, cream together the softened butter, granulated sugar, and brown sugar until light and fluffy using an electric mixer. This usually takes 2-3 minutes.
3. Add Peanut Butter & Eggs: Beat in the creamy peanut butter until well combined. Then, add the eggs one at a time, mixing well after each addition. Stir in the vanilla extract.
4. Whisk Dry Ingredients: In a separate medium bowl, whisk together the all-purpose flour, baking soda, and salt.
5. Combine Wet & Dry: Gradually add the dry ingredients to the wet ingredients, mixing on low speed until just combined. Be careful not to overmix; overmixing can lead to tough cookies. If adding optional peanuts or chocolate chips, fold them in now with a spatula.
6. Chill Dough (Optional): For best results and to prevent spreading, cover the dough and refrigerate for 30 minutes. This step is particularly helpful for a perfect peanut butter cookie recipe that holds its shape beautifully.
7. Shape Cookies: Roll the dough into 1-inch balls. Place them about 2 inches apart on the prepared baking sheets.
8. Create Crisscross Pattern: Using the tines of a fork, gently press down on each cookie dough ball, first in one direction, then perpendicular, to create the classic crisscross pattern.
9. Bake: Bake for 10-12 minutes, or until the edges are lightly golden and the centers are just set. They might look slightly underdone in the middle, but they will continue to set as they cool.
10. Cool: Let the cookies cool on the baking sheets for 5 minutes before transferring them to a wire rack to cool completely.
Nutritional Benefits & Advantages
Peanut butter, the star of these cookies, is a good source of protein, healthy fats (monounsaturated and polyunsaturated), and fiber. These components contribute to satiety, helping you feel fuller for longer. Peanuts also contain essential vitamins and minerals like Vitamin E, B vitamins, magnesium, potassium, and zinc. While cookies are a treat, these ingredients offer some noteworthy nutritional value, making them a more substantial indulgence compared to many other sweet snacks.
Tips Variations & Cooking Advice
- Chewier Cookies: For an even chewier texture, increase the brown sugar to 1 ½ cups and decrease the granulated sugar to ½ cup.
- Crispier Cookies: If you prefer a crispier cookie, bake them for an extra 1-2 minutes until they are golden brown all over.
- Flavor Boosts: Introduce a pinch of cinnamon or nutmeg for a warming spice note.
- Ingredient Swaps: Use almond butter or cashew butter for an alternative nut butter cookie. Ensure the consistency is similar to creamy peanut butter.
- Gluten-Free: Substitute the all-purpose flour with a 1:1 gluten-free baking flour blend that contains xanthan gum.
- Dairy-Free: Use a good quality plant-based butter substitute.
Common Mistakes to Avoid
- Overmixing the Dough: This develops the gluten in the flour, resulting in tough, dry cookies. Mix until just combined.
- Not Softening Butter: Cold butter won’t cream properly, leading to a dense texture. Ensure it’s at room temperature.
- Using Natural Peanut Butter: While delicious, natural peanut butter (the kind that separates) has a different fat-to-solids ratio, which can cause cookies to spread excessively or be too crumbly.
- Baking on Hot Sheets: Always use cool baking sheets or allow them to cool between batches to prevent the cookies from spreading too much as soon as they hit the hot metal.
- Underbaking/Overbaking: Cookies should be lightly golden on the edges and set, but still slightly soft in the center when removed from the oven. They will firm up as they cool.
Storage & Meal Prep Tips
- Room Temperature: Store cooled Peanut Butter Cookies in an airtight container at room temperature for up to 3-5 days. To keep them soft, you can add half a slice of bread to the container.
- Freezing Baked Cookies: Once completely cooled, place cookies in a freezer-safe bag or container, separated by parchment paper, for up to 3 months. Thaw at room temperature.
- Freezing Dough: You can roll the dough into balls, flatten with a fork, and freeze on a baking sheet until solid. Transfer to a freezer-safe bag. Bake from frozen, adding an extra 2-4 minutes to the baking time. This is excellent for convenient, fresh-baked cookies anytime!
Conclusion
Baking your own Peanut Butter Cookies is a deeply rewarding experience, culminating in a batch of delightfully chewy and flavorful treats that rival any bakery. By following this detailed guide, you’ve not only mastered a classic peanut butter cookie recipe but also gained valuable insights into baking techniques and tips for customization. Don’t hesitate to give this recipe a try and share your delicious results! Happy baking!
FAQs
Q1: Can I use crunchy peanut butter instead of creamy?
A1: Yes, you can! Crunchy peanut butter will add extra texture and a more pronounced roasted peanut flavor to your cookies.
Q2: My cookies are spreading too much. What went wrong?
A2: Common culprits include butter that’s too soft, insufficient flour, or omitting the chilling step. Ensure your butter is just softened (not melted) and consider chilling the dough for at least 30 minutes.
Q3: How do I get the perfect crisscross pattern?
A3: Dip your fork in sugar between each cookie press to prevent sticking and ensure a clean, defined pattern. Don’t press too hard, just enough to flatten the dough slightly.
Q4: Can I halve or double this recipe?
A4: Absolutely! This recipe scales well. Just make sure to adjust all ingredient quantities proportionally.
Q5: My cookies are hard and dry. What did I do wrong?
A5: This usually means the dough was overmixed, or the cookies were overbaked. Mix flour until just combined, and remove cookies from the oven when edges are golden but centers still look a little soft.