Unleash Your Inner Pastry Chef: Mastering the Art of the No-Bake Cheesecake at Home
Ever dreamt of crafting a show-stopping Cheesecake that rivals your favorite bakery, but without the daunting oven time? What if we told you that perfecting this creamy, dreamy dessert is not only achievable in your own kitchen but also incredibly rewarding? Preparing a Cheesecake at home offers unparalleled control over ingredients, allowing you to tailor flavors and textures to your exact preference, all while avoiding artificial additives. Get ready to impress your taste buds and your guests with this comprehensive guide to creating a luscious, no-bake masterpiece.
Ingredients & Kitchen Tools
Crafting the perfect no-bake Cheesecake requires a few key elements. Here’s what you’ll need:
- For the Crust:
* 24 Graham cracker sheets (or 1 ½ cups finely crushed): The classic choice for a sweet, buttery base. You can also use digestive biscuits or chocolate wafers for a different flavor profile.
* ½ cup (1 stick) unsalted butter, melted: Binds the crumbs together for a sturdy crust.
* ¼ cup granulated sugar (optional): Adds a touch more sweetness to the crust.
* Pinch of salt: Enhances the flavor of the crust.
- For the Filling:
* 2 (8-ounce) packages cream cheese, softened: Full-fat cream cheese is essential for that rich, tangy flavor and creamy texture.
* 1 cup powdered sugar (confectioners’ sugar): Dissolves easily and contributes to the smooth consistency.
* 1 teaspoon vanilla extract: A classic flavor enhancer that complements the cream cheese beautifully.
* 1 cup heavy cream, chilled: Crucial for whipping into stiff peaks, providing lightness and stability to the filling.
* Juice of ½ a lemon (optional): Brightens the flavor and adds a subtle tang.
- Kitchen Tools:
* 9-inch springform pan: Essential for easy removal of your finished Cheesecake.
* Food processor or Ziploc bag and rolling pin: For crushing graham crackers.
* Mixing bowls (large and medium): For combining ingredients.
* Electric mixer (handheld or stand mixer): Makes whipping cream and combining ingredients much easier.
* Spatula: For scraping bowls and smoothing the filling.
* Measuring cups and spoons: For accurate ingredient quantities.
Prep Time & Cooking Schedule
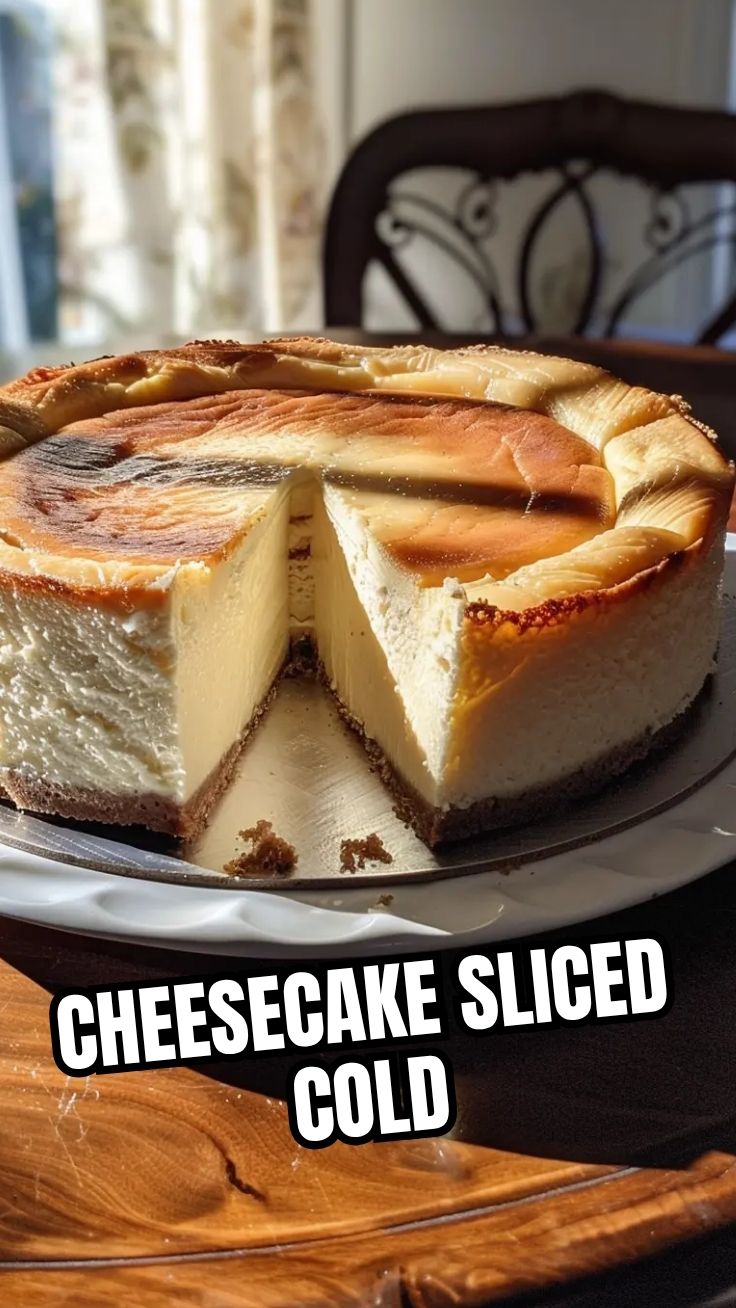
The beauty of a no-bake Cheesecake lies in its minimal hands-on time, making it a perfect make-ahead dessert for any occasion.
- Prep Time: 20-25 minutes
- Chilling Time: Minimum 4-6 hours, ideally overnight. This allows the cheesecake to set properly and develop its full flavor. Avoid rushing this step for the best results.
Step-by-Step Instructions
Follow these simple steps to create your perfect no-bake Cheesecake. Soon, you’ll be enjoying a delightful dessert!
1. Prepare the Crust:
* Crush graham crackers thoroughly in a food processor until fine crumbs form. Alternatively, place them in a Ziploc bag and crush with a rolling pin.
* In a medium bowl, combine the crushed graham crackers, melted butter, optional granulated sugar, and salt. Mix until all crumbs are moistened.
* Press the mixture firmly and evenly into the bottom of the 9-inch springform pan. Use the bottom of a glass or your fingers to create a compact, even layer. Chill in the refrigerator for at least 15 minutes while you prepare the filling.
2. Make the Filling:
* In a large mixing bowl, beat the softened cream cheese with the electric mixer on medium speed until smooth and creamy, about 2-3 minutes. Ensure there are no lumps.
* Gradually add the powdered sugar, beating until fully incorporated and smooth.
* Stir in the vanilla extract and lemon juice (if using).
3. Whip the Cream:
* In a separate chilled bowl, whip the heavy cream on high speed with the electric mixer until stiff peaks form. Be careful not to over whip, as it can turn granular.
4. Combine and Chill:
* Gently fold the whipped cream into the cream cheese mixture in two additions. Use a spatula to combine with a light hand, preserving the airiness of the whipped cream. Avoid overmixing.
* Pour the Cheesecake filling over the chilled crust in the springform pan. Smooth the top with a spatula.
* Cover the pan loosely with plastic wrap and refrigerate for at least 4-6 hours, or preferably overnight, until firm. This crucial chilling time allows the dessert to set perfectly.
5. Serve:
* Once chilled, carefully run a thin knife around the edge of the pan before releasing the springform ring.
* Slice and serve with your favorite toppings like fresh berries, chocolate sauce, or a fruit compote.
Nutritional Benefits & Advantages
Beyond its indulgent taste, homemade no-bake Cheesecake offers several advantages. By making it yourself, you control the sugar content and can opt for high-quality, full-fat dairy products, which provide essential calcium and protein. Cream cheese, while high in fat, also contains vitamins A and B2. Furthermore, a homemade version allows you to avoid artificial flavors and preservatives often found in store-bought options, resulting in a cleaner and more wholesome dessert.
Tips, Variations & Cooking Advice
- Flavor Variations: Explore endless possibilities! Swirl in fruit purees (raspberry, strawberry), melted chocolate, espresso powder, or citrus zest for unique twists.
- Crust Alternatives: Experiment with different cookie crumbs (Oreos, ginger snaps) or even a nut-based crust for a gluten-free option.
- Dietary Adaptations: For a gluten-free version, use gluten-free graham crackers or a nut crust. Dairy-free cream cheese and whipped toppings are available for a dairy-free rendition, though the texture might vary slightly.
- Toppings: Fresh berries, chocolate shavings, a drizzle of caramel, or a simple dollop of extra whipped cream elevate this dessert.
Common Mistakes to Avoid
- Not Softening Cream Cheese: Cold cream cheese will result in a lumpy filling. Ensure it’s at room temperature for a smooth, homogenous mixture.
- Overmixing the Filling: Overmixing after adding the whipped cream will deflate the air you’ve incorporated, leading to a denser Cheesecake. Fold gently!
- Not Chilling Long Enough: Patience is key. A rushed chilling period will result in a soft, unset Cheesecake that won’t hold its shape.
Storage & Meal Prep Tips
Your no-bake Cheesecake can be stored, covered, in the refrigerator for up to 3-4 days. For longer storage, you can freeze individual slices or the whole dessert (unadorned) for up to 1 month. Wrap tightly in plastic wrap and then aluminum foil to prevent freezer burn. Thaw in the refrigerator for several hours or overnight before serving.
Conclusion
Creating a homemade no-bake Cheesecake is a truly satisfying culinary endeavor. With minimal effort and maximum reward, you can whip up a creamy, indulgent dessert that will delight your family and friends. This recipe empowers you to personalize every aspect, ensuring a perfect sweet ending every time. Don’t hesitate to embark on this delicious journey – your taste buds will thank you! We encourage you to try this recipe and share your delectable creations with us!
FAQs
1. Can I use a different type of pan?
While a springform pan is ideal for easy removal, you can use a regular 9-inch pie plate or a deep dish if you plan to serve it directly from the pan.
2. How do I prevent the crust from becoming soggy?
Ensure your melted butter is fully incorporated into the crumbs, and press the crust firmly. Chilling the crust before adding the filling also helps.
3. What if my cream cheese isn’t soft enough?
You can gently warm it in the microwave on a low setting for 10-15 seconds, but be careful not to melt it.
4. Can I make this Cheesecake ahead of time?
Absolutely! In fact, it tastes even better when made the day before, allowing the flavors to meld and the texture to fully set.
5. What are some good topping ideas?
Fresh berries, chocolate ganache, caramel sauce, fruit compotes, or even a simple dusting of cocoa powder are all excellent choices.