From Orchard to Oven: Mastering the Art of the Rustic Peach Galette
Ever found yourself gazing longingly at a vibrant pile of peaches, wishing you could transform them into a culinary masterpiece without the fuss and formality of a traditional pie? Imagine a dessert that sings of summer, where the natural sweetness of ripe fruit truly shines, encased in a perfectly flaky, golden crust. That, my friends, is the magic of the Peach Galette (Rustic). This isn’t just a recipe; it’s an invitation to embrace imperfection, celebrate fresh produce, and create a truly memorable summer fruit pastry that will impress without requiring hours of intricate work. Preparing this at home is incredibly rewarding, offering a delightful treat far superior to anything store-bought, and allowing you to control every delicious detail.
Ingredients & Kitchen Tools
Crafting the perfect rustic peach galette relies on simple, quality ingredients and a few fundamental tools.
- For the Crust:
* 1 ¼ cups all-purpose flour: The base for our flaky crust.
* ½ teaspoon salt: Enhances flavor and balances sweetness.
* 8 tablespoons (1 stick) unsalted butter, very cold and cut into ½-inch cubes: Crucial for flakiness; cold butter prevents gluten development.
* ¼ cup ice water: Helps bind the dough without overworking it.
- For the Filling:
* 4-5 medium ripe peaches, peeled, pitted, and sliced ¼-inch thick: The star of our show. Choose ripe but firm peaches.
* ¼ cup granulated sugar: Sweetens the peaches; adjust to peach ripeness.
* 1 tablespoon all-purpose flour or cornstarch: Thickens the juices, preventing a soggy crust.
* ½ teaspoon vanilla extract: Adds a warm, aromatic note.
* Pinch of cinnamon or nutmeg (optional): Enhances the peach flavor.
- For Assembly & Glaze:
* 1 large egg, beaten: For an egg wash, providing a golden sheen.
* 1 tablespoon turbinado sugar (or granulated sugar): For sprinkling on the crust, adding sparkle and crunch.
- Kitchen Tools:
* Large mixing bowl: For the dough and filling.
* Pastry blender or your fingertips: For incorporating butter into flour.
* Rolling pin: To roll out the dough.
* Baking sheet: To bake the galette.
* Parchment paper: Prevents sticking and makes cleanup easy.
* Measuring cups and spoons: For accurate ingredient quantities.
* Paring knife and cutting board: For preparing peaches.
Prep Time & Cooking Schedule
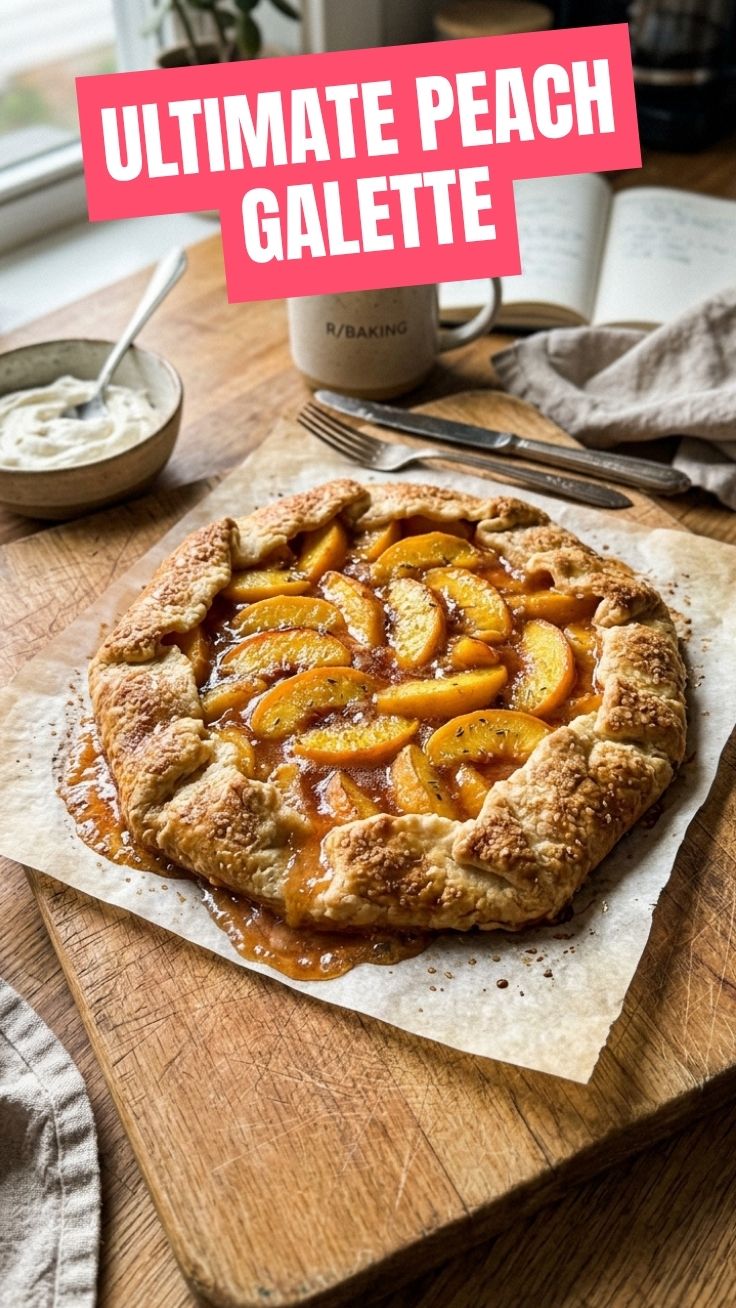
This delightful dessert comes together quicker than you might think, making it an ideal choice for a spontaneous summer treat.
- Prep Time: 30 minutes (includes dough making and peach slicing)
- Chill Time: 30 minutes (for the dough to rest and firm up)
- Cook Time: 40-45 minutes
- Resting Time: 15-20 minutes (before slicing, allowing juices to set)
Plan to start your dough making about an hour before you want to assemble and bake, allowing for the crucial chill time. This structure ensures a beautifully flaky crust and perfectly set filling.
Step-by-Step Instructions
1. Prepare the Pie Dough: In a large bowl, whisk together the flour and salt. Cut in the very cold butter using a pastry blender or your fingertips until the mixture resembles coarse crumbs with some pea-sized pieces of butter remaining. Gradually add the ice water, one tablespoon at a time, mixing until just combined and the dough comes together. Do not overmix! Form the dough into a disc, wrap it in plastic, and refrigerate for at least 30 minutes. This creates the foundation for our incredible Peach Galette (Rustic).
2. Prepare the Peach Filling: While the dough chills, gently combine the sliced peaches, granulated sugar, flour (or cornstarch), vanilla extract, and optional a pinch of cinnamon in a bowl. Toss gently to coat, being careful not to mush the peaches.
3. Assemble the Galette: On a lightly floured surface or between two sheets of parchment paper, roll out the chilled dough into a rough 12-14 inch circle, about ¼ inch thick. Don’t worry about perfect edges; the rustic charm is part of its appeal! Carefully transfer the dough to a baking sheet lined with parchment paper.
4. Arrange the Peaches: Spoon the peach filling onto the center of the dough, leaving a 2-inch border all around.
5. Fold the Edges: Gently fold the edges of the dough over the peaches, pleating them as you go. The center will remain open, revealing the beautiful fruit.
6. Egg Wash & Sugar Sprinkle: Brush the folded crust with the beaten egg and sprinkle generously with turbinado sugar. This adds a beautiful golden color and a delightful crunch.
7. Bake: Bake in a preheated oven at 400°F (200°C) for 40-45 minutes, or until the crust is deeply golden brown and the peach juices are bubbly and thickened. Our homemade summer fruit pastry is almost ready!
8. Cool: Let the galette cool on the baking sheet for at least 15-20 minutes before slicing and serving. This allows the juices to set, preventing a runny mess.
Nutritional Benefits & Advantages
Peaches are a powerhouse of nutrients, offering a bounty of vitamin C, essential for immune health, and vitamin A, vital for vision. They’re also a good source of dietary fiber, aiding digestion and promoting a feeling of fullness. This galette, with its emphasis on fresh fruit, offers a less processed dessert option compared to many others. Plus, making it at home allows you to control sugar levels and avoid artificial ingredients.
Tips, Variations & Cooking Advice
- Fruit Swaps: Feel free to experiment with other summer fruits like berries, plums, or a mix! Adjust sugar content based on the sweetness of your chosen fruit.
- Gluten-Free: Substitute the all-purpose flour with a 1:1 gluten-free all-purpose flour blend for the crust.
- Dairy-Free: Use a high-quality plant-based butter substitute in the crust.
- Spices: Enhance the flavor profile with a touch of ginger, cardamom, or even a hint of almond extract with the peaches.
- Serve Warm: While delicious cooled, a warm slice of galette with a scoop of vanilla ice cream or a dollop of crème fraîche is pure bliss.
- Don’t Overwork the Dough: The key to a tender, flaky crust is handling the dough as little as possible.
Common Mistakes to Avoid
- Warm Butter: Using warm butter will result in a tough, unappetizing crust. Keep it as cold as possible.
- Overworking the Dough: This develops gluten, leading to a hard crust. Mix until just combined.
- Too Much Water: Adds toughness. Add ice water gradually until the dough barely comes together.
- Not Chilling the Dough: Skipping this step makes the dough difficult to handle and compromises flakiness.
- Not Thickening Juices: Forgoing flour or cornstarch in the filling can lead to a watery galette.
Storage & Meal Prep Tips
Leftover Peach Galette (Rustic) can be stored at room temperature, loosely covered, for up to 2 days, or refrigerated for up to 4 days. To reheat, place slices on a baking sheet and warm in an oven at 300°F (150°C) for 10-15 minutes until warmed through and the crust is crisp again. It’s generally not recommended to freeze a baked galette, as the texture of the fruit can become mushy upon thawing. For meal prep, you can make the dough ahead of time and store it in the refrigerator for up to 2-3 days, or freeze it for up to 1 month.
Conclusion
There you have it – the ultimate guide to creating a stunning Peach Galette (Rustic) right in your own kitchen. This simple yet elegant dessert perfectly encapsulates the essence of summer, celebrating the beauty of fresh, seasonal produce. With its buttery, flaky crust and sweet, juicy peach filling, this summer fruit pastry is sure to become a cherished recipe in your repertoire. So, gather your ingredients, embrace the joy of baking, and prepare to delight your taste buds (and your guests!) with this irresistible treat. We encourage you to try this recipe, share your delicious results with us, and explore other related content like our ultimate guide to puff pastry desserts!
FAQs
Q1: Can I use frozen peaches for this recipe?
A1: Yes, you can use frozen peaches. Thaw them completely and drain off any excess liquid before tossing them with the sugar and thickener to prevent a watery galette.
Q2: My galette crust isn’t getting golden brown. What did I do wrong?
A2: Ensure your oven is accurately preheated. Brushing with an egg wash and sprinkling with turbinado sugar helps immensely with browning and texture. If it’s still pale, you can increase the oven temperature slightly for the last 5-10 minutes, but watch it carefully.
Q3: How do I prevent the bottom crust from getting soggy?
A3: The flour or cornstarch in the filling is crucial for absorbing peach juices. You can also lightly sprinkle the bottom of the dough with a tablespoon of fine breadcrumbs or almond flour before adding the peaches for an extra layer of protection.
Q4: Can I make the dough in a food processor?
A4: Yes, you can. Pulse the flour and salt a few times. Add the cold butter and pulse until pea-sized crumbs form. Then, with the processor running, slowly drizzle in the ice water until the dough just comes together. Be careful not to overmix.
Q5: What’s the best way to peel peaches easily?
A5: Bring a pot of water to a boil. Carefully drop the peaches into the boiling water for 30-60 seconds, then immediately transfer them to an ice bath. The skins should then slip off easily.