Unlocking the Secret to Perfect Homemade Brownies: A Decadent Journey
Have you ever dreamt of biting into a Brownies that is perfectly fudgy, intensely chocolatey, and simply melts in your mouth? While store-bought options offer convenience, there’s an unparalleled satisfaction in crafting these delightful treats in your own kitchen. Preparing homemade Chocolate brownies not only ensures the freshest ingredients but also allows you to customize them to your exact preferences, transforming a simple dessert into an experience. This comprehensive guide will walk you through every step, from selecting the finest cocoa to achieving that coveted crinkly top, so you can confidently bake the best brownies of your life.
Ingredients & Kitchen Tools
Gather your culinary arsenal to embark on this delectable adventure.
- Unsalted Butter (1 cup / 226g): Essential for richness and a tender crumb. Unsalted allows for precise salt control.
- Granulated Sugar (1 ¾ cups / 350g): Provides sweetness and contributes to that desirable chewy texture.
- Light Brown Sugar (½ cup / 100g): Adds a subtle caramel note and extra moisture, enhancing fudginess.
- Large Eggs (4): Binds the ingredients, provides structure, and contributes to a moist, rich consistency.
- Vanilla Extract (2 teaspoons): Enhances the chocolate flavor and adds aromatic depth. Pure vanilla is always best.
- All-Purpose Flour (1 cup / 125g): The primary dry ingredient that gives structure without making the brownies cakey.
- Unsweetened Cocoa Powder (¾ cup / 75g): The star ingredient for intense chocolate flavor. High-quality Dutch-processed cocoa is recommended for a darker color and smoother taste.
- Salt (½ teaspoon): Balances the sweetness and amplifies the chocolate notes.
- Chocolate Chips or Chunks (1 cup / 170g, optional): Adds pockets of melted chocolate for an extra decadent touch.
- 9×13 inch Baking Pan: A standard size for a generous batch of brownies.
- Parchment Paper: Essential for easy removal and clean-up.
- Large Mixing Bowls (2): For wet and dry ingredients.
- Whisk or Electric Mixer: For combining ingredients smoothly.
- Rubber Spatula: For scraping bowls and folding ingredients gently.
Prep Time & Cooking Schedule
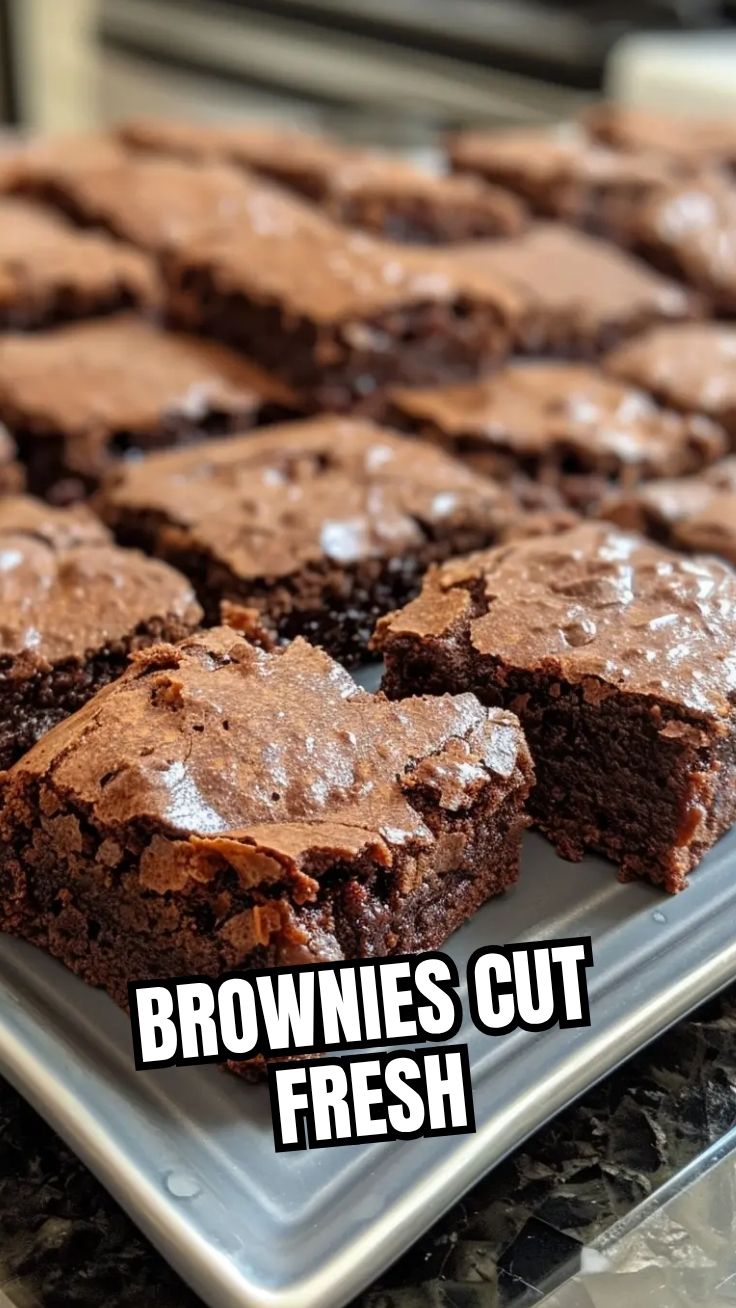
Planning is key for perfect brownies!
- Prep Time: 15 minutes
- Cook Time: 25-30 minutes
- Cooling Time (Crucial!): At least 2 hours, preferably longer. This allows the brownies to set, enhancing their fudginess and making them easier to cut cleanly. Rushing this step will result in crumbly, messy squares.
Step-by-Step Instructions
Follow these precise steps for a bake-shop quality Brownies that will impress everyone.
1. Preheat & Prepare: Preheat your oven to 350°F (175°C). Line a 9×13 inch baking pan with parchment paper, leaving an overhang on the sides to create handles. Lightly grease the parchment paper.
2. Melt Butter & Sugars: In a large, microwave-safe bowl or heavy-bottomed saucepan, melt the unsalted butter. Once melted, stir in the granulated sugar and light brown sugar until thoroughly combined. The mixture will look gritty, but that’s fine.
3. Incorporate Eggs & Vanilla: Allow the butter and sugar mixture to cool slightly (about 5 minutes) to avoid scrambling the eggs. Whisk in the eggs one at a time, incorporating each fully before adding the next. Stir in the vanilla extract. Continue whisking for about 1-2 minutes until the mixture lightens in color and becomes slightly thicker and glossy. This aeration contributes to the crinkly top.
4. Combine Dry Ingredients: In a separate medium bowl, whisk together the all-purpose flour, unsweetened cocoa powder, and salt. Ensure there are no lumps.
5. Merge Wet & Dry: Gradually add the dry ingredients to the wet ingredients, mixing with a rubber spatula until just combined. Be careful not to overmix, as this can develop the gluten in the flour, leading to tough brownies. Gentle folding is key. If using, fold in the chocolate chips or chunks.
6. Bake to Perfection: Pour the batter evenly into the prepared pan. Bake for 25-30 minutes. The brownies are done when a toothpick inserted into the center comes out with moist crumbs, not wet batter. Slightly underbaking is preferred for a fudgy Chocolate brownies.
7. Cool Completely: This is the most crucial step! Transfer the baking pan to a wire rack and let the brownies cool completely, preferably for at least 2 hours, or even longer. This setting time allows the internal structure to stabilize and ensures optimal fudginess. Once cool, use the parchment paper overhang to lift the brownies out of the pan and cut into squares.
Nutritional Benefits & Advantages
These decadent treats aren’t just delicious; they also offer surprising benefits. High-quality cocoa powder is rich in antioxidants and flavonoids, which are known to support heart health and reduce inflammation. Eggs provide a good source of protein and essential vitamins, while butter contributes fat-soluble vitamins like A and E. Enjoying a homemade brownie allows for control over sugar and fat content, making it a more wholesome indulgence than many store-bought alternatives.
Tips, Variations & Cooking Advice
- Salted Caramel Swirl: For an extra layer of indulgence, swirl in some homemade or store-bought salted caramel sauce into the batter just before baking.
- Nutty Brownies: Add ½ – 1 cup of chopped walnuts, pecans, or almonds to the batter for a delightful crunch.
- Espresso Powder Boost: A teaspoon of instant espresso powder mixed with the cocoa powder won’t make your brownies taste like coffee, but it will significantly deepen and intensify the chocolate flavor.
- Mint Chocolate: Fold in some Andes mint chips or swirl in a thin layer of mint-flavored frosting after the brownies have cooled.
- White Chocolate Blondies: For a delightful variation, swap out the cocoa powder for more flour (an additional ¾ cup) and use white chocolate chips, creating a chewy blondie base.
Common Mistakes to Avoid
- Overmixing: Overmixing develops gluten in the flour, resulting in tough, cakey brownies instead of fudgy ones. Mix only until just combined.
- Overbaking: This is the arch-nemesis of fudgy brownies. Always err on the side of slightly underbaking. A toothpick inserted should have moist crumbs, not liquid batter.
- Cutting Warm Brownies: Patience is a virtue here! Cutting warm brownies will lead to crumbling and a gooey mess. Allow them to cool completely for clean, perfect squares.
- Using Low-Quality Cocoa: Since cocoa is the star, investing in a good quality unsweetened Dutch-processed cocoa powder makes a significant difference in flavor and color.
Storage & Meal Prep Tips
Store leftover brownies in an airtight container at room temperature for up to 3-4 days. For longer storage, freeze individual squares wrapped tightly in plastic wrap and then placed in a freezer-safe bag for up to 3 months. Thaw at room temperature or warm briefly in the microwave for a fresh-baked feel. These brownies are excellent for meal prepping desserts or for having a sweet treat on hand for unexpected guests.
Conclusion
Mastering the art of homemade Brownies is a truly rewarding experience. With this comprehensive guide, you’re now equipped to create a batch of incredibly fudgy, perfectly chocolatey, and utterly delicious Chocolate brownies that will delight your senses. Don’t be afraid to experiment with variations and make this recipe your own. We encourage you to try this recipe, share your baking success with us in the comments below, and revel in the joy of baking!
FAQs
Q1: My brownies came out cakey, what went wrong?
A1: This usually indicates overmixing the batter or overbaking. Ensure you mix only until just combined and remove them from the oven when a toothpick comes out with moist crumbs.
Q2: Can I use oil instead of butter?
A2: While you can, butter provides a much richer flavor and contributes to the chewier texture. If substituting, use a neutral-flavored oil like canola or vegetable oil.
Q3: How do I get that signature shiny, crinkly top?
A3: The key is to whisk the melted butter, sugars, and eggs together thoroughly for a few minutes until the mixture lightens and becomes glossy. This process incorporates air and dissolves some of the sugar crystals, contributing to the desired crinkle.
Q4: Can I make these gluten-free?
A4: Yes, you can substitute the all-purpose flour with a 1:1 gluten-free baking flour blend that contains xanthan gum. The texture might vary slightly, but they will still be delicious.