Craving the Perfect Chew? Unlocking the Secret to Irresistible Chewy Cookies at Home
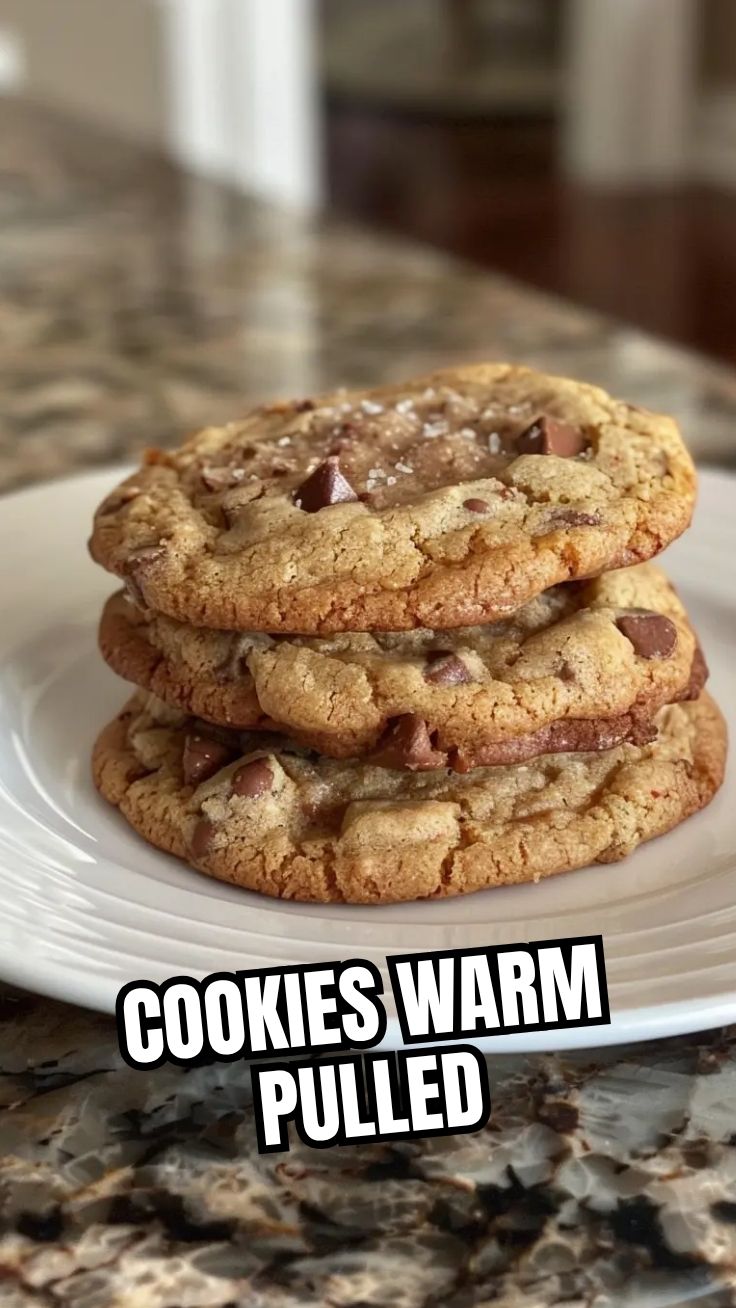
What if I told you the secret to consistently baking incredibly Chewy Cookies wasn’t some elusive culinary magic, but a straightforward, home-kitchen triumph? Many eager home bakers yearn for that perfect bend and tender bite, often settling for dry or crumbly results. But fear not! This comprehensive guide will equip you with the knowledge and techniques to master homemade cookie recipes that are guaranteed to impress. There’s immense value in preparing these delightful treats yourself – not only do you control the quality of ingredients, but the aroma filling your kitchen is pure bliss, and the taste? Unbeatable. Say goodbye to store-bought mediocrity and hello to a batch of your new favorite sweets.
Ingredients & Kitchen Tools
- All-Purpose Flour (2 ¼ cups): The foundational structure for your cookies.
- Baking Soda (1 teaspoon): Helps the cookies spread and become tender.
- Salt (½ teaspoon): Balances sweetness and enhances flavor.
- Unsalted Butter (1 cup, 2 sticks, softened): Crucial for flavor and texture. Unsalted variety allows you to control salt levels.
- Granulated Sugar (½ cup): Contributes to chewiness and golden-brown edges.
- Brown Sugar (1 ½ cups, packed): Adds moisture, depth of flavor, and that signature chewy texture.
- Large Eggs (2): Binds ingredients and adds richness.
- Vanilla Extract (2 teaspoons): Enhances overall flavor.
- Chocolate Chips (2 cups, any variety): (Optional, but highly recommended!) Classic addition for irresistible flavor.
- Mixing Bowls (large & medium): For combining wet and dry ingredients.
- Electric Mixer (stand or hand-held): For creaming butter and sugars efficiently.
- Rubber Spatula: For scraping down bowls and folding ingredients.
- Baking Sheets: For baking your delicious cookies.
- Parchment Paper or Silicone Baking Mats: Prevents sticking and ensures even baking.
- Wire Rack: For cooling baked cookies.
Prep Time & Cooking Schedule
- Prep Time: 15-20 minutes
- Chill Time (Dough): 30 minutes (minimum) to 2 hours (recommended)
- Cook Time: 10-12 minutes per batch
- Total Time (excluding chill): Approximately 30-35 minutes
The chill time is crucial for developing flavor and preventing excessive spreading, leading to that perfect chewy texture. Plan accordingly!
Step-by-Step Instructions
1. Preheat Oven & Prep Dry Ingredients: Preheat your oven to 375°F (190°C). Line baking sheets with parchment paper or silicone mats. In a medium bowl, whisk together the flour, baking soda, and salt. Set aside.
2. Cream Wet Ingredients: In a large mixing bowl, using an electric mixer, cream together the softened butter, granulated sugar, and packed brown sugar on medium speed until light and fluffy, about 2-3 minutes. This aeration is key for tender cookies.
3. Add Eggs & Vanilla: Beat in the eggs one at a time, ensuring each is fully incorporated before adding the next. Stir in the vanilla extract.
4. Combine Wet & Dry: Gradually add the dry ingredient mixture to the wet mixture, mixing on low speed until just combined. Be careful not to overmix, as this can lead to tough cookies. If using, fold in the chocolate chips with a rubber spatula until evenly distributed.
5. Chill the Dough: Cover the bowl with plastic wrap and refrigerate for at least 30 minutes, or up to 2 hours. This step is vital for achieving those perfectly Chewy Cookies. The colder dough spreads less and results in a thicker, chewier texture.
6. Bake: Drop rounded tablespoons of dough onto the prepared baking sheets, leaving about 2 inches between each cookie. Bake for 10-12 minutes, or until the edges are golden brown and the centers are still slightly soft. This ensures a wonderfully chewy interior.
7. Cool: Let the cookies cool on the baking sheets for 5 minutes before transferring them to a wire rack to cool completely. This prevents them from breaking and helps them set. Following these steps carefully will lead to incredible cookie recipes everyone will adore.
Nutritional Benefits & Advantages
While Chewy Cookies are undeniably a treat, you can still find some hidden advantages. The whole grains in flour provide dietary fiber, and if you opt for dark chocolate chips, you’ll benefit from antioxidants. Baking at home allows you to control sugar content and choose higher-quality fats. Portion control also plays a key role in enjoying these delights responsibly.
Tips Variations & Cooking Advice
- Brown Butter: For a richer, nuttier flavor, brown your butter before creaming. Just melt it in a saucepan over medium heat until it turns amber and smells nutty, then cool it slightly before using.
- Spice It Up: Add a ½ teaspoon of cinnamon or a pinch of nutmeg for a warm, comforting twist.
- Mix-ins: Beyond chocolate chips, try chopped nuts (walnuts, pecans), dried cranberries, shredded coconut, or toffee bits.
- Gluten-Free: Substitute the all-purpose flour with a 1:1 gluten-free baking blend that contains xanthan gum.
- Smaller/Larger Cookies: Adjust baking time accordingly. Smaller cookies will bake faster, larger ones will take longer.
Common Mistakes to Avoid
- Overmixing the Dough: Leads to tough, dense cookies. Mix until just combined.
- Not Chilling the Dough: Results in flat, overly spread cookies. Don’t skip the chill!
- Overbaking: The most common culprit for dry, crispy cookies. Remove them when the edges are golden and the centers still look slightly underdone. They’ll continue to cook slightly on the hot baking sheet.
- Substituting Ingredients Incorrectly: Baking is a science. While variations are fun, major substitutions without understanding their impact can alter the texture significantly.
Storage & Meal Prep Tips
Once your Chewy Cookies have completely cooled, store them in an airtight container at room temperature for up to 3-5 days. For longer storage, you can freeze baked cookies for up to 3 months. Place them in a single layer on a baking sheet to freeze solid, then transfer to a freezer-safe bag or container, separating layers with parchment paper. Thaw at room temperature. You can also freeze portions of raw cookie dough by scooping them onto a parchment-lined baking sheet, freezing until solid, then transferring to a freezer bag. Bake from frozen, adding an extra 2-3 minutes to the baking time.
Conclusion
Mastering the art of baking truly Chewy Cookies is a rewarding experience that brings joy to any kitchen. By understanding the role of each ingredient, following the steps carefully, and incorporating the vital chilling period, you can consistently achieve that coveted soft, tender, and perfectly chewy texture. Don’t shy away from experimenting with different mix-ins and flavor profiles to create your signature treat. I encourage you to whip up a batch of these glorious cookies soon and discover for yourself just how delightful homemade cookie recipes can be. Share your baking triumphs with us – happy baking!
FAQs
Q1: Why are my cookies spreading too much and not chewy?
A1: This often happens if your butter was too warm, your dough wasn’t chilled enough, or your oven temperature was too low. Ensure softened butter is still cool to the touch and always chill your dough.
Q2: Can I use margarine instead of butter?
A2: While possible, margarine can alter the texture and flavor. Butter provides a richer taste and contributes significantly to chewiness. If you must use margarine, choose one with a high-fat content.
Q3: How do I know when the cookies are perfectly baked for chewiness?
A3: Look for golden-brown edges with centers that still appear slightly soft and set but not fully firm. They will continue to firm up as they cool on the baking sheet.
Q4: Can I reduce the sugar in this recipe?
A4: Reducing sugar too much can affect both the texture and the spread of the cookies. Sugar contributes to the crispiness of the edges and the chewiness of the interior. A slight reduction might be okay, but significant changes could alter the expected result.
Q5: My cookies are hard after cooling, what went wrong?
A5: This usually indicates overbaking. Next time, try reducing the baking time by a minute or two and ensure you remove them when the centers are still quite soft.