Unlock Your Mornings: The Ultimate No-Cook Guide to Perfect Overnight Oats
Tired of the morning scramble? Imagine waking up to a delicious, pre-made breakfast that’s both nourishing and incredibly easy. That’s the magic of Overnight Oats – a true game-changer for busy individuals and health-conscious foodies alike. In this comprehensive guide, we’ll dive deep into crafting the perfect jar of these versatile oats, exploring everything from foundational techniques to creative flavor combinations. Forget the stovetop; we’re embracing the power of passive preparation to bring you an effortlessly wholesome start to your day. Preparing this at home not only saves you time and money but also allows for complete control over ingredients, ensuring a breakfast tailored to your exact preferences and dietary needs. Get ready to transform your breakfast routine with these delightful and endlessly customizable overnight oats recipes.
Ingredients & Kitchen Tools
To embark on your Overnight Oats journey, gather these simple yet essential items:
- Rolled Oats (Old-Fashioned Oats): About ½ cup per serving. These oats retain their texture best when soaked overnight, offering a satisfying chewiness.
- Milk (Any Kind): ½ to ¾ cup per serving. Dairy milk, almond milk, soy milk, oat milk, or coconut milk all work wonderfully. Choose based on your dietary preference and desired creaminess.
- Chia Seeds: 1-2 tablespoons per serving. These tiny powerhouses absorb liquid, create a pudding-like consistency, and add a boost of omega-3 fatty acids and fiber.
- Sweetener (Optional): 1-2 teaspoons, or to taste. Maple syrup, honey, agave nectar, or a dash of stevia can enhance the flavor.
- Flavorings (Optional): ½ teaspoon vanilla extract, a pinch of cinnamon, cocoa powder, or a dash of instant coffee powder.
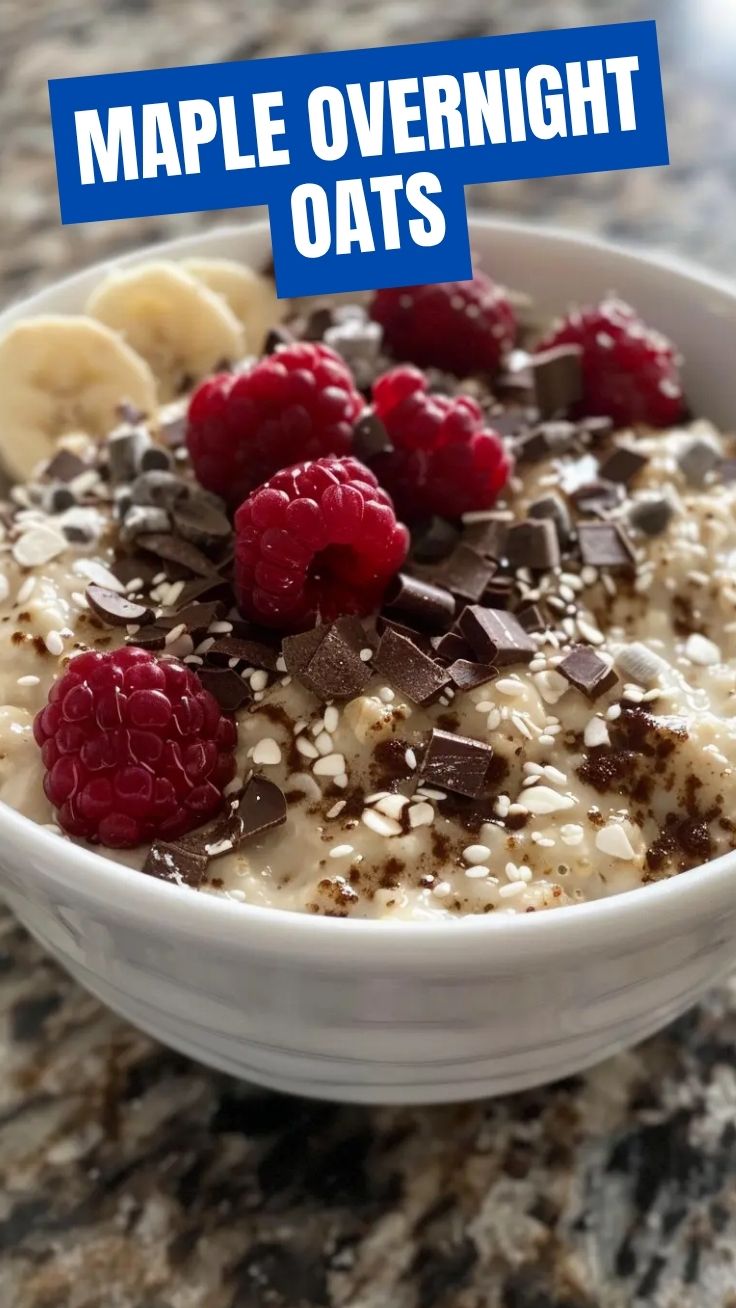
- Toppings (Optional): Fresh berries, sliced banana, nuts, seeds, shredded coconut, or a dollop of yogurt for added texture and nutrition.
- Mason Jar or Container with Lid: 12-16 ounce capacity. Ideal for mixing, soaking, and storing your oats.
- Spoon: For stirring.
Prep Time & Cooking Schedule
The beauty of Overnight Oats lies in their minimal active preparation time.
- Prep Time: 5-10 minutes. This includes gathering ingredients and assembling your jars.
- Resting Time: Minimum 4 hours, but ideally overnight (8+ hours). This allows the oats and chia seeds to fully absorb the liquid, creating their signature creamy texture. Simply prepare them the evening before, and they’ll be ready for a grab-and-go breakfast in the morning. No cook time involved!
Step-by-Step Instructions
Crafting these delightful overnight oats recipes is incredibly straightforward. Follow these simple steps for perfectly soaked oats every time:
1. Combine Dry Ingredients: In your mason jar or container, add the rolled oats, chia seeds, and any dry flavorings like cinnamon or cocoa powder. Give them a quick stir to ensure even distribution. This foundational step is crucial for achieving that ideal consistency for your Overnight Oats.
2. Add Wet Ingredients: Pour in your chosen milk and sweetener (if using). Stir thoroughly, making sure there are no clumps of oats or chia seeds stuck to the bottom or sides of the jar. This ensures all ingredients are properly hydrated.
3. Seal and Chill: Securely place the lid on your jar and refrigerate for at least 4 hours, or preferably overnight. The longer they soak, the creamier they become.
4. Morning Magic: In the morning, open your jar. If the oats are too thick, add a splash more milk and stir. Stir well before adding your desired toppings.
5. Serve and Enjoy: Top with fresh fruit, nuts, seeds, or a drizzle of honey, and savor your effortlessly delicious and healthy breakfast!
Nutritional Benefits & Advantages
Overnight Oats are a nutritional powerhouse. Rolled oats are an excellent source of soluble fiber (beta-glucan), which can help lower cholesterol, stabilize blood sugar levels, and promote gut health. The addition of chia seeds significantly boosts the fiber, protein, and omega-3 fatty acid content, contributing to satiety and overall well-being. This no-cook method also preserves sensitive nutrients that might be lost during traditional cooking. They provide sustained energy, helping you avoid that mid-morning slump.
Tips, Variations & Cooking Advice
- Flavor Combinations:
* Berry Burst: Add mixed berries (fresh or frozen) and a touch of vanilla.
* Tropical Dream: Incorporate shredded coconut, pineapple chunks, and a squeeze of lime.
* Chocolate Peanut Butter: Mix in cocoa powder and a swirl of peanut butter.
* Apple Cinnamon: Dice an apple and add extra cinnamon, perhaps a sprinkle of chopped walnuts.
- Texture Control: For thicker oats, reduce the milk amount; for a thinner consistency, add more milk in the morning.
- Dietary Adaptations: Easily made gluten-free by using certified gluten-free rolled oats. For a dairy-free option, use any plant-based milk. Increase protein by adding a scoop of protein powder with the dry ingredients.
- Prep Ahead: Make several jars at once for quick breakfasts throughout the week. They typically store well for up to 3-4 days in the refrigerator.
Common Mistakes to Avoid
- Using Instant Oats: Instant oats become mushy and lack the desired texture when soaked overnight. Always opt for rolled (old-fashioned) oats.
- Not Enough Liquid: If your oats are too dry and clumpy, you likely didn’t add enough milk. Err on the side of slightly more liquid, as chia seeds absorb a lot.
- Forgetting to Stir Well: If not properly stirred, the oats and chia seeds can clump at the bottom, leading to uneven absorption.
- Over-Sweetening: Start with a small amount of sweetener and adjust in the morning. Fresh fruit can add plenty of natural sweetness.
Storage & Meal Prep Tips
Your prepped Overnight Oats can be stored in an airtight container in the refrigerator for up to 3-4 days. It’s best to add fresh fruit toppings right before serving to maintain their freshness and texture, especially for ingredients like bananas or apples that can brown. Nuts and seeds can be added ahead of time, or in the morning for extra crunch. They are truly the ultimate make-ahead meal prep breakfast!
Conclusion
There you have it – the ultimate guide to mastering Overnight Oats. This incredibly versatile and effortless breakfast solution promises a wholesome, delicious, and convenient start to your day. By embracing these simple techniques and exploring the endless possibilities of overnight oats recipes, you’ll not only save precious morning time but also nourish your body with fiber-rich goodness. We encourage you to experiment with different flavor combinations and toppings to discover your perfect personalized jar. Give this recipe a try, share your creations, and let us know your favorite ways to enjoy this breakfast staple! Your mornings will thank you.
FAQs
Q1: Can I heat Overnight Oats?
A1: Yes, you can gently warm Overnight Oats on the stovetop or in the microwave. Add a splash of extra milk before heating, as they will thicken further. However, they are traditionally enjoyed cold.
Q2: What if my Overnight Oats are too thick or too thin?
A2: If too thick, simply add a tablespoon or two of milk and stir until you reach the desired consistency. If too thin, try reducing the amount of milk slightly next time or adding an extra teaspoon of chia seeds.
Q3: Can I use steel-cut oats for this recipe?
A3: Steel-cut oats are much chewier and denser than rolled oats and require a longer soaking time (sometimes up to 24 hours) and more liquid. While possible, rolled oats are generally preferred for the classic creamy Overnight Oats texture.
Q4: How long do Overnight Oats last in the fridge?
A4: Plain Overnight Oats will stay fresh in an airtight container for up to 3-4 days. If you add fresh fruit, especially softer fruits like bananas, it’s best to consume them within 2 days to prevent them from becoming mushy.
Q5: Can I add protein powder to my Overnight Oats?
A5: Absolutely! Add a scoop of your favorite protein powder along with the dry ingredients. You might need to add a little extra milk to account for the protein powder’s absorbency.