Unlock the Secret to Creamy Bliss: Your Ultimate Guide to Homemade No-Churn Ice Cream!
Are you dreaming of velvety smooth, perfectly sweet ice cream but dread the thought of buying a bulky, expensive ice cream maker? What if I told you that achieving frozen dessert perfection at home is not only possible but surprisingly simple? Forget the churning, the gadgets, and the fuss! This guide will empower you to create unbelievably delicious No-Churn Ice Cream that rivals artisanal scoops, all from the comfort of your kitchen. Not only is homemade ice cream incredibly satisfying, allowing you to control every ingredient, but it also opens up a world of flavor possibilities that store-bought options can’t match. Prepare to embark on a delightful culinary adventure where making Easy Ice Cream Recipes becomes your new favorite pastime.
Ingredients & Kitchen Tools
Gather your culinary arsenal; these are the essentials for crafting your no-churn masterpiece:
Ingredients:
- Heavy Cream (2 cups/480ml): The star of the show. Aim for full-fat (35% or more) as it whips up beautifully and provides rich creaminess.
Sweetened Condensed Milk (1 can, 14oz/397g): Provides sweetness and prevents ice crystals, ensuring a smooth texture. Do not* substitute with evaporated milk.
- Vanilla Extract (1-2 teaspoons): Enhances flavor. Use good quality pure vanilla for the best results. Other extracts can be used for variations.
- Pinch of Salt: Balances the sweetness and brings out other flavors.
- Optional Mix-ins (1-2 cups): Chocolate chips, cookie crumbles, chopped nuts, fruit purée, candy pieces, etc. – customize to your heart’s content!
Kitchen Tools:
- Large Mixing Bowl: Essential for whipping the heavy cream.
- Electric Mixer (Handheld or Stand Mixer with whisk attachment): Crucial for achieving stiff peaks with the heavy cream. A whisk can work but requires significant effort.
- Rubber Spatula: For gentle folding and scraping.
- Loaf Pan (9×5 inch/23×13 cm) or Freezable Container: Ideal for freezing the ice cream. A freezer-safe container with a lid works best to prevent freezer burn.
- Plastic Wrap or Lid: To cover the ice cream during freezing.
Prep Time & Cooking Schedule
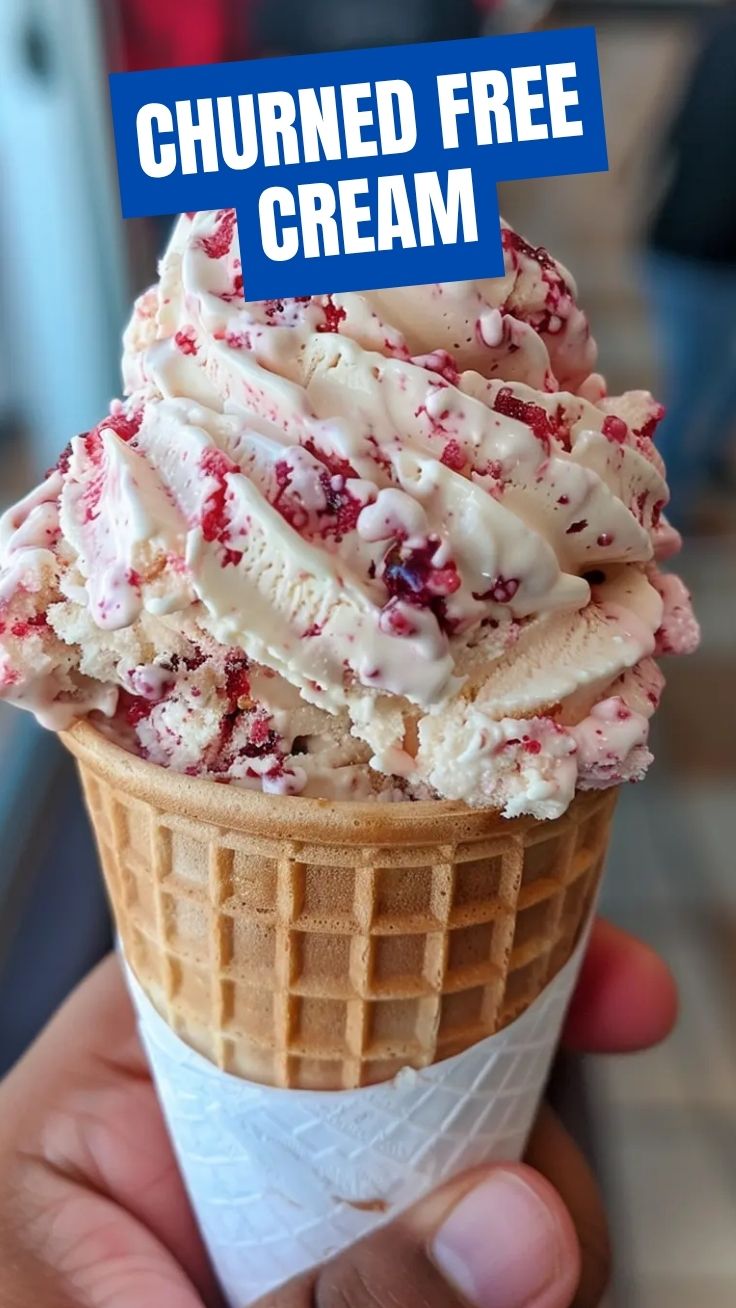
The beauty of No-Churn Ice Cream lies in its minimal active preparation time!
- Active Prep Time: 15-20 minutes (whipping cream, mixing ingredients).
- Freezing Time: 6-8 hours, or preferably overnight. This is crucial for the ice cream to set properly and develop its signature creamy texture. Planning ahead is key – make it in the evening for a delightful treat the next day!
Step-by-Step Instructions
Let’s transform simple ingredients into a frozen dream. Follow these steps meticulously for creamy perfection every time:
1. Chill Your Tools: For optimal cream whipping, place your large mixing bowl and whisk attachment (if using a stand mixer) in the freezer for 10-15 minutes before starting. This helps the cream whip up faster and more consistently.
2. Whip the Heavy Cream: In your chilled mixing bowl, pour the cold heavy cream. Begin whipping on low speed, gradually increasing to high. Continue whipping until stiff peaks form. This means when you lift the whisk, the cream holds its shape firmly. Be careful not to over-whip, which can result in a grainy texture.
3. Prepare the Sweetened Base: In a separate medium bowl, combine the sweetened condensed milk, vanilla extract, and a pinch of salt. Stir until well combined. (If adding liquid flavorings like extracts or thin purées, you can mix them in here.)
4. Gently Fold: Add about one-third of the whipped cream to the sweetened condensed milk mixture. Gently fold it in with a rubber spatula until just combined. This lightens the condensed milk mixture, making it easier to incorporate the remaining whipped cream without deflating it.
5. Incorporate Remaining Cream: Add the rest of the whipped cream to the bowl. Fold gently using an over-then-under motion, rotating the bowl as you go. The goal is to incorporate everything without deflating the air from the whipped cream, which is vital for the light texture of No-Churn Ice Cream. Stop folding as soon as no streaks of white cream remain.
6. Add Mix-ins (Optional): If using solid mix-ins like chocolate chips or cookie crumbles, gently fold them into the mixture now.
7. Transfer and Freeze: Pour the mixture into your loaf pan or freezable container. Smooth the top with your spatula. Cover tightly with plastic wrap (pressing it directly onto the surface to prevent ice crystals) or use an airtight lid.
8. Patiently Freeze: Place the container in the freezer for at least 6-8 hours, but ideally overnight, until firm. For truly Easy Ice Cream Recipes results, resist the urge to peek or taste too early!
9. Serve and Enjoy: Once set, remove from the freezer, let it sit at room temperature for a few minutes (5-10) to soften slightly, then scoop and serve.
Nutritional Benefits & Advantages
While ice cream is often seen as an indulgence, homemade versions offer unique advantages. By making it yourself, you control the quality of ingredients, opting for organic cream or reducing overall sugar if desired. Dairy-based ice cream provides a good source of calcium and vitamin D, crucial for bone health. Additionally, incorporating fruit purées or nuts as mix-ins can boost fiber, antioxidants, and healthy fats, turning a simple dessert into a slightly more nutrient-rich treat. The absence of artificial preservatives and questionable additives often found in commercial ice creams is a significant win for health-conscious eaters.
Tips, Variations & Cooking Advice
- Flavor Extravaganza: The possibilities are endless!
* Chocolate: Fold in 1/2 cup unsweetened cocoa powder with the condensed milk for a rich chocolate base.
* Coffee: Add 1-2 tablespoons of instant coffee or espresso powder.
* Fruity: Swirl in fruit purées (strawberry, raspberry, mango) after folding in the cream.
* Nutty: Incorporate chopped pecans, walnuts, or almonds.
* Cookie Dough/Brownie Batter: Add chunks of edible cookie dough or crumbled brownies.
- Salt Balance: A tiny pinch of salt (like 1/4 teaspoon) in the condensed milk mixture enhances all flavors and prevents the ice cream from tasting too “flat” or overly sweet.
- Gentle Folding is Key: The air incorporated into the heavy cream is what gives no-churn ice cream its light, scoopable texture. Over-mixing at the folding stage will knock out the air and result in a denser, icier product.
- Freezer Temperature: Ensure your freezer is set to 0°F (-18°C) or colder for optimal freezing and texture.
Common Mistakes to Avoid
- Over-whipping the Cream: If your heavy cream turns grainy or separates, you’ve over-whipped it into butter. Start over with fresh cream.
- Under-Chilling: Not freezing long enough will leave you with a soft, soupy mess rather than firm ice cream. Patience is a virtue here!
Using Substitutes for Sweetened Condensed Milk: This ingredient is vital for texture and sweetness. Evaporated milk is not* a substitute and will not yield the same results.
- Not Covering Properly: Exposed ice cream in the freezer will develop ice crystals and freezer burn. Always cover tightly with plastic wrap or a lid.
Storage & Meal Prep Tips
Homemade No-Churn Ice Cream stores beautifully in an airtight container in the freezer for up to 2-3 weeks. Beyond that, while still safe to eat, its quality might slightly diminish, and ice crystals could become more noticeable. To prevent freezer burn, ensure the container is well-sealed, and if using plastic wrap, press it directly onto the surface of the ice cream before sealing the container. For meal prep or entertaining, you can make large batches and divide them into smaller, individual containers for easy serving.
Conclusion
Who knew that creating luscious, homemade ice cream could be so incredibly simple and satisfying? With just a few ingredients and no special equipment, you’ve unlocked the secret to creamy, dreamy goodness right in your own kitchen. This No-Churn Ice Cream recipe isn’t just about dessert; it’s about the joy of creating something truly special with your own hands. We hope you’re inspired to whip up your own batch of frozen delight and discover how truly effortless Easy Ice Cream Recipes can be. Give it a try, experiment with your favorite flavors, and don’t forget to share your delicious creations in the comments below! Happy scooping!
FAQs
Q1: Can I make this dairy-free?
A1: Yes! You can substitute heavy cream with full-fat canned coconut milk (chilled overnight in the fridge, then scoop out the thick cream on top) and use a dairy-free sweetened condensed milk alternative. The texture will be slightly different but still delicious.
Q2: My ice cream is too hard. What went wrong?
A2: This usually happens if your freezer is extremely cold, or if the ratio of ingredients was off, leading to more water content. Letting it sit at room temperature for 10-15 minutes before scooping should help.
Q3: How can I prevent ice crystals?
A3: Ensure your container is airtight and that plastic wrap is pressed directly onto the surface of the ice cream before freezing. The high sugar content from the sweetened condensed milk also helps naturally inhibit crystal formation.
Q4: Can I add fresh fruit?
A4: While fresh fruit adds flavor, its high water content can lead to icier ice cream. For best results, purée fresh fruit and cook it down slightly to reduce water, then swirl it in, or use freeze-dried fruit for mix-ins.
Q5: What’s the best way to speed up the freezing process?
A5: While you can’t significantly “speed up” the process without affecting texture, using a wider, shallower container can sometimes help it freeze a bit faster than a deep, narrow one. However, patience is truly the best ingredient for perfectly set no-churn ice cream.