Unlocking the Secret to Perfect Fudgy Brownies at Home: A Definitive Guide
Ever wondered if you could master the art of making truly fudgy, melt-in-your-mouth Brownies right in your own kitchen? The answer is a resounding YES! While store-bought options can be tempting, there’s an unparalleled joy and satisfaction in crafting these delightful treats from scratch. Beyond the incredible flavor and intoxicating aroma that fills your home, preparing your own brownies allows for complete control over ingredients, ensuring a wholesome and personalized dessert experience. Get ready to discover the simple secrets behind creating incredible Easy Brownie Recipes that will impress everyone.
Ingredients & Kitchen Tools
Gather your culinary arsenal! Here’s what you’ll need for these sensational brownies:
- 2 sticks (1 cup) unsalted butter: Essential for that rich, tender crumb. Unsalted allows for better control over the final saltiness.
- 1 cup granulated sugar: Provides sweetness and contributes to the fudgy texture.
- 1 cup packed light brown sugar: Adds a deeper, caramel-like flavor and extra moisture.
- 4 large eggs: Binds ingredients together and creates structure.
- 1 teaspoon vanilla extract: Enhances overall flavor; use good quality for best results.
- 1 cup all-purpose flour: The structural backbone of the brownies.
- ¾ cup unsweetened cocoa powder: The star of the show for that intense chocolate flavor. Dutch-processed is recommended for a darker, mellower taste.
- ½ teaspoon baking powder: Provides a slight lift, preventing overly dense brownies.
- ¼ teaspoon salt: Balances sweetness and intensifies chocolate flavor.
- 1 cup chocolate chips (optional): For an extra burst of chocolatey goodness.
- 9×13 inch baking pan: The ideal size for an even bake.
- Parchment paper: Prevents sticking and makes for easy removal.
- Large mixing bowls: For combining wet and dry ingredients.
- Whisk: For aerating dry ingredients and combining wet.
- Rubber spatula: For folding and scraping.
- Measuring cups and spoons: For precise ingredient amounts.
Prep Time & Cooking Schedule
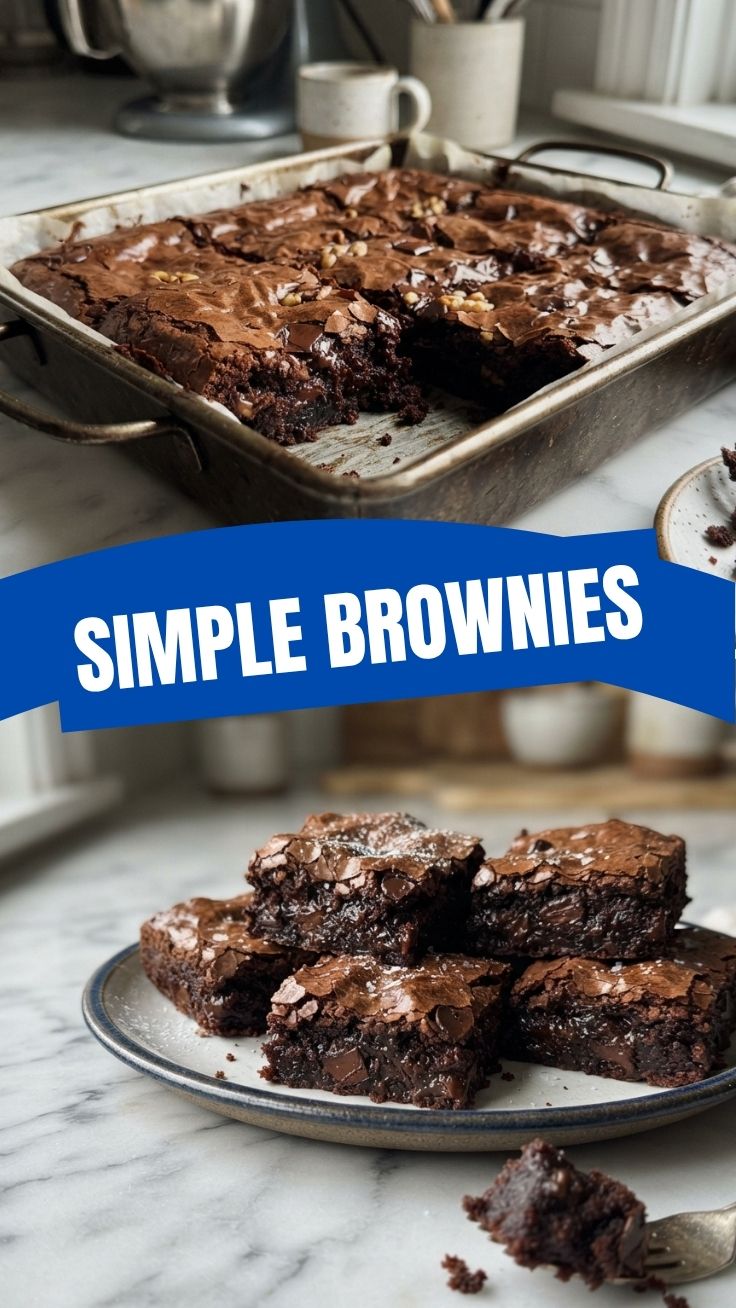
- Prep Time: 15 minutes
- Cook Time: 25-30 minutes
- Resting Time: 30 minutes to 1 hour (crucial for fudgy perfection!)
This recipe fits perfectly into an afternoon baking session. The prep is quick, allowing you to focus on the baking and the glorious aroma that will soon fill your kitchen. Remember, patience during the resting period is key to achieving that coveted fudgy texture!
Step-by-Step Instructions
Let’s get baking! Follow these simple steps for perfectly fudgy Brownies every time, and you’ll soon discover the joy of crafting Easy Brownie Recipes yourself.
1. Preheat and Prep: Preheat your oven to 350°F (175°C). Line a 9×13 inch baking pan with parchment paper, leaving an overhang on the sides for easy lifting. Lightly grease the parchment paper.
2. Melt the Butter: In a large microwave-safe bowl or in a saucepan over low heat, melt the butter.
3. Combine Wet Ingredients: Remove butter from heat (if using saucepan). Whisk in the granulated sugar and brown sugar until thoroughly combined and smooth. Whisk in the eggs one at a time, ensuring each is fully incorporated before adding the next. Stir in the vanilla extract.
4. Combine Dry Ingredients: In a separate medium bowl, whisk together the all-purpose flour, unsweetened cocoa powder, baking powder, and salt. Ensure there are no lumps.
5. Combine Wet and Dry: Gradually add the dry ingredients to the wet ingredients, mixing with a rubber spatula until just combined. Be careful not to overmix; overmixing can lead to tough brownies. If using, fold in the chocolate chips.
6. Bake to Perfection: Pour the batter evenly into the prepared baking pan. Bake for 25-30 minutes, or until a toothpick inserted into the center comes out with moist crumbs, but not wet batter. The edges should be set, but the center should still look slightly undercooked for that perfect fudgy texture.
7. Cool and Serve: Allow the brownies to cool completely in the pan on a wire rack. This is crucial for fudginess and clean cuts. Resist the urge to cut them warm! Once cooled, use the parchment paper overhang to lift the brownies from the pan, then cut into squares.
Nutritional Benefits & Advantages
These Brownies offer more than just decadent flavor. Made with real cocoa, they provide antioxidants, which are beneficial for overall health. Depending on the type of chocolate used, you can even incorporate certain minerals like iron and magnesium. By making them at home, you control the sugar and fat content, allowing for mindful indulgence compared to many processed dessert options.
Tips, Variations & Cooking Advice
- Darker Chocolate: For an intensely rich dark chocolate brownie, use dark cocoa powder and dark chocolate chips.
- Nutty Crunch: Fold in ½ cup of chopped walnuts or pecans for added texture and flavor.
- Espresso Boost: Add 1 teaspoon of instant espresso powder to the dry ingredients to deepen the chocolate flavor without adding a coffee taste.
- Swirl It Up: Before baking, swirl a tablespoon of peanut butter or cream cheese through the batter for a fun variation.
- Gluten-Free: Substitute the all-purpose flour with a 1:1 gluten-free baking flour blend.
Common Mistakes to Avoid
- Overmixing: This develops the gluten in the flour, leading to cakey, rather than fudgy, brownies. Mix until just combined.
- Overbaking: The most common culprit for dry, hard brownies. Always err on the side of slightly underbaked for ultimate fudginess.
- Cutting Warm Brownies: This results in messy, crumbly cuts. Patience is a virtue here; let them cool completely.
- Using Low-Quality Ingredients: The quality of your butter, chocolate, and vanilla extract truly makes a difference in the final taste.
Storage & Meal Prep Tips
Store cooled brownies in an airtight container at room temperature for up to 3-4 days. For longer storage, freeze individual squares wrapped tightly in plastic wrap and then placed in a freezer-safe bag for up to 3 months. Thaw at room temperature or gently warm in the microwave for a fresh-baked feel.
Conclusion
Mastering homemade Brownies is a truly rewarding culinary achievement. By following these detailed steps, embracing the nuances of temperature control, and avoiding common pitfalls, you’ll be consistently churning out exceptionally fudgy and flavorful treats. We hope this guide inspires you to dive into the world of Easy Brownie Recipes and discover the joy of creating deliciousness from your own kitchen. Don’t be shy – bake a batch, share your results, and savor every chocolatey bite!
FAQs
Q: Why are my brownies cakey instead of fudgy?
A: Most likely due to overmixing the batter (developing gluten) or overbaking. Ensure you mix minimally and pull them from the oven when they still look slightly underdone in the center.
Q: Can I use oil instead of butter?
A: While you can substitute oil, butter provides a richer flavor and contributes more to the characteristic fudgy texture. If using oil, use a neutral-flavored one like canola or vegetable oil.
Q: How do I know when my brownies are done?
A: A toothpick inserted into the center should come out with moist crumbs, not wet batter. The edges should be set, but the very center should still look a little soft.
Q: Can I half this recipe?
A: Yes, you can confidently half all ingredients and bake in an 8×8 inch pan. The baking time will likely be similar, so keep a close eye on them.
Q: My brownies stuck to the pan, what went wrong?
A: This usually happens if the pan wasn’t properly lined with parchment paper or if the parchment wasn’t lightly greased. Always ensure a good overhang with the parchment for easy lifting.