The Ultimate Guide to Crafting Perfect Homemade Oatmeal Cookies
Ever wondered what makes a truly exceptional Oatmeal Cookie? Is it the chewy texture, the comforting spices, or that perfect balance of sweetness? For many, the answer lies in the simple joy of baking them at home. There’s an undeniable satisfaction in transforming basic ingredients into a batch of warm, fragrant treats, a culinary alchemy that elevates a simple snack into a cherished memory. And when it comes to healthy-ish indulgence, nothing quite beats the appeal of freshly baked Oatmeal Cookies. This guide will walk you through every step, ensuring your oven-fresh creations are not only delicious but optimized for that homemade perfection. From mastering the basics to exploring delightful twists like light and airy oatmeal raisin cookies, get ready to bake your way to bliss.
Ingredients & Kitchen Tools
Crafting the perfect batch of cookies starts with gathering the right elements.
- Unsalted Butter (1 cup, softened): Ensures control over salt content and creates a tender crumb.
- Granulated Sugar (1 cup): Provides sweetness and aids in browning.
- Brown Sugar (1 cup, packed): Adds moisture, chewiness, and a delightful caramel note.
- Large Eggs (2): Act as a binder, providing structure and richness.
- Vanilla Extract (1 tsp): Enhances overall flavor; use pure vanilla for best results.
- All-Purpose Flour (1 ½ cups): The structural base of your cookies.
- Baking Soda (1 tsp): A leavening agent that helps cookies spread and become tender.
- Cinnamon (1 tsp): Classic spice pairing, adds warmth and depth.
- Salt (½ tsp): Balances sweetness and enhances other flavors.
- Rolled Oats (3 cups): The star ingredient, providing texture and a hearty chew. Quick oats can be used for a softer texture.
- Optional Mix-ins (1 cup): Raisins, chocolate chips, chopped nuts, or dried cranberries – customize to your heart’s content!
Kitchen Tools:
- Mixing Bowls (large & medium): For combining wet and dry ingredients separately.
- Electric Mixer (stand or hand-held): For creaming butter and sugars efficiently.
- Rubber Spatula: For scraping down bowls and folding ingredients.
- Measuring Cups & Spoons: For accurate ingredient proportions.
- Baking Sheets: Preferably light-colored to prevent over-browning.
- Parchment Paper or Silicone Baking Mats: Prevents sticking and ensures even baking.
- Wire Rack: For cooling cookies completely.
Prep Time & Cooking Schedule
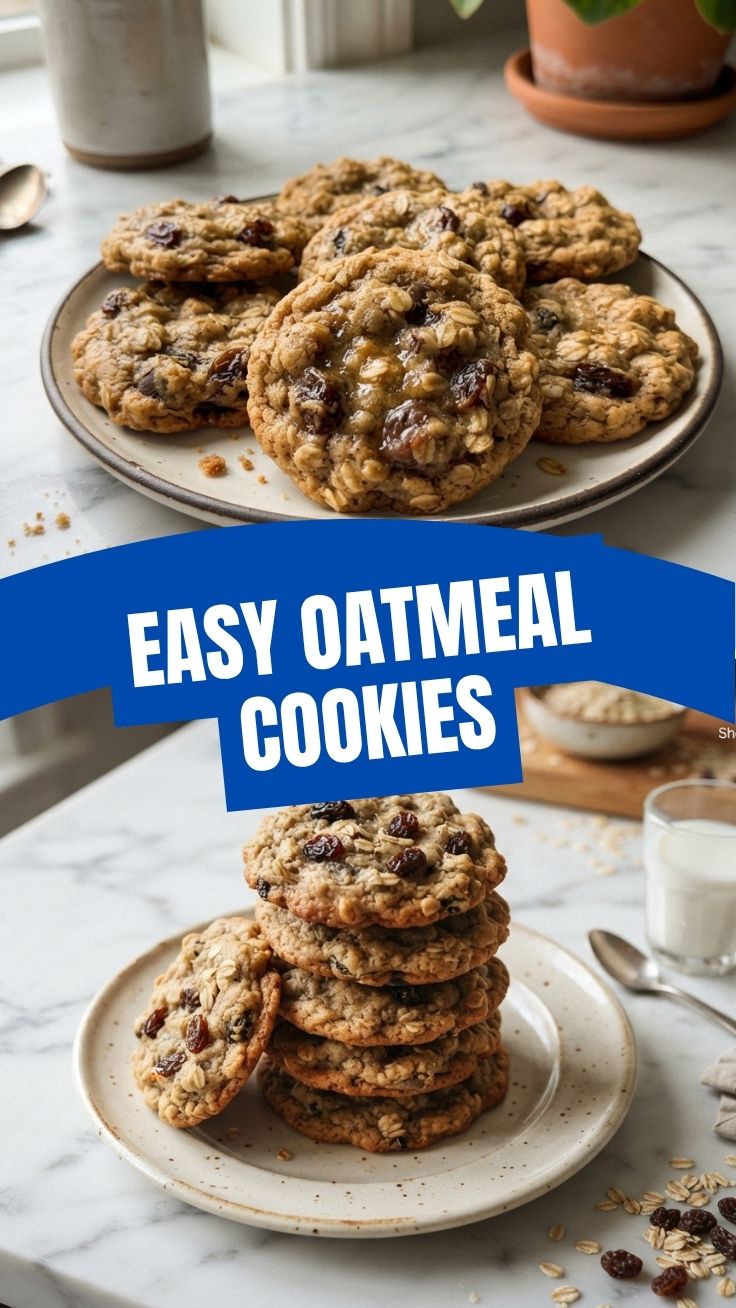
- Prep Time: 15 minutes
- Chill Time (Optional but Recommended): 30 minutes (helps prevent spreading)
- Cook Time: 10-12 minutes per batch
- Resting Time: 2-3 minutes on the baking sheet, then transfer to a wire rack for full cooling.
Plan your baking session by ensuring your butter is softened to room temperature for optimal creaming. If chilling the dough, factor in the additional time; it’s a small step that yields big rewards in texture!
Step-by-Step Instructions
Follow these precise steps for perfectly baked Oatmeal Cookies.
1. Preheat & Prep: Preheat your oven to 350°F (175°C). Line baking sheets with parchment paper or silicone mats.
2. Cream Wet Ingredients: In a large mixing bowl, cream together the softened butter, granulated sugar, and brown sugar with an electric mixer until light and fluffy (about 2-3 minutes). This aeration is crucial for a tender cookie.
3. Add Eggs & Vanilla: Beat in the eggs one at a time, ensuring each is fully incorporated before adding the next. Stir in the vanilla extract. Scrape down the sides of the bowl to ensure everything is evenly mixed.
4. Combine Dry Ingredients: In a separate medium bowl, whisk together the all-purpose flour, baking soda, cinnamon, and salt. This step ensures leavening and spices are evenly distributed.
5. Combine & Fold: Gradually add the dry ingredients to the wet ingredients, mixing on low speed until just combined. Do not overmix, as this can lead to tough cookies.
6. Stir in Oats & Mix-ins: Fold in the rolled oats until evenly distributed. If using, gently fold in your chosen mix-ins (like raisins for classic oatmeal raisin cookies).
7. Scoop & Bake: Drop rounded spoonfuls (about 1.5 tablespoons) of dough onto the prepared baking sheets, leaving about 2 inches between each cookie.
8. Bake: Bake for 10-12 minutes, or until the edges are golden brown and the centers are set but still look a little soft. For a chewier cookie, pull them out slightly earlier.
9. Cool: Let the cookies cool on the baking sheets for 2-3 minutes before transferring them to a wire rack to cool completely.
Nutritional Benefits & Advantages
Oats are a nutritional powerhouse! They are a fantastic source of soluble fiber, which can help lower cholesterol levels and promote digestive health. They also provide sustained energy, making Oatmeal Cookies a more wholesome treat compared to many other baked goods. When you opt for homemade versions, you control the amount and type of sugar, fat, and any additional ingredients, allowing for a healthier profile. Adding ingredients like oatmeal raisin cookies boosts fiber and adds natural sweetness, further enhancing their health benefits.
Tips, Variations & Cooking Advice
- Brown Butter: For an extra layer of nutty flavor, brown the butter before creaming. Just cook it gently until golden brown and fragrant, then let it cool slightly before proceeding.
- Spice It Up: Add a pinch of nutmeg, ginger, or cloves for a more complex spice profile.
- Chewy vs. Crispy: For chewier cookies, use more brown sugar than white sugar and slightly underbake them. For crispier cookies, use more white sugar, bake a little longer, and flatten the dough balls slightly before baking.
- Gluten-Free: Substitute standard flour with a 1:1 gluten-free baking blend that contains xanthan gum. Ensure your oats are certified gluten-free.
- Dairy-Free: Use a good quality plant-based butter substitute.
- Portion Control: Use a cookie scoop to ensure uniform size, which leads to even baking.
Common Mistakes to Avoid
- Overmixing the Dough: This develops gluten, leading to tough, not tender, cookies. Mix only until ingredients are just combined.
- Using Cold Butter: Cold butter won’t cream properly, resulting in a dense, flat cookie. Always use softened, room-temperature butter.
- Not Chilling the Dough: While optional, chilling prevents cookies from spreading too much, yielding thicker, chewier results.
- Baking on Hot Sheets: Always allow baking sheets to cool completely between batches, or use multiple sheets. Baking on a hot sheet can cause the cookies to spread excessively.
- Overbaking: Cookies continue to cook slightly after being removed from the oven. Pull them out when the edges are golden and the center still looks a bit soft.
Storage & Meal Prep Tips
Cooled Oatmeal Cookies can be stored in an airtight container at room temperature for up to 3-5 days. For longer storage, freeze baked cookies for up to 3 months. Thaw at room temperature or warm briefly in the microwave.
You can also prepare a large batch of cookie dough and freeze individual portions. Scoop dough onto a parchment-lined baking sheet, freeze until solid, then transfer to a freezer-safe bag. Bake from frozen, adding an extra minute or two to the baking time. This is perfect for impromptu baking sessions!
Conclusion
There’s nothing quite like the aroma and taste of homemade Oatmeal Cookies. This guide provides all the tools and techniques you need to bake a batch that’s perfectly chewy, wonderfully spiced, and utterly satisfying. Whether you stick to the classic or embrace the delightful chewiness of oatmeal raisin cookies, the process is as rewarding as the treat itself. Don’t hesitate to personalize your batch with your favorite additions, and
remember to share your baking adventures and results with us! Happy baking!
FAQs
Q1: Can I use instant oats instead of rolled oats?
A1: While possible, instant oats will result in a softer, less chewy cookie and can sometimes make the dough a bit gummier. Rolled oats are highly recommended for the best texture.
Q2: My cookies are spreading too much. What went wrong?
A2: This could be due to several factors: butter being too soft (or melted), not chilling the dough, using a hot baking sheet, or an incorrect flour-to-fat ratio. Ensure your butter is softened, not melted, and consider chilling your dough for at least 30 minutes.
Q3: How do I ensure my cookies are chewy and not hard?
A3: Use a good amount of brown sugar, don’t overmix the dough, and slightly underbake them. Pull them out when the edges are just set but the centers still look a little soft. They will firm up as they cool.
Q4: Can I make this recipe healthier?
A4: Absolutely! Reduce the sugar slightly, substitute some of the all-purpose flour with whole wheat flour, or add extra healthy mix-ins like flax seeds or chia seeds.
Q5: What’s the best way to get uniformly sized cookies?
A5: A cookie scoop (often labeled as a disher) is your best friend here! It ensures consistent size, which leads to even baking across the entire batch.