Unlocking the Secret to Perfect Homemade Chocolate Chip Cookies: A Baker’s Guide
Have you ever craved that perfect, warm, gooey Chocolate Chip Cookies, fresh from the oven, with melting chocolate chips and a slightly crisp edge? For many, the allure of store-bought treats fades in comparison to the homemade touch. Crafting your own chocolate chip cookies isn’t just about satisfying a sweet tooth; it’s an act of culinary artistry, a way to infuse warmth and love into your home. This comprehensive guide will walk you through every step of creating a truly remarkable batch of Chocolate Chip Cookie Recipe, demystifying the process and empowering you to bake with confidence. From understanding the nuanced role of each ingredient to mastering crucial baking techniques, we’ll ensure your journey to cookie perfection is both delicious and rewarding.
Ingredients & Kitchen Tools
To embark on your baking adventure, gather the following:
– All-Purpose Flour (2 ¼ cups): The foundational structure of your cookies. Substitution: For a chewier cookie, substitute 2 tablespoons of all-purpose flour with bread flour.
– Baking Soda (1 teaspoon): A leavening agent that helps the cookies rise and spread.
– Salt (1 teaspoon): Enhances the flavors of the other ingredients and balances the sweetness.
– Unsalted Butter (1 cup, 2 sticks, softened): Provides richness, flavor, and contributes to a tender crumb. Substitution: For a dairy-free option, use a high-quality plant-based butter alternative.
– Granulated Sugar (¾ cup): Contributes to sweetness and helps with browning.
– Packed Light Brown Sugar (¾ cup): Adds moisture, depth of flavor, and chewiness.
– Large Eggs (2): Act as a binder and add richness.
– Vanilla Extract (2 teaspoons): Essential for that classic cookie flavor. For a more complex flavor, consider pure vanilla bean paste.
– Chocolate Chips (2 cups, semi-sweet or your preference): The star of the show. Variety: Experiment with milk chocolate, dark chocolate, or even white chocolate chips.
Kitchen Tools:
– Large Mixing Bowls (2): For whisking dry ingredients and creaming wet ingredients.
– Electric Mixer (stand or hand-held): Makes creaming butter and sugar much easier and more efficient.
– Rubber Spatula: For scraping down the bowl and folding in ingredients.
– Measuring Cups and Spoons: For accurate ingredient measurements.
– Baking Sheets (2): Preferably light-colored to prevent over-browning.
– Parchment Paper or Silicone Baking Mats: Prevents sticking and promotes even baking.
– Wire Cooling Rack: Essential for cooling cookies evenly and preventing sogginess.
Prep Time & Cooking Schedule
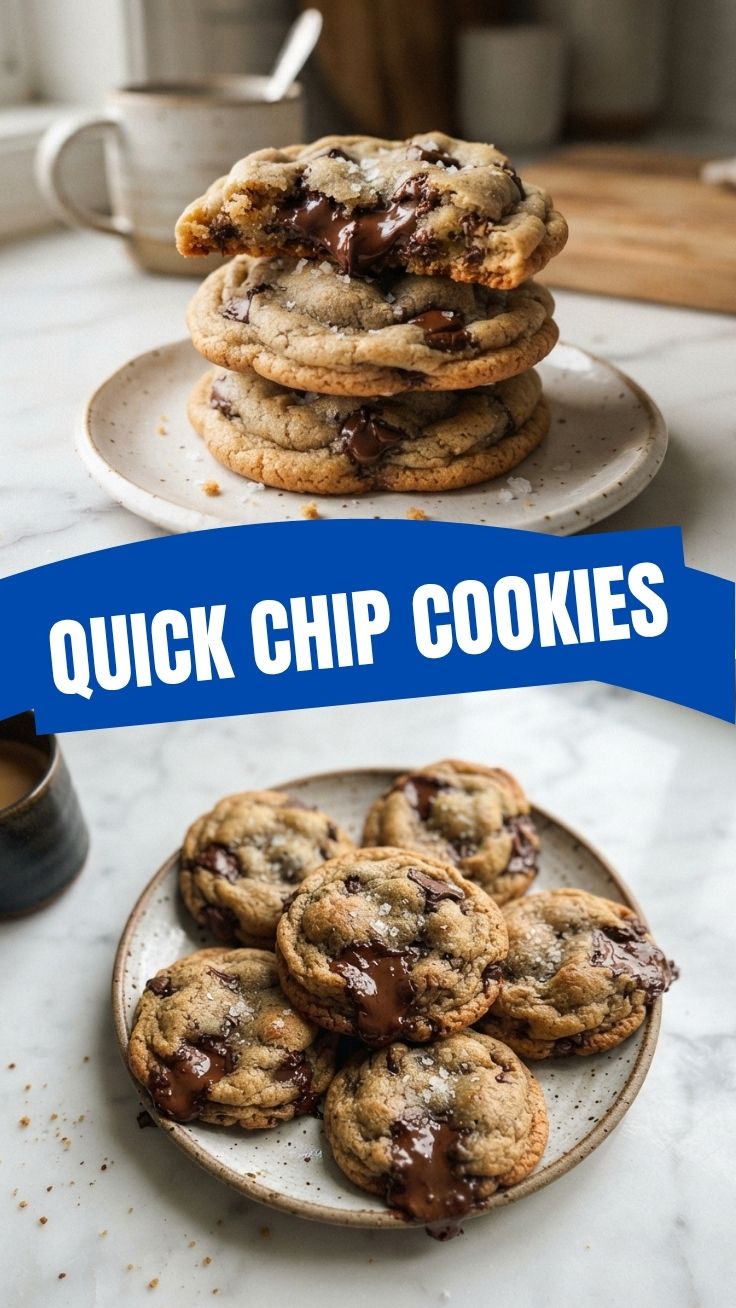
– Prep Time: 15-20 minutes
– Chill Time (Dough): Minimum 30 minutes (recommended 2-24 hours) – this is crucial for flavor development and texture.
– Cook Time: 9-12 minutes per batch
– Cooling Time: 10 minutes on the baking sheet, then fully cool on a wire rack.
Plan your baking session by giving the dough ample chilling time. This allows the flavors to meld and the butter to firm up, resulting in a less spread-out, chewier cookie with enhanced taste.
Step-by-Step Instructions
1. Preheat Oven & Prep Dry Ingredients: Preheat your oven to 375°F (190°C). Line two baking sheets with parchment paper or silicone baking mats. In a medium bowl, whisk together the all-purpose flour, baking soda, and salt. Set aside.
2. Cream Wet Ingredients: In a large bowl, using an electric mixer, cream together the softened unsalted butter, granulated sugar, and brown sugar on medium speed until light and fluffy, about 2-3 minutes. This aeration is key for tender cookies.
3. Add Eggs & Vanilla: Beat in the large eggs one at a time, ensuring each is fully incorporated before adding the next. Stir in the vanilla extract. Scrape down the sides of the bowl to ensure everything is well combined.
4. Combine Wet & Dry: Gradually add the dry ingredients to the wet ingredients, mixing on low speed until just combined. Be careful not to overmix, as this can lead to tough cookies.
5. Fold in Chocolate Chips: Gently fold in the Chocolate Chip Cookies until evenly distributed throughout the dough.
6. Chill the Dough: Cover the bowl with plastic wrap and refrigerate for at least 30 minutes. For the best texture and flavor, chill for 2-24 hours. This allows the flavors to deepen and prevents excessive spreading, contributing to a superior Chocolate Chip Cookie Recipe.
7. Scoop & Bake: Drop rounded tablespoons of dough onto the prepared baking sheets, leaving about 2 inches between each cookie.
8. Bake: Bake for 9-12 minutes, or until the edges are golden brown and the centers are still slightly soft. Do not overbake!
9. Cool: Let the cookies cool on the baking sheets for 5-10 minutes before transferring them to a wire rack to cool completely. This prevents them from breaking and allows them to firm up.
Nutritional Benefits & Advantages
While a treat, homemade chocolate chip cookies offer some advantages. Using real butter provides healthy fats, and the eggs contribute protein. The ability to control sugar levels and choose high-quality chocolate chips means you can tailor them to your dietary preferences, potentially reducing refined sugar content compared to many commercial varieties. Furthermore, the act of baking can be a therapeutic and enjoyable experience, offering mental well-being benefits.
Tips, Variations & Cooking Advice
– Brown Butter: For a deeper, nuttier flavor, brown your butter before creaming it with the sugars. Allow it to cool slightly before use.
– Flour Mix: Experiment with a portion of whole wheat pastry flour for added fiber and a slightly earthier taste.
– Salt Sprinkle: A sprinkle of flaky sea salt on top of the cookies just after baking elevates the flavor profile.
– Nutty Additions: Fold in toasted chopped pecans, walnuts, or almonds for extra crunch and flavor.
– Candy Integration: Mini M&Ms or chopped candy bars can add a fun twist.
– Soft vs. Chewy: For softer cookies, reduce baking time by a minute. For chewier cookies, use more brown sugar than granulated sugar.
– Gluten-Free: Substitute the all-purpose flour with a 1:1 gluten-free baking blend.
– Dairy-Free: Use plant-based butter and dairy-free chocolate chips.
Common Mistakes to Avoid
– Overmixing the Dough: This develops gluten, leading to tough, dry cookies. Mix only until ingredients are just combined.
– Not Chilling the Dough: Warm dough spreads excessively, resulting in thin, crispy cookies. Chilling is essential for thicker, chewier cookies.
– Baking on Hot Baking Sheets: Always use cool baking sheets. If you’re baking multiple batches, let the sheets cool completely between uses, or have extra sheets on hand.
– Overbaking: This is the most common mistake! Cookies continue to cook slightly after being removed from the oven. Remove them when the edges are set and golden, but the centers still look a little underdone.
– Incorrect Pan Type: Dark baking sheets absorb more heat, leading to over-browning. Light-colored baking sheets are preferred.
Storage & Meal Prep Tips
Store baked Chocolate Chip Cookies in an airtight container at room temperature for up to 3-5 days. To keep them fresh longer, you can freeze baked cookies for up to 3 months. Thaw them at room temperature or warm them gently in a low oven for that “freshly baked” experience.
For meal prep, you can freeze raw cookie dough in individual balls. Place scooped dough on a baking sheet and freeze until solid, then transfer to a freezer-safe bag. Bake from frozen, adding an extra minute or two to the baking time. This allows you to have warm, fresh cookies anytime the craving strikes!
Conclusion
Mastering the art of Chocolate Chip Cookies is a truly rewarding experience, transforming simple ingredients into a beloved treat that brings joy to every bite. By following this detailed guide, from precise ingredient measurements to strategic chilling and careful baking, you’re now equipped to create your perfect batch. This Chocolate Chip Cookie Recipe is more than just a set of instructions; it’s a foundation for countless delightful baking memories. Don’t hesitate to personalize it with your own favorite chocolate varieties or nutty additions. Share your baking triumphs with us in the comments below, and let’s spread the joy of homemade goodness!
FAQs
Q1: Why do my cookies spread too much?
A1: This is usually due to warm dough, insufficient chilling, or too much butter. Ensure your butter isn’t too soft, chill the dough thoroughly, and use a reliable recipe.
Q2: Can I substitute different types of sugar?
A2: While you can adjust the ratio, the combination of granulated and brown sugar is crucial for the classic chewy yet crisp texture. Granulated sugar contributes to crispiness and spread, while brown sugar adds moisture, chewiness, and depth of flavor.
Q3: How can I prevent my chocolate chips from sinking to the bottom?
A3: Coating your chocolate chips lightly in a tablespoon of flour before adding them to the dough can help suspend them more evenly. Using high-quality chips also helps them maintain their shape.
Q4: My cookies are hard and dry. What went wrong?
A4: Overbaking is the primary culprit for dry cookies. Remove them from the oven when the edges are set and golden, but the centers still appear slightly underdone. Also, ensure you’re not overmixing your dough, which can lead to tough cookies.
Q5: How long can I chill the cookie dough?
A5: You can chill the dough for as little as 30 minutes, but for optimal flavor and texture, chilling for 24-72 hours is recommended. Some bakers even chill for up to 5 days, developing deeper, more complex flavors.