Master the Festive Feast: Your Ultimate Guide to a Perfect Roast Turkey
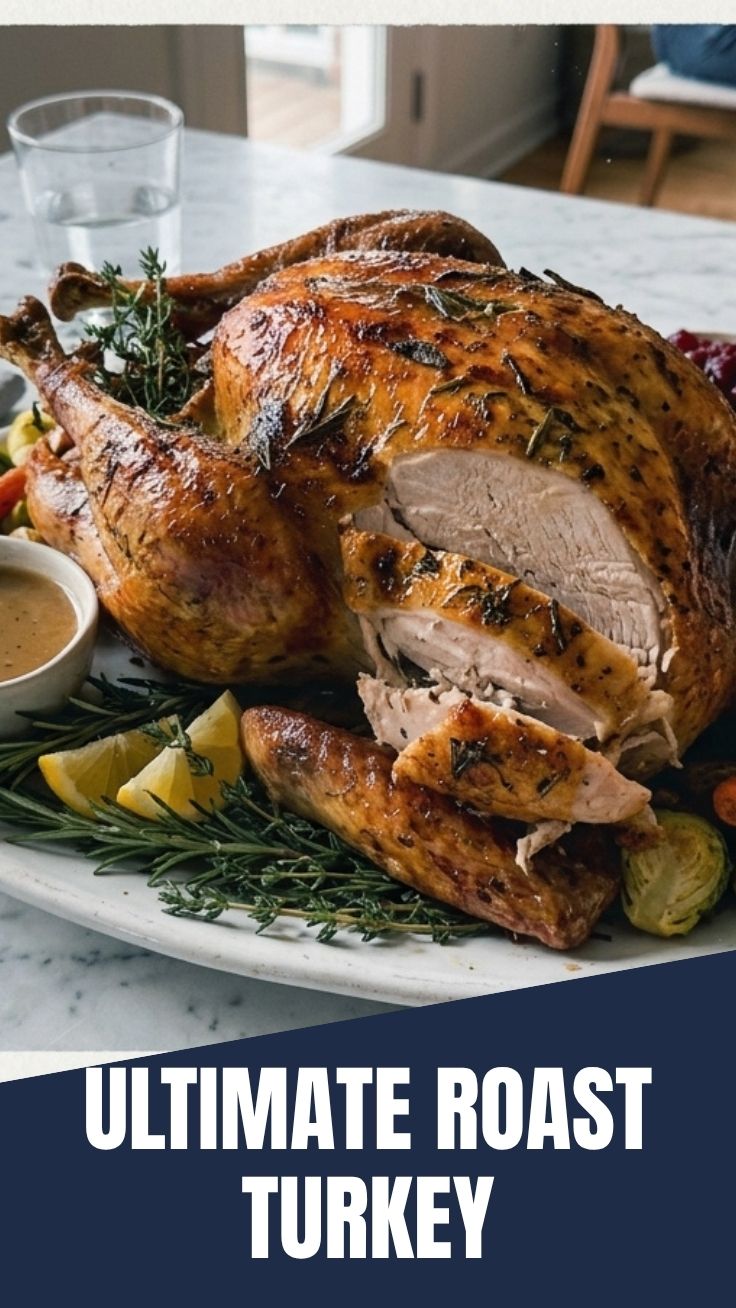
Are you ready to transform your holiday table with a show-stopping centerpiece that’s both succulent and easy to achieve? Creating a delicious Roast Turkey at home isn’t just about cooking; it’s about crafting memories, infusing your kitchen with incredible aromas, and savoring the unparalleled flavor of a perfectly prepared bird. Forget dry, bland turkey! This comprehensive guide will walk you through every step, ensuring your festive meal is a resounding success, whether it’s for Thanksgiving, Christmas, or any special occasion. We’ll delve into the nuances that elevate a good turkey to a phenomenal one, helping you confidently tackle any of your Thanksgiving Turkey Recipes with flair.
Ingredients & Kitchen Tools
- Whole Turkey (12-16 lbs): Opt for a fresh, unfrozen bird if possible for best flavor and texture. If frozen, allow ample time for thawing in the refrigerator (approx. 24 hours per 4-5 lbs).
- Butter (1/2 cup, unsalted, softened): Essential for crispy skin and moist meat.
- Fresh Herbs (Rosemary, Thyme, Sage – 1 bunch of each): Adds aromatic depth and classic holiday flavor.
- Onions (2 large, quartered): For stuffing the cavity and adding moisture.
- Celery Stalks (4-5, roughly chopped): Aromatic base for the cavity and pan.
- Carrots (3-4, roughly chopped): Sweetness and moisture for the roasting pan.
- Garlic (1 head, halved horizontally): Infuses the turkey with fragrant notes.
- Chicken or Vegetable Broth (4 cups, low sodium): For basting and creating a flavorful pan drippings for gravy.
- Salt (Kosher or Sea Salt): Essential for seasoning.
- Black Pepper (Freshly Ground): Adds a subtle kick.
- Olive Oil (2 tablespoons): For massaging the skin.
- Roasting Pan with Rack: Crucial for even cooking and crispy skin.
- Meat Thermometer (Leave-in or Instant-Read): Absolutely vital for ensuring proper doneness and food safety.
- Basting Brush: For applying butter and broth.
- Twine (Kitchen String): For trussing the turkey.
- Foil: For tenting the turkey parchment paper.
Prep Time & Cooking Schedule
- Prep Time: 45 minutes
- Brining/Salting Time (Optional): 12-24 hours (highly recommended for juicier results)
- Cook Time: Approximately 2.5 – 4 hours (depending on turkey size and oven calibration)
- Resting Time: 30-45 minutes
Plan your cooking day meticulously. A 14-pound turkey will typically take around 3-3.5 hours to roast. Factor in the thawing time if your turkey is frozen, and definitely plan for the crucial resting period, which allows the juices to redistribute, leading to a much more tender bird.
Step-by-Step Instructions
1. Thaw & Prep: Ensure your turkey is completely thawed. Remove it from the refrigerator about an hour before roasting to bring it closer to room temperature for more even cooking. Remove giblets and neck from the cavities. Pat the turkey thoroughly dry with paper towels – this is key for crispy skin.
2. Seasoning & Aromatics: Loosely stuff the main cavity with half of the quartered onions, celery, carrots, and garlic. Take the softened butter and gently separate the skin from the breast meat with your fingers, being careful not to tear it. Rub half of the butter directly onto the breast meat under the skin. Then, rub the remaining butter over the outside of the turkey, followed by a generous seasoning of salt and pepper. Place sprigs of rosemary, thyme, and sage under the skin and inside the cavity.
3. Trussing & Roasting Pan: Tuck the wing tips under the turkey’s body. Truss the legs together tightly with kitchen twine. This helps the turkey cook more evenly and prevents the breast from drying out. Place the remaining chopped vegetables and herbs at the bottom of your roasting pan. Pour 2 cups of broth into the pan. Position the Roast Turkey on the roasting rack, breast-side up, over the vegetables.
4. Initial Roast: Preheat your oven to 425°F (220°C). Roast the turkey for 30 minutes to get a golden-brown skin.
5. Lower Temperature & Basting: Reduce the oven temperature to 325°F (160°C). Baste the turkey every 30-45 minutes with the pan juices, adding more broth to the pan if it gets too dry. If the skin begins to brown too quickly, tent loosely with foil. Continue roasting until a meat thermometer inserted into the thickest part of the thigh (without touching bone) reads 165°F (74°C). For all your Thanksgiving Turkey Recipes, precise temperature is paramount.
6. Resting: Once cooked, remove the turkey from the oven, transfer it to a carving board, and tent it loosely with foil. Let it rest for at least 30-45 minutes before carving. This resting period is critical for juicy, tender meat.
Nutritional Benefits & Advantages
Turkey is a powerhouse of lean protein, essential for muscle repair and growth, and provides sustained energy. It’s also a good source of B vitamins (especially B6 and B12), which are vital for metabolism and nerve function. Additionally, turkey contains minerals like selenium, zinc, and phosphorus, contributing to immune health and bone strength. Choosing turkey, particularly the breast meat, can be a healthier alternative to red meat, offering a lower fat option that doesn’t compromise on flavor or satiety.
Tips, Variations & Cooking Advice
- Brining: For an exceptionally juicy turkey, consider a wet or dry brine for 12-24 hours before roasting.
- Flavor Boost: Add orange slices, apple wedges, or bay leaves to the cavity for extra layers of flavor.
- Spatchcocking: For faster, more even cooking and crispier skin, spatchcock (butterfly) your turkey. This involves removing the backbone.
- Herb Butter: Experiment with different herb combinations in your butter rub, like marjoram or chives.
- Gravy: Don’t discard those glorious pan drippings! They are the foundation for an incredible homemade gravy.
Common Mistakes to Avoid
- Not Thawing Properly: A partially frozen turkey will cook unevenly, leading to dry spots and undercooked sections.
- Overcooking: The biggest culprit of dry turkey. Always trust your meat thermometer. Remove the turkey when it reaches 165°F (74°C) in the thigh. Carryover cooking will bring it up a few degrees more.
- Not Resting: Carving too soon allows all the flavorful juices to gush out, leaving you with dry meat. Patience is key!
- No Brining/Salting: Pre-salting or brining significantly enhances moisture and flavor.
- Roasting without a Rack: Direct contact with the pan can leave the bottom of the turkey soggy. A rack promotes air circulation.
Storage & Meal Prep Tips
Leftover turkey can be stored in an airtight container in the refrigerator for 3-4 days. For longer storage, freeze carved turkey meat in freezer-safe bags or containers for up to 3 months. When reheating, add a splash of broth to prevent drying out and reheat gently in the oven or microwave. Leftovers are fantastic for sandwiches, salads, stir-fries, or even a comforting turkey pot pie.
Conclusion
Mastering a succulent and flavorful Roast Turkey is a truly rewarding culinary experience that elevates any gathering. By following these detailed steps, embracing the power of proper seasoning, and understanding the importance of heat control, you’re well on your way to creating a memorable centerpiece for your next festive meal. Don’t be intimidated; with a little preparation and our expert tips, your holiday table will be graced with a turkey that’s both juicy and beautifully golden. We encourage you to try this ultimate guide and share your delicious results! And remember, these techniques apply beautifully to all your Thanksgiving Turkey Recipes, ensuring perfection every time.
FAQs
Q1: How do I prevent my turkey breast from drying out?
A1: Several strategies help: rub butter under the skin, tent with foil if browning too quickly, avoid overcooking by using a meat thermometer, and always allow adequate resting time. Brining also significantly helps retain moisture.
Q2: What temperature should my turkey be when it’s done?
A2: A meat thermometer inserted into the thickest part of the thigh (without touching bone) should read 165°F (74°C). The juices should run clear.
Q3: Can I stuff the turkey with actual stuffing?
A3: While traditional, stuffing the turkey often increases cooking time significantly and can make it harder for the interior stuffing to reach a safe temperature. It’s generally safer and recommended to bake stuffing separately.
Q4: My gravy is bland, what did I do wrong?
A4: The key to great gravy is fantastic pan drippings. Ensure you have plenty of aromatics (onions, carrots, celery) in the pan, and deglaze the pan thoroughly after cooking to capture all the flavorful bits. A good, rich broth also helps.
Q5: What if I don’t have a roasting rack?
A5: You can create a makeshift rack by forming a bed of chopped root vegetables (carrots, celery, onions) at the bottom of your roasting pan. This elevates the turkey and prevents it from sitting in its own juices.