Unveiling Culinary Magic: Craft Your Own Perfect Cheesecake Masterpiece!
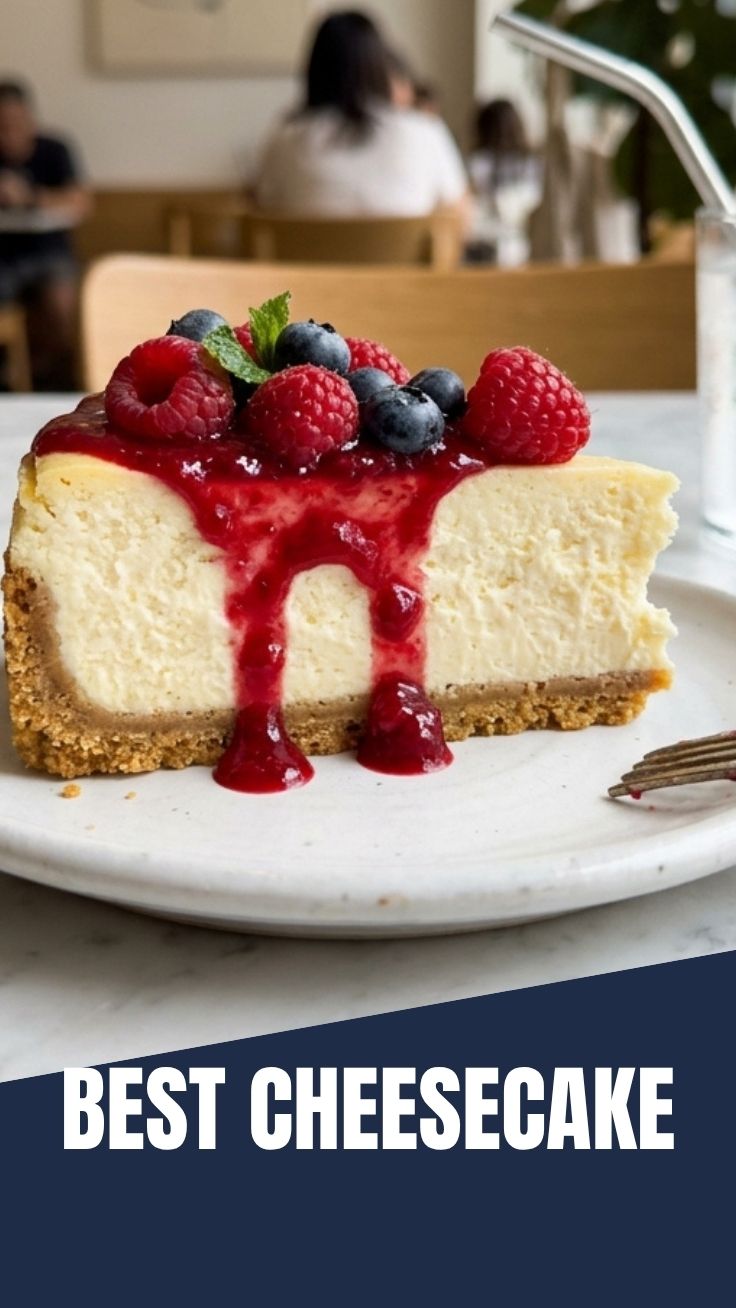
Ever dreamt of creating a dessert so exquisitely rich, so perfectly balanced, it brings a smile to every face at the dinner table? Today, we’re diving into the delightful world of homemade Cheesecake, a dessert that, when made from scratch, elevates any occasion. Forget those store-bought imitations; preparing this iconic treat in your own kitchen not only guarantees superior flavor and freshness but also allows for personalized touches that truly make it your own. And while we’re crafting this creamy wonder, we’ll even explore how a touch of blueberry can elevate the experience to new heights. Join us on this culinary adventure to unlock the secrets of a truly memorable dessert.
Ingredients & Kitchen Tools
Here’s everything you’ll need to embark on your Cheesecake journey:
Ingredients:
- For the Crust:
* 1 ½ cups graham cracker crumbs (about 10–12 full sheets): Provides a classic, buttery foundation.
* ¼ cup granulated sugar: Adds a touch of sweetness to the crust.
* 6 tablespoons unsalted butter, melted: Binds the crumbs together for a sturdy base.
- For the Filling:
* 3 (8-ounce) packages cream cheese, softened: The star ingredient, ensuring a rich, creamy texture. Full-fat is recommended for best results.
* 1 ½ cups granulated sugar: Sweetens the filling. Adjust to your preference.
* 2 teaspoons vanilla extract: Enhances the overall flavor profile.
* ¼ cup all-purpose flour: Helps prevent cracking and provides structure.
* 4 large eggs, room temperature: Binds the filling and contributes to its smooth texture.
* ½ cup sour cream, room temperature: Adds a slight tang and extra creaminess.
* Optional: 1 cup fresh or frozen blueberryes for topping or swirling into the batter: For a burst of fruity flavor and vibrant color.
Kitchen Tools:
- 9-inch springform pan: Essential for easy release of the finished cake.
- Large mixing bowls: For preparing the crust and the filling.
- Electric mixer (stand or hand-held): Makes light work of creaming the ingredients.
- Rubber spatula: For scraping down bowls and folding ingredients gently.
- Measuring cups and spoons: For accurate ingredient proportions.
- Aluminum foil: To create a water bath, preventing cracks.
- Baking sheet: To place the springform pan in the water bath.
- Wire rack: For cooling the Cheesecake.
Prep Time & Cooking Schedule
- Prep Time: 25 minutes
- Cook Time: 60-70 minutes
- Resting Time (in oven): 1 hour
- Chill Time: 4-6 hours (or overnight for best results)
Plan ahead! While the active prep and cook time isn’t extensive, the crucial chilling period allows the Cheesecake to set properly, resulting in that dreamy, firm yet creamy texture we all crave. This isn’t a dessert you can whip up an hour before guests arrive!
Step-by-Step Instructions
1. Preheat Oven & Prepare Pan: Preheat your oven to 350°F (175°C). Wrap the outside of your springform pan tightly with several layers of heavy-duty aluminum foil to prevent water from seeping in during the water bath.
2. Make the Crust: In a medium bowl, combine graham cracker crumbs, granulated sugar, and melted butter. Press the mixture firmly and evenly into the bottom of the prepared springform pan. Bake for 10 minutes, then remove from oven and let cool slightly while you prepare the filling.
3. Prepare the Filling: In a large mixing bowl, beat the softened cream cheese with an electric mixer until smooth and creamy, about 2-3 minutes. Gradually add in 1 ½ cups granulated sugar, mixing until well combined. Beat in the vanilla extract and all-purpose flour until just incorporated.
4. Incorporate Eggs & Sour Cream: Add the eggs, one at a time, beating on low speed until just blended after each addition. Be careful not to overmix, as this can introduce too much air and lead to cracks. Finally, gently fold in the sour cream until combined. The consistency should be smooth and luscious for a perfect Cheesecake. If you’re adding blueberryes, gently fold them into the batter now.
5. Bake with a Water Bath: Pour the filling over the cooled crust in the springform pan. Place the springform pan into a larger roasting pan. Carefully pour hot water into the roasting pan until it comes halfway up the sides of the springform pan. This water bath creates a moist baking environment that helps prevent cracking.
6. Bake: Bake for 60-70 minutes, or until the edges are set but the center still jiggles slightly when gently shaken.
7. Cooling & Chilling: Turn off the oven, leave the oven door ajar, and let the Cheesecake cool in the water bath within the oven for 1 hour. This slow cooling process is crucial for preventing cracks. Remove from the oven, take the springform pan out of the water bath, and remove the foil. Let it cool completely on a wire rack at room temperature. Once a room temperature, cover and refrigerate for at least 4-6 hours, or preferably overnight, for the best texture and flavor.
Nutritional Benefits & Advantages
This homemade Cheesecake offers more than just indulgence. Dairy products like cream cheese and sour cream provide essential calcium, supporting bone health. Eggs contribute high-quality protein and a range of vitamins. When you incorporate ingredients like blueberryes, you introduce a powerful dose of antioxidants and dietary fiber, transforming a decadent dessert into one with surprising nutritional perks. Making it at home also gives you control over the quality of ingredients, avoiding artificial flavors and excessive preservatives often found in commercial versions.
Tips, Variations & Cooking Advice
- Flavor Variations: Explore endless possibilities! Swirl in raspberry purée, lemon zest, or even chocolate ganache. For a fall-inspired twist, add pumpkin purée and spices.
- Crust Alternatives: Instead of graham crackers, try crushed oreos, shortbread cookies, or even gluten-free biscuits for dietary adaptations.
- Dairy-Free Option: While challenging to replicate the exact texture, you can experiment with dairy-free cream cheese alternatives and plant-based sour cream.
- Always Room Temperature: Ensure all cold ingredients (cream cheese, eggs, sour cream) are at room temperature. This is vital for a smooth, lump-free batter and prevents overmixing.
- Don’t Overbake: Overbaking is a common cause of cracks. The center should still be slightly jiggly. Trust the process!
Common Mistakes to Avoid
- Overmixing the Batter: This incorporates too much air, which expands during baking and then collapses, leading to cracks. Mix until just combined.
- Not Using a Water Bath: A water bath creates a humid environment, ensuring even baking and preventing the Cheesecake from drying out and cracking.
- Sudden Temperature Changes: Drastic shifts in temperature (e.g., removing from oven too quickly or placing directly into a cold fridge) can cause the surface to crack. Follow the slow cooling process.
- Under-Chilling: Patience is key! An under-chilled Cheesecake will be too soft and won’t slice cleanly.
Storage & Meal Prep Tips
Leftover Cheesecake should be stored tightly covered in the refrigerator for up to 5-7 days. For longer storage, you can freeze individual slices (or even the whole cake, if unsliced) wrapped tightly in plastic wrap and then foil. It will keep well in the freezer for up to 1-2 months. Thaw frozen Cheesecake overnight in the refrigerator for the best texture. Reheating is generally not recommended as it can alter the texture; it’s best served chilled.
Conclusion
Crafting your own creamy, dreamy Cheesecake is a rewarding culinary achievement, transforming simple ingredients into a show-stopping dessert. Whether you prefer the classic purist approach or enjoy adding a burst of flavor with fresh blueberryes, the satisfaction of a homemade confection is unparalleled. By following these steps and embracing the nuances of baking, you’ll create a dessert that’s not only delicious but also a testament to your kitchen prowess. Don’t be shy – dive in, bake with love, and share your masterpiece with the world! We’d love to hear about your experience in the comments below!
FAQs
Q1: My Cheesecake cracked! What did I do wrong?
A1: Cracking is usually due to overbaking, overmixing (which introduces too much air), or sudden temperature changes. Ensure you use a water bath, don’t overmix, and allow for slow cooling in the oven.
Q2: Can I use frozen blueberryes?
A2: Yes, frozen blueberryes can be used! You don’t need to thaw them beforehand. Just toss them directly into the batter.
Q3: How do I know when the Cheesecake is done?
A3: The edges should be set, but the center (about 2-3 inches in diameter) should still have a slight jiggle. It will continue to set as it cools and chills.
Q4: Can I make this gluten-free?
A4: Absolutely! Simply substitute the graham cracker crumbs with gluten-free graham cracker crumbs or crushed gluten-free biscuits. Ensure all other ingredients are naturally gluten-free.
Q5: What’s the best way to get clean slices?
A5: Ensure the Cheesecake is thoroughly chilled. For extra clean cuts, dip a sharp knife in hot water and wipe it clean between each slice.