Master the Art of the Ultimate Club Sandwich: Your Guide to Culinary Perfection
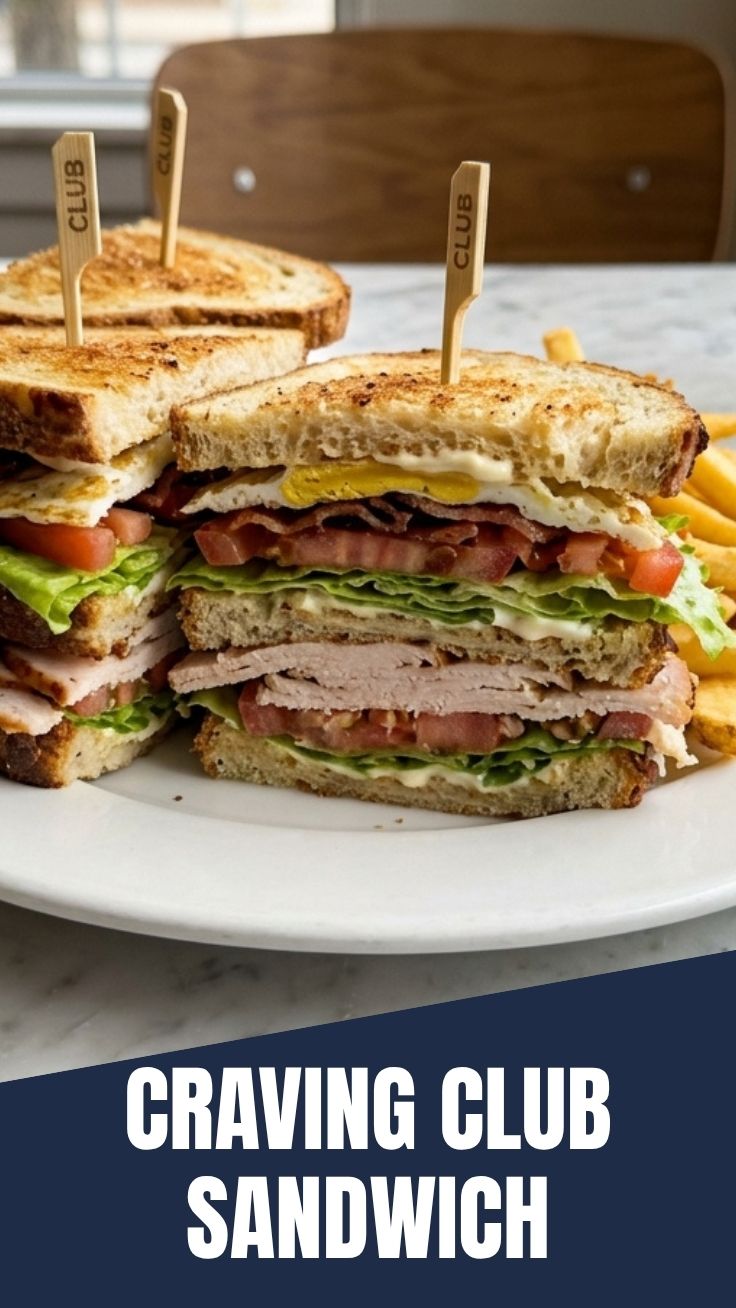
Ever wondered if you could recreate that iconic, towering, and utterly satisfying Club Sandwich experience in your own kitchen? The answer is a resounding yes! Forget flimsy, uninspired versions; today, we’re diving deep into crafting a truly exceptional stacked sandwich, transforming simple ingredients into a gourmet delight. Preparing this classic at home isn’t just about saving money; it’s about unlocking a level of freshness, customization, and flavor mastery that even the best diner struggles to match. Get ready to elevate your lunch game with this comprehensive guide to the ultimate Club Sandwich Recipe.
Ingredients & Kitchen Tools
Crafting the perfect sandwich starts with the right foundation. Here’s what you’ll need:
- Bread (3 slices per sandwich): Sturdy, thinly sliced white or whole wheat bread, lightly toasted. Brioche or challah also work for a richer flavor.
- Mayonnaise: High-quality traditional or avocado oil mayo for a creamy, tangy spread.
- Cooked Chicken or Turkey Breast (4-6 oz per sandwich): Sliced thin; rotisserie chicken or deli-sliced turkey are excellent choices.
- Bacon (3-4 strips per sandwich): Crispy, streaky bacon, cooked to perfection. Center-cut or turkey bacon are good alternatives.
- Lettuce Leaves (2-3 per sandwich): Crisp varieties like iceberg, romaine, or green leaf lettuce to add a fresh crunch.
- Tomato (1 small per sandwich): Ripe, firm, and thinly sliced. Beefsteak or heirloom tomatoes are ideal.
- Cheese (optional, 2 slices per sandwich): American, cheddar, or Swiss. Adds an extra layer of flavor and texture.
- Salt and Freshly Ground Black Pepper: To season your ingredients and enhance their natural flavors.
Kitchen Tools:
- Toaster or Skillet: For toasting the bread.
- Frying Pan or Baking Sheet: For cooking the bacon.
- Sharp Knife: Essential for slicing tomatoes, chicken, and for perfect assembly.
- Cutting Board: A stable surface for all your prep work.
- Toothpicks or Skewers: To hold the sandwich together (crucial for presentation!).
- Paper Towels: For draining excess grease from bacon.
Prep Time & Cooking Schedule
Efficiency is key to a perfectly timed sandwich.
- Prep Time: 15 minutes (this includes washing and slicing veggies, cooking bacon if not pre-cooked, and slicing chicken/turkey).
- Cook Time: 5-7 minutes (primarily for toasting bread and cooking bacon, if fresh).
- Assembly Time: 5 minutes.
- Total Time: Approximately 25-30 minutes.
Plan to cook your bacon and slice your ingredients beforehand to ensure a smooth assembly process. The goal is to have all components ready simultaneously so you can build and enjoy your masterpiece while everything is fresh.
Step-by-Step Instructions
Follow these clear steps to construct your magnificent Club Sandwich. Mastering this classic involves more than just stacking; it’s about balance and precision.
1. Toast Your Bread: Lightly toast all three slices of bread per sandwich. You want it golden brown and crisp, but not brittle. This forms the backbone and prevents sogginess.
2. Cook the Bacon: In a skillet over medium heat, cook bacon until perfectly crispy. Drain excess grease on paper towels.
3. Prepare the Fillings: Slice your chicken/turkey, tomatoes, and wash your lettuce. If using cheese, have it ready.
4. Spread the Mayo: Once the toast has cooled slightly, generously spread mayonnaise on one side of all three slices. This is crucial for flavor and moisture.
5. First Layer Assembly & Flavor Building:
* Place your first slice of mayo-coated toast on your cutting board, mayo-side up.
* Layer with lettuce leaves, then evenly distribute about half of the sliced chicken/turkey.
* Add a layer of tomato slices, and season lightly with salt and pepper.
6. The Mid-Layer & The Crunch:
Carefully place the second* mayo-coated toast slice on top of the first layer, mayo-side down.
* Spread mayo on the new top side of this middle toast.
* Arrange the crispy bacon strips, ensuring even coverage.
* Add the remaining chicken/turkey slices (and cheese, if using).
7. Final Topping & The Grand Finale:
Place the third* and final mayo-coated toast slice on top, mayo-side down.
* Gently press down on the sandwich to slightly compress it.
8. The Club’s Signature Cut: Insert four toothpicks or skewers through the sandwich, one near each corner, to hold it firm.
9. Slice and Serve: Using a very sharp knife, carefully cut the sandwich diagonally from corner to corner, creating four perfect triangles. This classic presentation makes enjoying your Club Sandwich Recipe even more delightful.
Nutritional Benefits & Advantages
Beyond its delicious taste, the Club Sandwich offers several nutritional advantages. It’s a great source of lean protein from the chicken or turkey, essential for muscle repair and satiety. The lettuce and tomato provide vitamins, minerals, and dietary fiber, promoting digestive health. While bacon adds fat, choosing leaner bacon and cooking it properly can minimize unhealthy fats. Homemade means you control ingredients, reducing processed additives and excessive sodium common in pre-made options.
Tips, Variations & Cooking Advice
- Bread Choice: Experiment with sourdough or multi-grain for different textures and flavors.
- Protein Swap: Use thinly sliced roast beef, ham, or even grilled salmon for an interesting twist.
- Vegetarian Club: Replace meats with grilled portobello mushrooms, smoked tofu, or layered roasted vegetables. Add avocado for creaminess.
- Mayo Alternatives: Try a garlic aioli, chipotle mayo, or a pesto spread for a flavor kick.
- Extra Crunch: Add thin cucumber slices or a layer of potato chips inside for an unexpected texture surprise.
- Temperature Control: Ensure your bacon is perfectly crispy, and all other ingredients are cool to maintain the sandwich’s freshness.
Common Mistakes to Avoid
- Soggy Bread: Over-toasting can make bread brittle, under-toasting makes it soggy. Aim for a light, firm toast. Don’t let your fillings touch untoasted bread.
- Too Much Mayonnaise: While essential, excessive mayo can overpower other flavors and make the sandwich greasy.
- Uneven Slicing: Thick, uneven slices of meat or tomato can make the sandwich difficult to eat and unstable.
- Not Securing the Sandwich: Skipping the toothpicks leads to a messy collapse, especially when cutting.
- Overloading: While tempting, too many fillings can make the sandwich unwieldy and hard to enjoy. Strike a balance.
Storage & Meal Prep Tips
The Club Sandwich is best enjoyed fresh. However, you can prep components in advance:
- Cooked Bacon: Store in an airtight container in the fridge for up to 3 days. Re-crisp in a hot pan or oven.
- Sliced Meats and Veggies: Prepare and store separately in airtight containers in the fridge for up to 2-3 days.
- Assembly: It’s highly recommended to assemble the sandwich just before eating to prevent the bread from getting soggy. Do not freeze an assembled sandwich; the texture will be compromised.
Conclusion
Crafting a classic Club Sandwich at home is a rewarding culinary endeavor that brings together simple ingredients in a symphony of flavors and textures. By following this detailed guide, you’re not just making a sandwich; you’re mastering an art form, creating a truly satisfying meal that far surpasses any diner version. We hope this ultimate Club Sandwich Recipe inspires you to unleash your inner chef and enjoy the incredible taste of a homemade classic. Share your creations with us and let us know your favorite variations!
FAQs
Q1: Can I make this gluten-free?
A1: Absolutely! Simply substitute regular bread with your favorite gluten-free bread. Ensure all other ingredients (like bacon) are naturally gluten-free.
Q2: What’s the best way to get crispy bacon without burning it?
A2: Cook bacon over medium-low heat, allowing the fat to render slowly. For extra crispy results, bake it in the oven on a wire rack at 375°F (190°C) for 15-20 minutes.
Q3: How can I prevent the sandwich from falling apart?
A3: The key is gentle but firm pressure during assembly and using those four toothpicks to secure the layers before cutting. A very sharp knife also helps in clean cuts.
Q4: Can I use leftover roasted chicken for this recipe?
A4: Yes, leftover roasted chicken is perfect! Just ensure it’s thinly sliced and cooled before assembling your sandwich for the best flavor and texture.
Q5: What’s the ideal ratio of fillings to bread?
A5: Aim for a balanced ratio where each bite offers bread, meat, and vegetables. Don’t overstuff; the three slices of bread are there to support the fillings, not to be overwhelmed by them.