Unleash Your Inner Pizzaiolo: Crafting the Perfect Homemade Pizza
Tired of lackluster takeout and yearning for a pizza experience that truly sings? What if I told you that the secret to restaurant-quality pie lies in your own kitchen? Preparing your own Pizza Dough from scratch is not just about saving money; it’s about unlocking a world of fresh flavors, customizable toppings, and the immense satisfaction of creating culinary magic. This comprehensive guide will equip you with all the knowledge and techniques to master the art of homemade pizza dough, ensuring every bite is a testament to your newfound baking prowess. Get ready to transform simple ingredients into an extraordinary meal!
Ingredients & Kitchen Tools
Gather your culinary arsenal for a successful pizza-making adventure:
- All-Purpose Flour (500g): The foundation of your dough, providing structure. Look for unbleached for better flavor.
- Warm Water (350ml): Activates the yeast. Aim for 105-115°F (40-46°C). Too hot or too cold can kill or stunt the yeast.
- Active Dry Yeast (7g / 2 ¼ tsp): The leavening agent that makes your dough soft and airy.
- Sugar (1 tbsp): A little sweetness helps kickstart the yeast.
- Salt (1 tsp): Enhances flavor and controls yeast activity.
- Olive Oil (2 tbsp, plus extra for greasing): Adds flavor, tenderness, and helps prevent sticking.
- Large Mixing Bowl: For combining ingredients.
- Stand Mixer with Dough Hook (optional, but highly recommended): For effortless kneading.
- Measuring Cups & Spoons: For precise ingredient amounts.
- Kitchen Scale (optional): For accurate flour and water measurements, leading to consistent results.
- Plastic Wrap or Clean Kitchen Towel: For covering the dough during proofing.
- Baking Sheet or Pizza Stone: For cooking your pizza.
- Pizza Peel (optional): For easily transferring pizza to and from the oven.
Prep Time & Cooking Schedule
Planning is key for perfect pizza!
- Active Prep Time: 15-20 minutes
- First Proofing (Resting Time): 1-1.5 hours (or until doubled in size)
- Second Proofing (Optional, for shaping): 15-30 minutes
- Cook Time: 10-15 minutes per pizza
To best plan, start your dough at least 2-3 hours before you intend to eat. The longer, slower proofing (allowing it to refrigerate overnight after the first proof) develops even more flavor!
Step-by-Step Instructions
Embark on your journey to perfect pizza with these detailed steps:
1. Activate the Yeast: In your large mixing bowl, combine the warm water, sugar, and active dry yeast. Stir gently and let it sit for 5-10 minutes until foamy. This indicates the yeast is alive and ready to work its magic.
2. Combine Dry Ingredients: Add half of the all-purpose flour and the salt to the yeast mixture. Mix with a spoon until just combined.
3. Add Remaining Flour & Oil: Gradually add the remaining flour, followed by the olive oil.
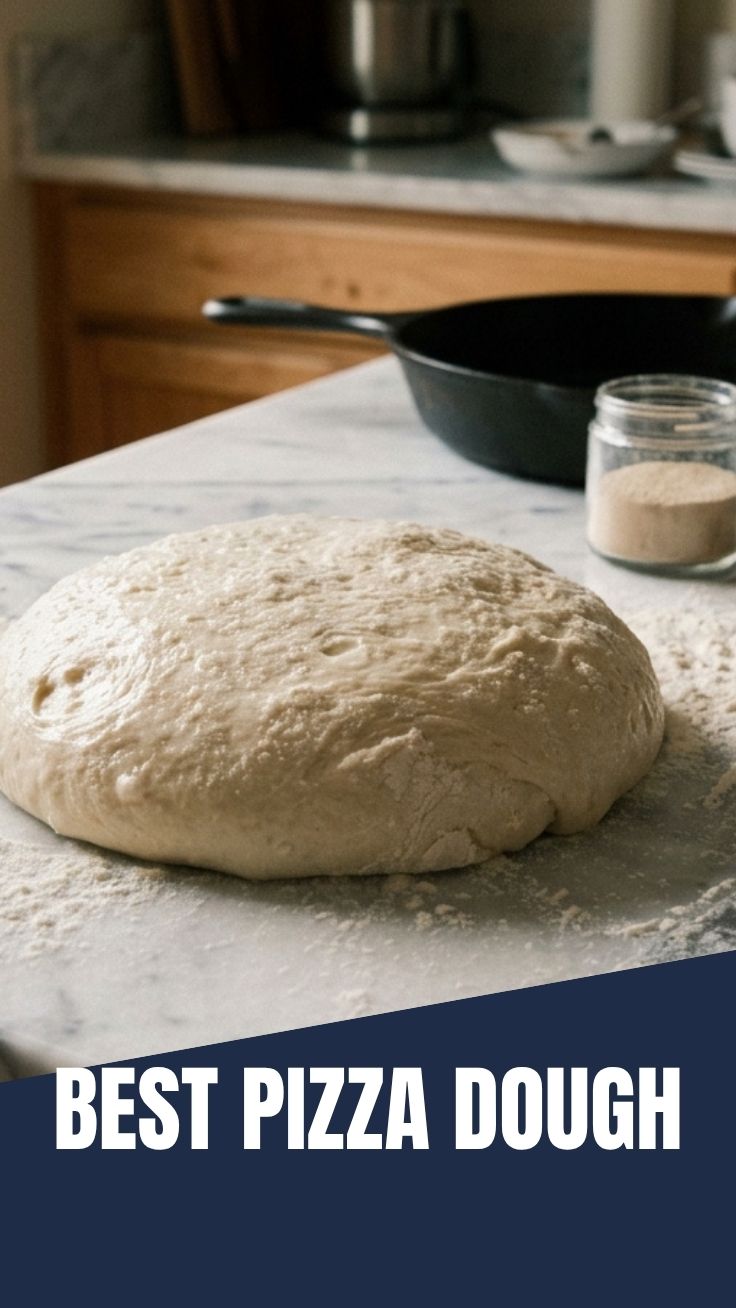
4. Knead the Dough: If using a stand mixer, attach the dough hook and knead on low speed for 8-10 minutes until the dough is smooth, elastic, and pulls away from the sides of the bowl. If kneading by hand, turn the dough out onto a lightly floured surface and knead vigorously for 10-15 minutes. The dough should pass the “windowpane test” – you should be able to stretch a small piece thin enough to see light through it without tearing. This indicates proper gluten development, crucial for a chewy crust. This developed Pizza Dough is the heart of your pie.
5. First Proof: Lightly grease a clean bowl with olive oil. Place the dough ball in the bowl, turning it once to coat. Cover the bowl tightly with plastic wrap or a clean kitchen towel and let it rise in a warm, draft-free place for 1-1.5 hours, or until it has doubled in size. This crucial step is where your homemade pizza dough gains its airy texture.
6. Punch Down & Divide: Gently punch down the risen dough to release the air. Turn it out onto a lightly floured surface and divide it into two equal portions for two medium pizzas, or three for smaller individual pizzas.
7. Shape & Second Proof (Optional): Gently form each portion into a smooth ball. You can let these balls rest for another 15-30 minutes, covered, to relax the gluten, making them easier to roll out.
8. Form Your Pizza: On a lightly floured surface or parchment paper, gently stretch or roll out one dough ball into your desired pizza shape and thickness. A thin crust comes from careful stretching, while a thicker crust can be achieved by rolling a bit less.
9. Bake: Transfer the shaped dough to your preheated baking sheet or pizza stone. Add your favorite sauce, cheese, and toppings, and bake in a preheated oven (450-500°F / 232-260°C) for 10-15 minutes, or until the crust is golden brown and the cheese is bubbly.
Nutritional Benefits & Advantages
Crafting your own pizza means you control every ingredient, leading to a healthier and more satisfying meal. Whole wheat flour can be substituted for a boost in fiber, while opting for lean proteins and ample vegetables adds essential vitamins and minerals. Plus, avoiding processed ingredients often found in store-bought options means less sodium and fewer artificial additives. Enjoying homemade pizza can be a wholesome and balanced family meal.
Tips, Variations & Cooking Advice
- Flavor Boosts: Add a teaspoon of dried Italian herbs or garlic powder to the flour for an extra layer of flavor in your dough.
- Overnight Proofing: For a truly phenomenal flavor, after the first proof, punch down the dough, divide it, and place individual balls in lightly oiled, airtight containers in the refrigerator for 24-48 hours. Bring to room temperature before shaping.
- Gluten-Free: While challenging, using a good quality gluten-free flour blend specifically designed for baking can yield decent results. You may need to adjust water content.
- Thin Crust vs. Thick Crust: For a crispy thin crust, roll or stretch the dough very thinly and consider pre-baking the crust for 5-7 minutes before adding toppings.
- Pizza Stone Power: If you have a pizza stone, preheat it in your oven for at least 30-60 minutes before baking to achieve that perfect crispy bottom crust.
Common Mistakes to Avoid
- Using Cold Water: Inactive yeast equals no rise. Ensure your water is warm to the touch, but not hot.
- Not Kneading Enough: Under-kneaded dough will be tough, dense, and won’t develop proper gluten structure, leading to a flat crust.
- Adding Too Much Flour: This can make the dough dry and stiff. Add flour gradually and only as needed to prevent stickiness.
- Overloading Toppings: Too many toppings can make your pizza soggy and prevent the crust from cooking evenly. Less is often more!
- Impatience: Dough needs time to rise properly. Rushing the proofing process will result in a less flavorful and denser crust.
Storage & Meal Prep Tips
Leftover pizza dough (unbaked) can be stored in an airtight, lightly oiled container in the refrigerator for up to 3 days. For longer storage, freeze individual dough balls wrapped tightly in plastic wrap and then placed in a freezer-safe bag for up to 3 months. Thaw frozen dough overnight in the refrigerator, then bring to room temperature before using. Baked pizza slices can be stored in an airtight container in the refrigerator for 3-4 days. Reheat in a preheated oven or toaster oven for best results, avoiding the microwave if you prefer a crispy crust.
Conclusion
Mastering the art of Pizza Dough is a culinary skill that will bring endless joy to your kitchen and elevate your pizza nights to a new level. By following these detailed steps, you’ve learned the secrets to creating a tender, chewy, and flavorful crust that forms the perfect canvas for your favorite toppings. The satisfaction of biting into a slice made with your own two hands, knowing you’ve perfected homemade pizza dough, is truly unmatched. We encourage you to try this recipe, experiment with flavors, and share your delicious creations with us!
FAQs
Q1: Can I use instant yeast instead of active dry yeast?
A1: Yes, instant yeast can be used directly without proofing. You may need slightly less (around 6g) as it’s more potent.
Q2: My dough isn’t rising. What went wrong?
A2: Common culprits include water that was too hot or too cold (killing the yeast), expired yeast, or a drafty environment that’s too cold for proper proofing.
Q3: How do I get a crispy bottom crust?
A3: Preheat your oven and pizza stone (or baking steel) to a very high temperature before baking. A light brush of olive oil on the crust before adding toppings can also help.
Q4: Can I make this dough in advance?
A4: Absolutely! The dough benefits from an overnight cold proof in the refrigerator, which develops deeper flavors. Just let it come to room temperature for 30-60 minutes before shaping.
Q5: What if my dough is too sticky or too dry?
A5: If too sticky, add a small amount of flour (1 tablespoon at a time) during kneading. If too dry, add a tiny bit of water (1 teaspoon at a time). Adjust gradually.