The Ultimate Guide to Baking Irresistible Pumpkin Bread
Ever wondered how to capture that quintessential autumn coziness in a single, delectable bite? The answer often lies in the comforting aroma and taste of freshly baked Pumpkin Bread. Beyond the delightful sensory experience, preparing this beloved autumnal treat at home offers immense value. You control the quality of ingredients, personalize flavors to your liking, and fill your kitchen with an inviting warmth that store-bought versions simply can’t replicate. This guide will walk you through crafting the perfect Pumpkin Bread, ensuring a moist, flavorful loaf every time, and even offers tips for delightful Pumpkin Muffins.
Ingredients & Kitchen Tools
Gathering your mise en place before you begin is essential for a smooth baking process.
Dry Ingredients:
- 2 cups all-purpose flour: The foundation of our loaf. For a lighter texture, you can sift it.
- 1 ½ cups granulated sugar: Provides sweetness and contributes to moisture.
- 1 teaspoon baking soda: Our primary leavening agent for a good rise.
- ½ teaspoon salt: Enhances the overall flavor profile.
- 1 teaspoon ground cinnamon: The quintessential spice for pumpkin recipes.
- ½ teaspoon ground nutmeg: Adds warmth and depth.
- ¼ teaspoon ground cloves: A subtle, aromatic addition that pairs beautifully with pumpkin.
- ¼ teaspoon ground ginger: Brings a gentle spice kick.
Wet Ingredients:
- 1 (15-ounce) can pumpkin puree: Ensure it’s 100% pure pumpkin, not pumpkin pie filling. This is the heart of our bread!
- ½ cup vegetable oil: Contributes to a rich, moist texture.
- 2 large eggs: Binds the ingredients and adds structure.
- ¼ cup water or milk: Adjusts the batter consistency as needed.
Optional Add-ins:
- 1 cup chopped walnuts or pecans: For an extra crunch and nutty flavor.
- ½ cup chocolate chips: A delightful addition for chocolate lovers.
Kitchen Tools:
- Large mixing bowl: For combining ingredients.
- Medium mixing bowl: For whisking dry ingredients.
- Whisk: For dry ingredients.
- Spatula or wooden spoon: For mixing batter.
- 9×5-inch loaf pan: The standard size for this recipe.
- Measuring cups and spoons: For accurate ingredient measurement.
- Oven mitts: For safe handling of hot pans.
- Cooling rack: Essential for proper cooling and preventing sogginess.
Prep Time & Cooking Schedule
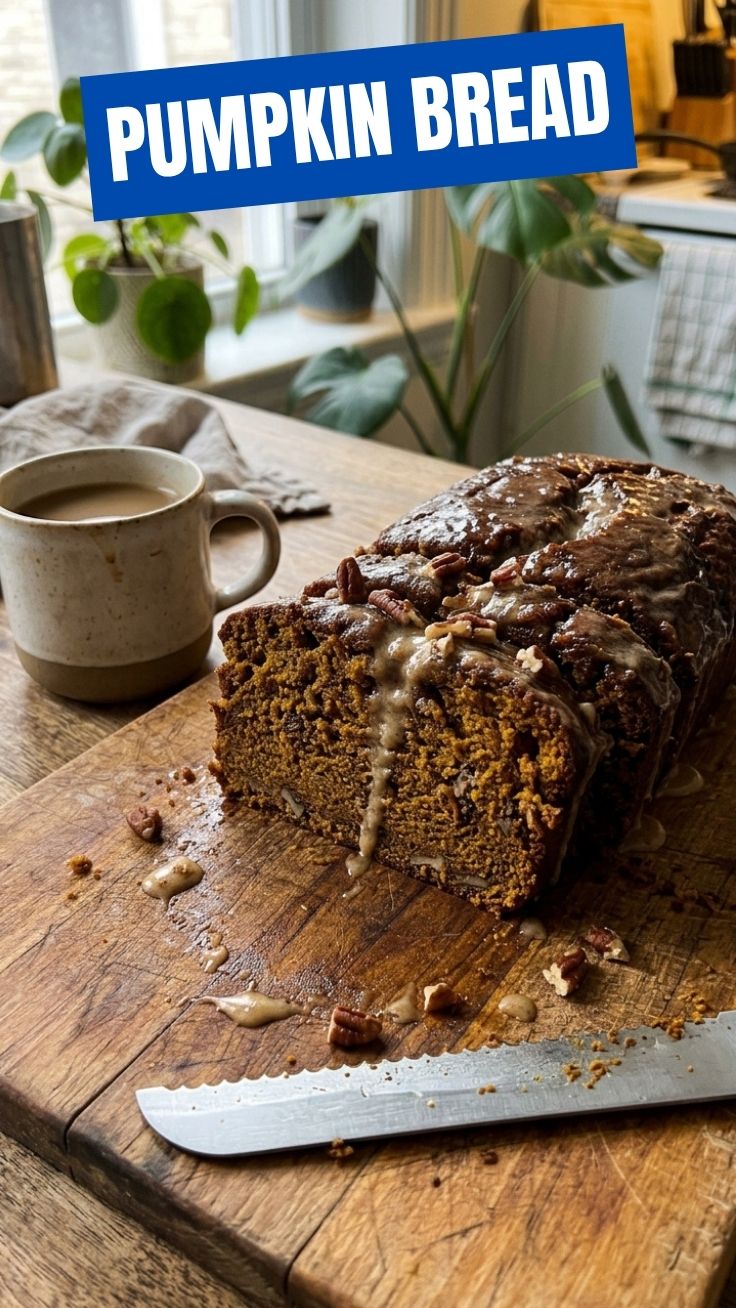
Planning your baking session makes the process enjoyable and stress-free.
- Prep Time: 15 minutes
- Cook Time: 60-70 minutes
- Resting Time (Cooling): 15-20 minutes in the pan, then fully cooled on a rack.
This recipe is perfect for a lazy afternoon; you can prepare the batter quickly, and while it bakes, your kitchen will fill with an irresistible aroma. The resting time is crucial for the bread to set properly and prevent it from falling apart when sliced.
Step-by-Step Instructions
Follow these steps for a perfectly baked loaf of Pumpkin Bread every time:
1. Preheat Oven & Prep Pan: Preheat your oven to 350°F (175°C). Grease and flour a 9×5-inch loaf pan, ensuring all inner surfaces are coated to prevent sticking.
2. Combine Dry Ingredients: In a medium bowl, whisk together the all-purpose flour, granulated sugar, baking soda, salt, cinnamon, nutmeg, cloves, and ginger. Whisking ensures even distribution of the spices and leavening.
3. Combine Wet Ingredients: In a large mixing bowl, combine the pumpkin puree, vegetable oil, eggs, and water (or milk). Whisk until just combined and smooth.
4. Combine Wet and Dry: Gradually add the dry ingredients to the wet ingredients, mixing with a spatula or wooden spoon until just combined. Be careful not to overmix, as this can develop the gluten too much, leading to a tough bread. A few lumps are perfectly fine. If adding optional walnuts, pecans, or chocolate chips, fold them in now.
5. Pour into Pan: Pour the batter into the prepared loaf pan, spreading it evenly.
6. Bake: Bake for 60-70 minutes, or until a wooden skewer or toothpick inserted into the center comes out clean. Baking for too long can dry out the bread, so keep an eye on it.
7. Cool: Let the loaf cool in the pan on a wire rack for 15-20 minutes before carefully removing it from the pan. Allow it to cool completely on the rack before slicing for the best texture. If you’re adapting this recipe for delightful Pumpkin Muffins, the baking time will be significantly shorter, usually 20-25 minutes.
Nutritional Benefits & Advantages
Our homemade Pumpkin Bread offers more than just comfort. Pumpkin is incredibly nutrient-dense, packed with Vitamin A (in the form of beta-carotene), which is vital for vision and immune function. It also provides dietary fiber, promoting digestive health, and antioxidants that combat oxidative stress. Compared to many store-bought options, making your own allows you to control sugar levels and avoid artificial preservatives, offering a healthier, wholesome treat.
Tips, Variations & Cooking Advice
- Spice it Up: For a bolder flavor, increase the amount of cinnamon, nutmeg, ginger, and cloves, or add a pinch of allspice.
- Sweetness Control: You can slightly reduce the sugar by ¼ cup if you prefer a less sweet bread, especially if you’re adding chocolate chips.
- Texture Boost: For an extra moist crumb, add ¼ cup of applesauce or sour cream to the wet ingredients.
- Gluten-Free Version: Substitute the all-purpose flour with a 1:1 gluten-free baking flour blend.
- Dairy-Free: Ensure your choice of milk (if using) is plant-based and use a dairy-free chocolate chip alternative. This recipe is naturally dairy-free if using water.
- Pumpkin Muffins: Divide the batter into a greased 12-cup muffin tin, filling each about two-thirds full. Bake for 20-25 minutes, or until a toothpick comes out clean. This makes for perfectly portioned treats!
Common Mistakes to Avoid
- Overmixing the Batter: This is the most common mistake. It develops gluten, leading to a tough, dense crumb instead of a tender one. Mix until just combined.
- Using Pumpkin Pie Filling: Make sure you use 100% pure pumpkin puree. Pie filling contains added sugar and spices that will alter the flavor profile.
- Not Greasing the Pan Properly: This can cause the bread to stick, making it difficult to remove without damage. Grease and flour thoroughly.
- Slicing When Warm: While tempting, slicing warm bread can lead to a gummy texture and make it fall apart. Always cool completely for clean slices and better texture.
- Incorrect Oven Temperature: An oven that’s too hot can burn the outside while leaving the inside raw. An oven that’s too cool can result in a dense, undercooked bread. Use an oven thermometer to verify accuracy.
Storage & Meal Prep Tips
Your delicious Pumpkin Bread can be enjoyed for days with proper storage.
- Countertop: Store wrapped tightly in plastic wrap or in an airtight container at room temperature for up to 3-4 days. This helps retain moisture.
- Refrigerator: For longer storage, refrigerate for up to a week. The flavor often deepens slightly over time.
- Freezer: To freeze, wrap the cooled loaf (whole or sliced) tightly in plastic wrap, then an additional layer of aluminum foil. It will stay fresh for up to 3 months. Thaw at room temperature or gently warm in the oven. Individual slices are great for grab-and-go snacks!
Conclusion
Baking your own Pumpkin Bread is a rewarding experience that fills your home with incredible aromas and your plate with a delicious, comforting treat. By following these detailed steps and tips, you’re well on your way to mastering this autumn classic. Whether you prefer a traditional loaf or delightful Pumpkin Muffins, the homemade touch makes all the difference. Don’t hesitate to give this recipe a try and share your baking triumphs in the comments below!
FAQs
Q1: Can I use fresh pumpkin instead of canned puree?
A1: Yes, you can! You’ll need to roast and puree about 2 cups of fresh pumpkin. Ensure it’s completely smooth and not too watery.
Q2: My bread is browning too quickly on top. What should I do?
A2: If the top is browning too fast, you can lightly tent the loaf with aluminum foil during the last 20-30 minutes of baking.
Q3: How can I make this bread sweeter or less sweet?
A3: You can adjust the granulated sugar by ¼ cup up or down based on your preference. For extra sweetness, a cream cheese swirl or a simple glaze can be added after baking.
Q4: Can I add other spices?
A4: Absolutely! Allspice, cardamom, or even a touch of black pepper (a surprising but delicious addition with pumpkin) can elevate the flavor profile. Start with a small amount and adjust to taste.
Q5: What’s the best way to reheat frozen slices?
A5: You can warm individual slices in a toaster oven, microwave (for about 20-30 seconds), or a regular oven at 300°F (150°C) for a few minutes until warm through.